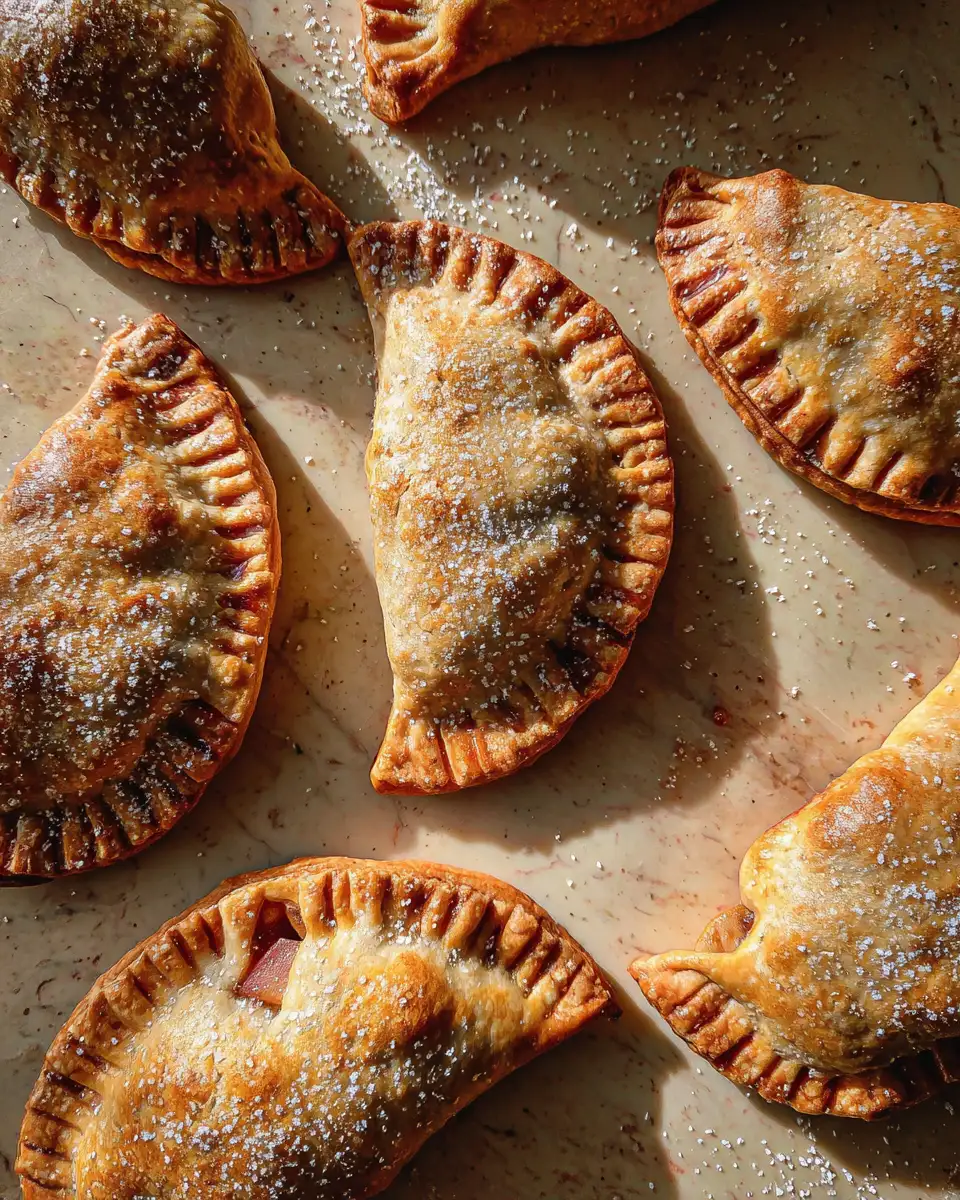
There’s nothing quite like biting into a warm, flaky apple hand pie—those golden, crispy edges giving way to tender, sweet apple filling. I still remember my grandma’s kitchen, where she’d bake these little treasures with love and a pinch of her secret cinnamon magic. Making apple hand pies has become a special tradition for me, a way to bring back those cozy memories and share that homemade warmth with others. Whether you’re a seasoned baker or just someone who loves a good, homemade treat, these apple hand pies are a delightful project that fills your kitchen with the comforting aroma of baked apples and buttery pastry. Let’s dive into how you can create these irresistible bites of happiness right at home.
Why You’ll Love This Apple Hand Pies
If you’re anything like me, you cherish those moments when baking becomes more than just following a recipe—it’s about creating memories and sharing love through food. These apple hand pies are perfect because they’re simple to make, portable, and endlessly customizable. I’ve spent years experimenting with different fillings and crusts, and I can honestly say that nothing beats the feeling of holding a warm, flaky hand pie in your hand, especially when it’s filled with juicy, cinnamon-spiced apples.
One of the reasons I adore these pies is their versatility. They’re great for a quick snack, a sweet treat after dinner, or even for taking to a picnic. I often bake a batch on a lazy Sunday, then wrap a few to enjoy throughout the week—trust me, they taste even better when reheated gently in the oven. Plus, the process of making these pies takes me back to my grandma’s kitchen, where she always said that love and patience are the secret ingredients. Making apple hand pies is a warm, nostalgic experience that I love to share with friends and family.
Ingredients You’ll Need for This Apple Hand Pies
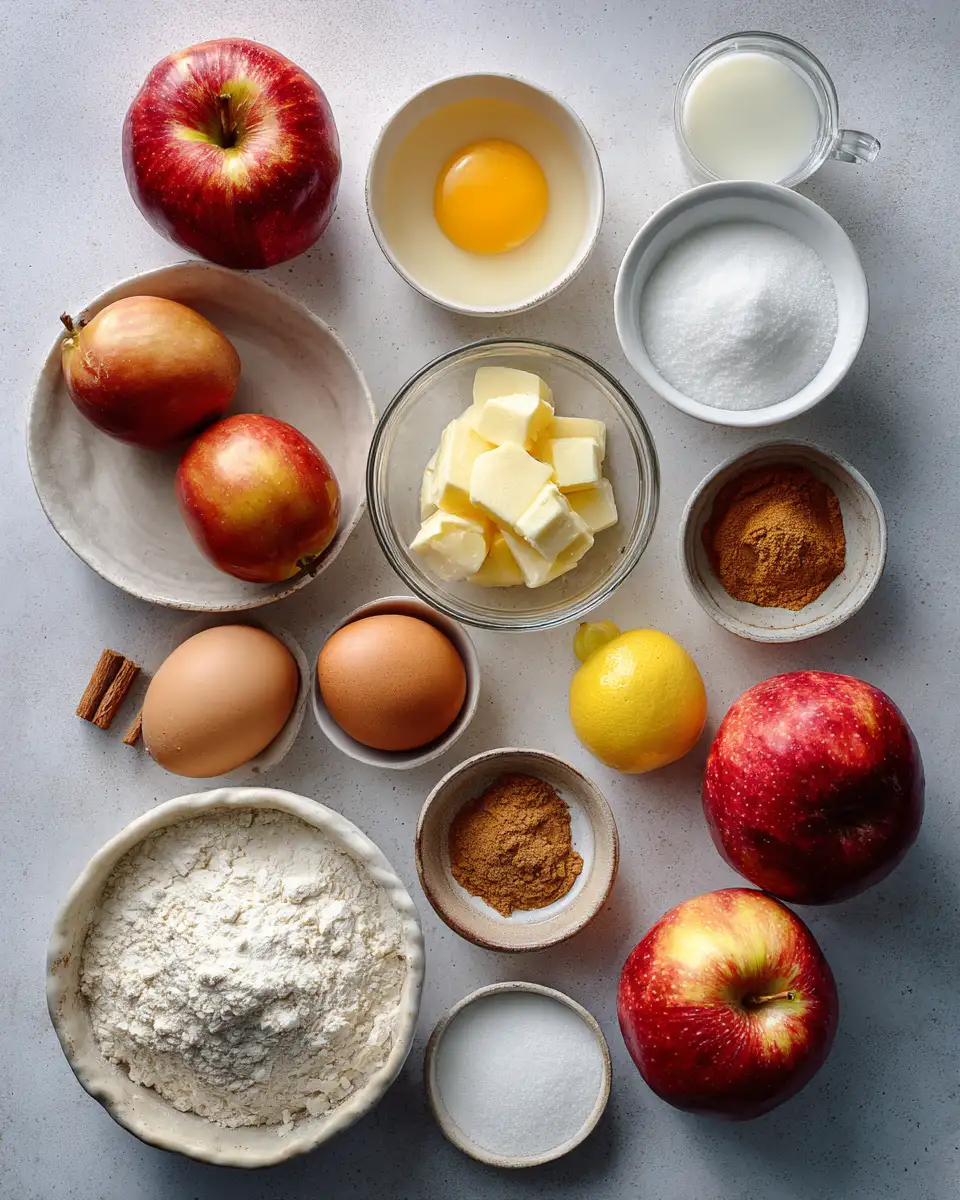
- 2 ½ cups all-purpose flour
- ½ teaspoon salt
- 1 teaspoon granulated sugar
- 1 cup unsalted butter, cold and cubed
- ¼ to ½ cup cold water (as needed)
- 4 large apples (Granny Smith or Fuji work beautifully)
- ¼ cup granulated sugar
- 2 tablespoons brown sugar
- 1 teaspoon ground cinnamon
- ½ teaspoon ground nutmeg (optional)
- 1 tablespoon lemon juice
- 1 egg, beaten (for egg wash)
- 1 tablespoon milk (for egg wash)
- Additional sugar for sprinkling (optional)
When I first started baking these pies, I used store-bought crusts out of convenience. But once I learned how easy and rewarding it is to make your own flaky pastry, I never looked back. Sometimes, I even substitute half of the all-purpose flour with whole wheat for a little extra hearty flavor—and honestly, it adds a nice depth that pairs beautifully with the sweet apples.
Nutrition Facts
- Calories: Approximately 280-320 per pie (depending on size and filling)
- Protein: 3g
- Fat: 15g
- Carbohydrates: 40g
- Fiber: 3g
- Sugar: 15g
- Sodium: 150mg
These numbers are approximate and can vary based on your specific ingredients and portion sizes. I like to remind myself that these treats are meant to be enjoyed in moderation, especially when made with love and fresh ingredients. My grandma always said that food should nourish the soul, and I believe these pies are a perfect example of that philosophy.
PrintIrresistible Apple Hand Pies That Will Satisfy Your Sweet Tooth

Learn how to make delicious Apple Hand Pies. Easy recipe with step-by-step instructions.
- Prep Time: 15 minutes
- Cook Time: 30 minutes
- Total Time: 45 minutes
- Yield: 4 servings
- Category: Main Dish
- Method: Cooking
- Cuisine: International
Ingredients
- 2 ½ cups all-purpose flour
- ½ teaspoon salt
- 1 teaspoon granulated sugar
- 1 cup unsalted butter, cold and cubed
- ¼ to ½ cup cold water (as needed)
- 4 large apples (Granny Smith or Fuji work beautifully)
- ¼ cup granulated sugar
- 2 tablespoons brown sugar
- 1 teaspoon ground cinnamon
- ½ teaspoon ground nutmeg (optional)
- 1 tablespoon lemon juice
- 1 egg, beaten (for egg wash)
- 1 tablespoon milk (for egg wash)
- Additional sugar for sprinkling (optional)
When I first started baking these pies, I used store-bought crusts out of convenience. But once I learned how easy and rewarding it is to make your own flaky pastry, I never looked back. Sometimes, I even substitute half of the all-purpose flour with whole wheat for a little extra hearty flavor—and honestly, it adds a nice depth that pairs beautifully with the sweet apples.
Instructions
-
Preheat your oven to 375°F (190°C). Line a baking sheet with parchment paper to prevent sticking and make cleanup easier. I always do this first because once you start assembling the pies, you want everything within arm’s reach.
-
Prepare the pastry dough: In a large bowl, whisk together the flour, salt, and sugar. Add the cold, cubed butter and use a pastry cutter or your fingertips to work the butter into the flour until the mixture resembles coarse crumbs. Add cold water a tablespoon at a time, mixing gently until the dough begins to come together. Form into two disks, wrap in plastic wrap, and refrigerate for at least 30 minutes. I love making the dough ahead—my grandma always said that a little patience makes for flakier crusts.
-
While the dough chills, peel, core, and chop the apples into small, even pieces. In a bowl, toss the apples with lemon juice, sugars, cinnamon, nutmeg (if using), and a pinch of salt. This mixture should sit for about 10 minutes to allow the flavors to meld and the apples to soften slightly—this step is crucial for that tender, jammy filling I love in every bite.
-
Remove the dough from the fridge. On a lightly floured surface, roll out one disk into a 12-inch circle. Use a large round cutter or a knife to cut out about 6-8 circles, depending on size preference. I usually get about 8 from each disk, which gives me plenty to share (or keep for myself!).
-
Place a generous spoonful of apple filling in the center of each pastry circle. Be careful not to overfill—this is a common mistake I’ve made, and it leads to messy pies. Fold the dough over to create a half-moon shape, then crimp the edges with a fork or your fingers to seal tightly. I always press gently, but firmly, to prevent any filling from escaping during baking.
-
Transfer the assembled pies to the prepared baking sheet. Brush the tops with the beaten egg mixed with milk—this gives them that beautiful, golden sheen I love. Sprinkle a little sugar on top if you want an extra touch of sweetness and crunch.
-
Bake in the preheated oven for about 20-25 minutes, or until the pies are golden brown and puffed. Keep an eye on them after 20 minutes—I’ve had my fair share of over-baked crusts, and that’s never as satisfying as the perfect bake I aim for. Once done, remove from the oven and let cool slightly before serving.
Steps to Create Your Apple Hand Pies
Preheat your oven to 375°F (190°C). Line a baking sheet with parchment paper to prevent sticking and make cleanup easier. I always do this first because once you start assembling the pies, you want everything within arm’s reach.
Prepare the pastry dough: In a large bowl, whisk together the flour, salt, and sugar. Add the cold, cubed butter and use a pastry cutter or your fingertips to work the butter into the flour until the mixture resembles coarse crumbs. Add cold water a tablespoon at a time, mixing gently until the dough begins to come together. Form into two disks, wrap in plastic wrap, and refrigerate for at least 30 minutes. I love making the dough ahead—my grandma always said that a little patience makes for flakier crusts.
While the dough chills, peel, core, and chop the apples into small, even pieces. In a bowl, toss the apples with lemon juice, sugars, cinnamon, nutmeg (if using), and a pinch of salt. This mixture should sit for about 10 minutes to allow the flavors to meld and the apples to soften slightly—this step is crucial for that tender, jammy filling I love in every bite.
Remove the dough from the fridge. On a lightly floured surface, roll out one disk into a 12-inch circle. Use a large round cutter or a knife to cut out about 6-8 circles, depending on size preference. I usually get about 8 from each disk, which gives me plenty to share (or keep for myself!).
Place a generous spoonful of apple filling in the center of each pastry circle. Be careful not to overfill—this is a common mistake I’ve made, and it leads to messy pies. Fold the dough over to create a half-moon shape, then crimp the edges with a fork or your fingers to seal tightly. I always press gently, but firmly, to prevent any filling from escaping during baking.
Transfer the assembled pies to the prepared baking sheet. Brush the tops with the beaten egg mixed with milk—this gives them that beautiful, golden sheen I love. Sprinkle a little sugar on top if you want an extra touch of sweetness and crunch.
Bake in the preheated oven for about 20-25 minutes, or until the pies are golden brown and puffed. Keep an eye on them after 20 minutes—I’ve had my fair share of over-baked crusts, and that’s never as satisfying as the perfect bake I aim for. Once done, remove from the oven and let cool slightly before serving.
Tips for Making the Best Apple Hand Pies
- Use cold ingredients: Keep your butter and water cold to ensure the pastry remains flaky. My grandma swore by working quickly and chilling everything thoroughly.
- Don’t overfill: Less is more when it comes to filling. Overfilled pies tend to leak or burst open in the oven—trust me, I’ve learned this the hard way.
- Seal well: Crimp the edges firmly, or even press a fork around the perimeter, to keep the filling from escaping during baking.
- Customize your spices: Add a pinch of ginger or a splash of vanilla to the filling for a unique twist. I often experiment, and my family loves when I surprise them with a hint of cardamom or a drizzle of caramel.
- Use fresh, firm apples: Softer apples can turn to mush during baking, so choose crisp varieties that hold up well with heat.
Serving Suggestions and Pairings

I love serving these apple hand pies warm, maybe with a scoop of vanilla ice cream or a dollop of whipped cream. Their warm, sweet aroma just beckons you to indulge. If I’m feeling a bit fancy, I sprinkle a touch of powdered sugar on top or drizzle with caramel sauce for an extra layer of decadence, just like my grandma used to do during holiday gatherings. Learn more: Irresistible Salted Caramel Pretzel Cheesecake Balls: A Sweet and Salty Delight
For a more rustic vibe, pair these pies with a cup of spiced chai or a warm cup of apple cider—perfect for chilly afternoons or cozy weekend mornings. I’ve even taken these pies to picnics, wrapped in a clean cloth, and they’re always a hit. The best part? They’re just as good at room temperature, making them perfect for sharing wherever you go.
Storage and Reheating Tips
If you have leftovers (which is rare in my house, but it happens), store the apple hand pies in an airtight container at room temperature for up to two days. For longer storage, keep them in the fridge for up to a week. To reheat, simply warm them in a 350°F oven for about 10 minutes until they’re crispy and warm again. I find that microwaving can make the crust a bit soggy, so I prefer the oven method—it keeps that flaky texture just right, reminding me of my grandma’s careful baking.
Frequently Asked Questions
What are the main ingredients for Apple Hand Pies?
The main ingredients for Apple Hand Pies include the items listed in our ingredients section above. Each ingredient plays a crucial role in achieving the perfect flavor and texture.
How long does it take to make Apple Hand Pies?
The total time to make Apple Hand Pies includes both preparation and cooking time. Check the recipe card above for exact timing details.
Can I make Apple Hand Pies ahead of time?
Yes, Apple Hand Pies can often be prepared in advance. Store it properly in an airtight container in the refrigerator and consume within the recommended timeframe.
What can I serve with Apple Hand Pies?
Apple Hand Pies pairs well with various sides and accompaniments. Consider the serving suggestions mentioned in the recipe for the best dining experience.
Is Apple Hand Pies suitable for special diets?
Depending on the ingredients used, Apple Hand Pies may be adapted for various dietary needs. Check the ingredients list and consider substitutions as needed for your dietary requirements.
Final Thoughts
Making apple hand pies is more than just baking; it’s about reconnecting with simple pleasures and creating comfort food that warms the heart. I’ve poured my love, memories, and a little bit of my grandma’s magic into every batch, and I hope you do the same. These pies are perfect for sharing, whether with family, friends, or yourself on a cozy afternoon. So gather your ingredients, embrace the process, and enjoy every flaky, sweet, cinnamon-infused bite. Happy baking, and may your kitchen be filled with warmth and joy—just like Grandma’s was.