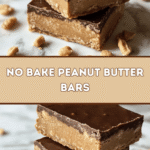

There’s something wonderfully comforting about No Bake Peanut Butter Bars, isn’t there? They bring back memories of those lazy weekends in my childhood kitchen in southern England, where simplicity and warmth ruled the day. These bars are an absolute lifesaver on busy afternoons—especially now, with my little ones always on the lookout for sweet treats that don’t require waiting for an oven to heat up. What I love most is how they strike the perfect balance between creamy, nutty richness and a satisfying, chewy texture, all without turning on the stove or oven. If you’re anything like me, you’ll appreciate a recipe that’s quick, kid-friendly, and brings everyone to the kitchen table with smiles.
Table of Contents
Why You’ll Love This No Bake Peanut Butter Bars
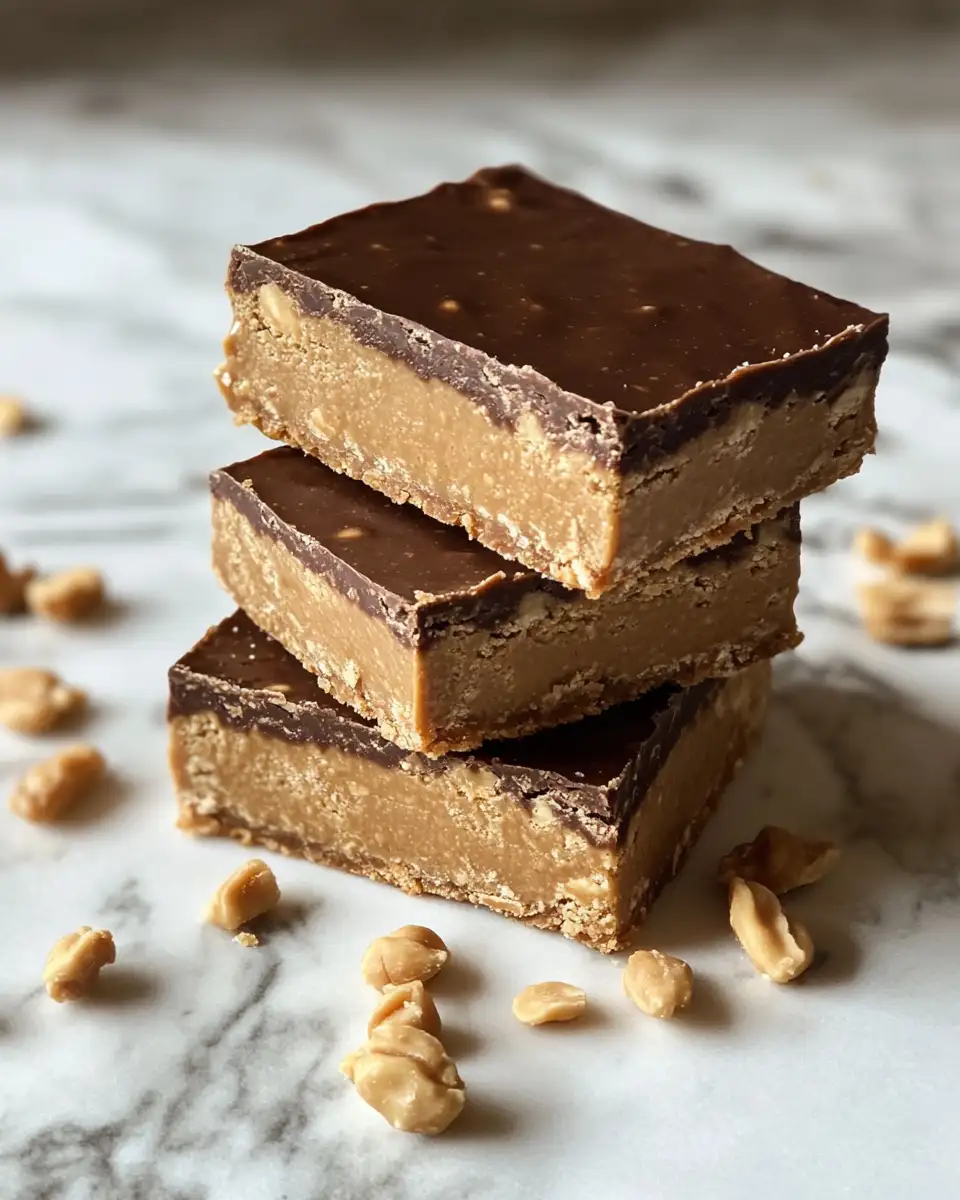
What makes these No Bake Peanut Butter Bars stand out is their sheer simplicity paired with a deeply satisfying flavor. They’re a nostalgic nod to my mum’s effortless baking days, but with a little modern twist I picked up working in American kitchens. No ovens, no fuss, just pure peanut butter goodness held together with a touch of sweetness and crunch. Plus, they’re perfect for busy families—my kids adore helping press the mixture into the pan, and it’s a rare treat that feels indulgent yet wholesome. Whether you’re a beginner or a seasoned home cook, these bars deliver comfort and ease in every bite.
Ingredients You’ll Need for This No Bake Peanut Butter Bars

Choosing the right ingredients is key to achieving that perfect blend of creamy and chewy textures. Over the years, I’ve learned that quality peanut butter truly transforms these bars—from overly sweet, artificial spreads to those rich, slightly salty varieties with natural oils. I usually opt for a natural peanut butter with no added sugar, which lets the other ingredients shine through. The use of oats adds a hearty chew, while a touch of honey or maple syrup keeps things naturally sweet. If you want to switch it up, I’ve also found almond butter or sunflower seed butter work beautifully for nut-free options.
- 1 cup natural creamy peanut butter (no sugar added)
- 1/2 cup honey or pure maple syrup
- 2 cups rolled oats (gluten-free if needed)
- 1/2 cup crispy rice cereal (optional, for extra crunch)
- 1 teaspoon vanilla extract
- Pinch of sea salt
Nutrition Facts
- Calories: Approximately 220 per bar (assuming 12 bars)
- Protein: 6g
- Fat: 14g (mostly healthy fats from peanut butter)
- Carbohydrates: 18g
- Fiber: 3g
- Sugar: 8g (from honey or maple syrup)
- Sodium: 90mg

Irresistible No Bake Peanut Butter Bars You Can Make in Minutes
Learn how to make delicious No Bake Peanut Butter Bars. Easy recipe with step-by-step instructions.
- Total Time: 45 minutes
- Yield: 4 servings 1x
Ingredients
Choosing the right ingredients is key to achieving that perfect blend of creamy and chewy textures. Over the years, I’ve learned that quality peanut butter truly transforms these bars—from overly sweet, artificial spreads to those rich, slightly salty varieties with natural oils. I usually opt for a natural peanut butter with no added sugar, which lets the other ingredients shine through. The use of oats adds a hearty chew, while a touch of honey or maple syrup keeps things naturally sweet. If you want to switch it up, I’ve also found almond butter or sunflower seed butter work beautifully for nut-free options.
- 1 cup natural creamy peanut butter (no sugar added)
- 1/2 cup honey or pure maple syrup
- 2 cups rolled oats (gluten-free if needed)
- 1/2 cup crispy rice cereal (optional, for extra crunch)
- 1 teaspoon vanilla extract
- Pinch of sea salt
Instructions
- Line an 8×8-inch baking pan with parchment paper, leaving some overhang to help lift the bars out later.
- In a medium saucepan over low heat, gently warm the peanut butter and honey (or maple syrup) together until smooth and well combined—about 2-3 minutes. Stir constantly to avoid scorching.
- Remove from heat and stir in the vanilla extract and a pinch of sea salt.
- In a large mixing bowl, combine the rolled oats and crispy rice cereal if using.
- Pour the warm peanut butter mixture over the dry ingredients. Using a spatula or wooden spoon, mix until everything is evenly coated and sticky.
- Transfer the mixture to your prepared pan and press down firmly with the back of a spatula or your hands to create an even layer.
- Refrigerate for at least 2 hours until set and firm.
- Use the parchment paper to lift the slab out of the pan, then cut into bars or squares.
- Serve immediately or store as directed below.
- Prep Time: 15 minutes
- Cook Time: 30 minutes
- Category: Main Dish
- Method: Cooking
- Cuisine: International
Steps to Create Your No Bake Peanut Butter Bars
- Line an 8×8-inch baking pan with parchment paper, leaving some overhang to help lift the bars out later.
- In a medium saucepan over low heat, gently warm the peanut butter and honey (or maple syrup) together until smooth and well combined—about 2-3 minutes. Stir constantly to avoid scorching.
- Remove from heat and stir in the vanilla extract and a pinch of sea salt.
- In a large mixing bowl, combine the rolled oats and crispy rice cereal if using.
- Pour the warm peanut butter mixture over the dry ingredients. Using a spatula or wooden spoon, mix until everything is evenly coated and sticky.
- Transfer the mixture to your prepared pan and press down firmly with the back of a spatula or your hands to create an even layer.
- Refrigerate for at least 2 hours until set and firm.
- Use the parchment paper to lift the slab out of the pan, then cut into bars or squares.
- Serve immediately or store as directed below.
Tips for Making the Best No Bake Peanut Butter Bars
Perfecting no bake bars is all about mastering the texture and balance of flavors. Over the years, I’ve learned that the way you mix and chill the bars can make a huge difference in how they hold together and taste. It’s also a chance to get creative with your additions and substitutions.
- Use natural peanut butter with oil separation for the best creamy texture—avoid overly processed spreads.
- If your peanut butter and honey mixture feels too thick, warm it gently in short bursts to loosen without burning.
- Press the mixture firmly into the pan—this ensures bars hold together well and don’t crumble.
- For extra texture, add chopped nuts, mini chocolate chips, or dried fruit to the oat mixture.
- Don’t skip chilling! The bars need sufficient time to set so they slice cleanly and have that satisfying bite.
With these tips, you’ll be whipping up bars that even my pancake-loving daughter would happily swap for syrup. Learn more: related recipe Learn more: Irresistible No-Bake Peanut Butter Cheesecake Balls: Your New Favorite Treat
Serving Suggestions and Pairings

No Bake Peanut Butter Bars are incredibly versatile and make a fantastic snack or dessert for any occasion. I often pack them for my son’s school lunches—they’re a hit with his friends and a welcome break from the usual fruit snacks. When hosting, I like to serve them alongside a cup of hot tea or chilled milk, turning an ordinary coffee break into a cozy moment. They also pair beautifully with fresh fruit or a dollop of Greek yogurt for a wholesome treat.
- Serve chilled alongside a glass of cold milk or almond milk
- Pair with fresh berries or sliced apples for a refreshing contrast
- Top with a drizzle of melted dark chocolate for an indulgent twist
- Include in a lunchbox with a small container of nut butter for dipping
Whether it’s a quick afternoon pick-me-up or a crowd-pleasing party snack, these bars always bring warmth and smiles to the table.
Storage and Reheating Tips
Proper storage is essential to keep these bars fresh and chewy, especially when making them ahead for busy days. I’ve found that keeping them airtight and chilled preserves their texture best, though they’re equally delightful at room temperature if eaten quickly.
- Store in an airtight container in the refrigerator for up to 5 days
- For longer storage, freeze bars individually wrapped in parchment paper and then placed in a sealed bag for up to 2 months
- Allow frozen bars to thaw in the fridge overnight before serving
- No reheating needed—these bars are best enjoyed cold or at room temperature
Frequently Asked Questions
What are the main ingredients for No Bake Peanut Butter Bars?
The main ingredients for No Bake Peanut Butter Bars include the items listed in our ingredients section above. Each ingredient plays a crucial role in achieving the perfect flavor and texture.
How long does it take to make No Bake Peanut Butter Bars?
The total time to make No Bake Peanut Butter Bars includes both preparation and cooking time. Check the recipe card above for exact timing details.
Can I make No Bake Peanut Butter Bars ahead of time?
Yes, No Bake Peanut Butter Bars can often be prepared in advance. Store it properly in an airtight container in the refrigerator and consume within the recommended timeframe.
What can I serve with No Bake Peanut Butter Bars?
No Bake Peanut Butter Bars pairs well with various sides and accompaniments. Consider the serving suggestions mentioned in the recipe for the best dining experience.
Is No Bake Peanut Butter Bars suitable for special diets?
Depending on the ingredients used, No Bake Peanut Butter Bars may be adapted for various dietary needs. Check the ingredients list and consider substitutions as needed for your dietary requirements.
Final Thoughts
These No Bake Peanut Butter Bars are one of those recipes that feel like a warm hug on a hectic day. They remind me that cooking doesn’t have to be complicated to be meaningful or delicious. I can’t wait for you to try them and create your own special moments around this simple, joyful treat. Please drop me a line if you give them a go—I love hearing your stories from the kitchen!


")