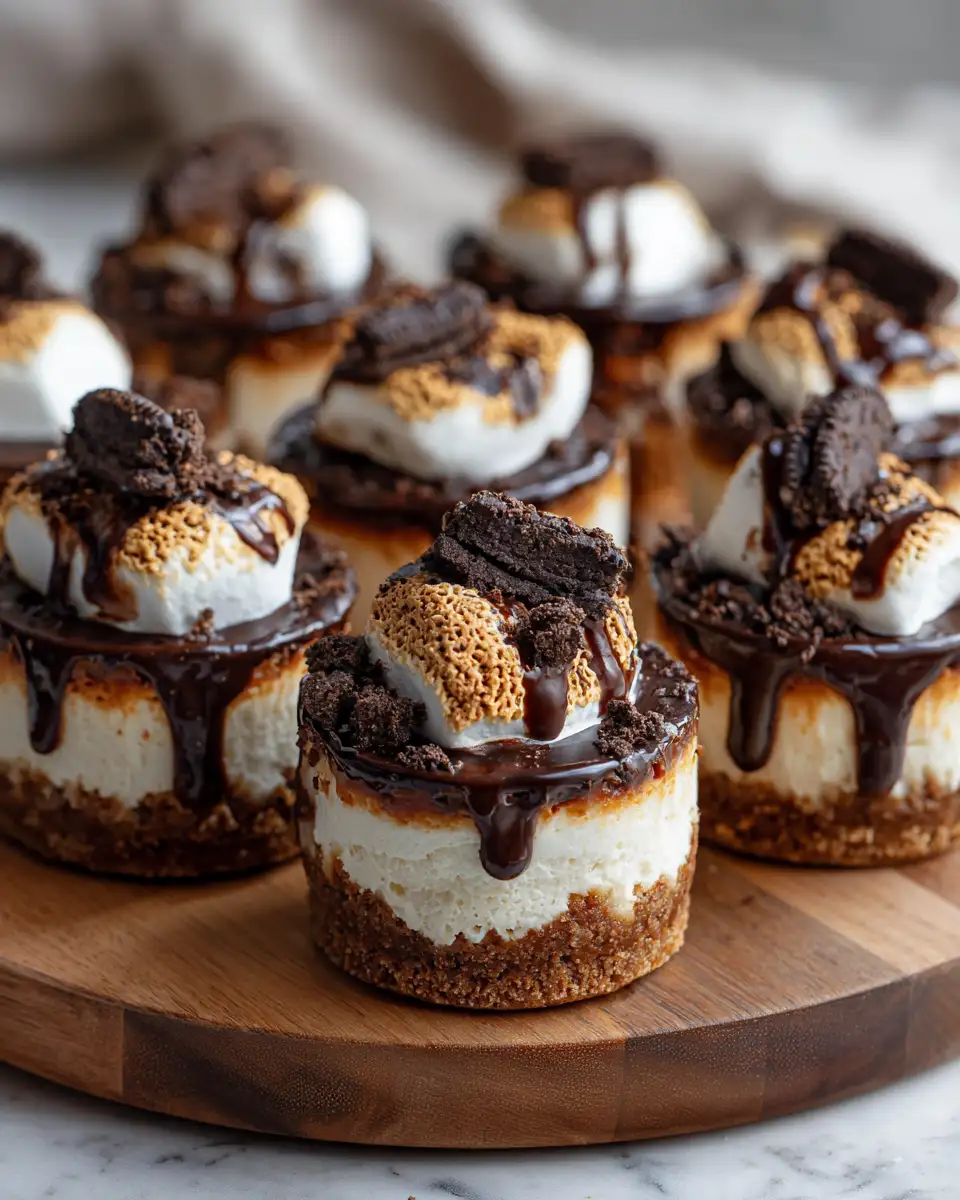
Whenever I think back to my grandma’s kitchen, I’m flooded with warm memories of sweet aromas, crackling firepit nights, and those little bites of magic she would whip up at a moment’s notice. Today, I want to share a recipe that captures that same cozy, nostalgic feeling—Oreo S’mores Cheesecake Bites. These little treats are perfect for bringing friends together, quiet evenings by the fire, or just a sweet surprise that feels like a hug in every bite. As someone who’s spent countless hours experimenting in my own kitchen, I can tell you there’s something truly special about combining the crunchy familiarity of Oreos, the gooey goodness of marshmallows, and the creamy richness of cheesecake. Trust me, once you make these, they’ll become a favorite for years to come.
Why You’ll Love This Oreo S’mores Cheesecake Bites
This recipe is a delightful twist on classic s’mores with an elegant cheesecake touch. What’s not to love? First, these bites are incredibly easy to make, even if you’re not a seasoned baker. I remember the first time I made them—my friends couldn’t believe how something so simple could taste so indulgent. The crispy Oreo crust provides a sturdy base, while the creamy cheesecake filling adds a luxurious contrast. Topping each bite with a toasted marshmallow gives that signature s’mores flavor, and the optional drizzle of melted chocolate makes them feel extra decadent. I love how versatile they are—perfect for summer barbecues, holiday gatherings, or just a cozy night in. Plus, their small size makes them easy to serve and share, which is always a win in my book!
Ingredients You’ll Need for This Oreo S’mores Cheesecake Bites
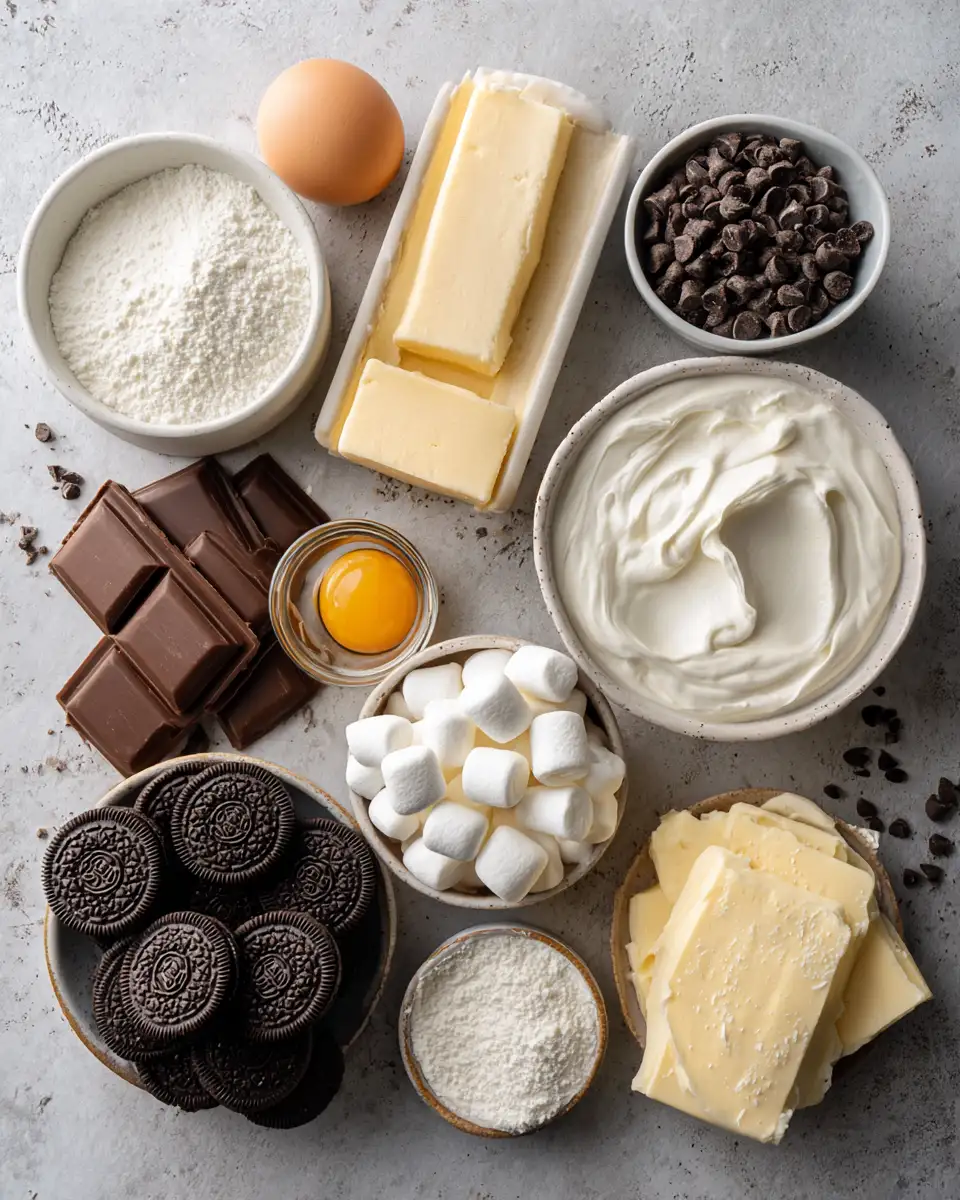
- 24 Oreo cookies (or gluten-free Oreos if preferred)
- 4 ounces (half a block) cream cheese, softened
- 1/2 cup granulated sugar
- 1 teaspoon vanilla extract
- 1/2 cup sour cream or Greek yogurt
- 2 large eggs
- Mini marshmallows for topping
- Chocolate chips or melted chocolate (optional, for drizzling)
- Butter or margarine, for greasing and mixing
If you’re like me, I often keep a stash of Oreos and marshmallows in the pantry for spontaneous baking adventures. For a slightly healthier twist, you could substitute Greek yogurt for sour cream or opt for dark chocolate for a richer flavor. I’ve played around with different types of Oreos—like double-stuff or flavored varieties—and they all work beautifully, adding their own unique touch to these bites.
Nutrition Facts
- Calories: Approximately 150 per bite
- Protein: 3g
- Fat: 8g
- Carbohydrates: 20g
- Fiber: 1g
- Sugar: 12g
- Sodium: 80mg
Of course, these values can vary depending on the size of your bites and specific ingredient brands. I always remind myself that treats like these are about balance—enjoy them with love and moderation, especially when they bring back such fond memories.
PrintIrresistible Oreo S’mores Cheesecake Bites That Will Satisfy Your Sweet Tooth

Learn how to make delicious Oreo S’mores Cheesecake Bites. Easy recipe with step-by-step instructions.
- Prep Time: 15 minutes
- Cook Time: 30 minutes
- Total Time: 45 minutes
- Yield: 4 servings
- Category: Main Dish
- Method: Cooking
- Cuisine: International
Ingredients
- 24 Oreo cookies (or gluten-free Oreos if preferred)
- 4 ounces (half a block) cream cheese, softened
- 1/2 cup granulated sugar
- 1 teaspoon vanilla extract
- 1/2 cup sour cream or Greek yogurt
- 2 large eggs
- Mini marshmallows for topping
- Chocolate chips or melted chocolate (optional, for drizzling)
- Butter or margarine, for greasing and mixing
If you’re like me, I often keep a stash of Oreos and marshmallows in the pantry for spontaneous baking adventures. For a slightly healthier twist, you could substitute Greek yogurt for sour cream or opt for dark chocolate for a richer flavor. I’ve played around with different types of Oreos—like double-stuff or flavored varieties—and they all work beautifully, adding their own unique touch to these bites.
Instructions
- Preheat your oven to 350°F (175°C). Line a mini muffin tin with paper liners or lightly grease it with butter.
- Place the Oreo cookies in a food processor or blender and pulse until finely crushed. If you don’t have a processor, you can put them in a zip-top bag and crush with a rolling pin—my grandma’s trick for a little extra therapy!
- Transfer the crushed Oreos into a bowl and mix in 2 tablespoons of melted butter until the crumbs hold together when pressed. This forms the crust.
- Divide the Oreo mixture evenly into the muffin tin, pressing down firmly to create a compact crust in each cup. Use the back of a teaspoon or a small glass to help pack it in tightly.
- Bake the crusts for about 5 minutes, just enough to set them, then remove from the oven and let cool slightly.
- In a mixing bowl, beat the softened cream cheese, sugar, and vanilla until smooth and creamy. I always do this by hand or with a hand mixer—I love feeling connected to the process, just like my grandma did with her old wooden spoon.
- Add the sour cream (or Greek yogurt) and eggs, one at a time, mixing well after each addition. The mixture should be silky and smooth.
- Spoon the cheesecake filling over the cooled Oreo crusts, filling each about three-quarters full.
- Bake for 15-18 minutes, until the edges are set but the centers still have a slight jiggle. Don’t worry if they crack a little—that’s part of their homemade charm!
- Remove from the oven and let cool completely. Once cooled, top each bite with mini marshmallows. For a real s’mores effect, toast the marshmallows with a kitchen torch or under your broiler for just a few seconds until golden brown.
- If desired, melt some chocolate chips and drizzle over the toasted marshmallows for an extra layer of indulgence.
- Chill the bites in the refrigerator for at least 2 hours before serving. This helps everything set so they’re easy to enjoy!
Steps to Create Your Oreo S’mores Cheesecake Bites
- Preheat your oven to 350°F (175°C). Line a mini muffin tin with paper liners or lightly grease it with butter.
- Place the Oreo cookies in a food processor or blender and pulse until finely crushed. If you don’t have a processor, you can put them in a zip-top bag and crush with a rolling pin—my grandma’s trick for a little extra therapy!
- Transfer the crushed Oreos into a bowl and mix in 2 tablespoons of melted butter until the crumbs hold together when pressed. This forms the crust.
- Divide the Oreo mixture evenly into the muffin tin, pressing down firmly to create a compact crust in each cup. Use the back of a teaspoon or a small glass to help pack it in tightly.
- Bake the crusts for about 5 minutes, just enough to set them, then remove from the oven and let cool slightly.
- In a mixing bowl, beat the softened cream cheese, sugar, and vanilla until smooth and creamy. I always do this by hand or with a hand mixer—I love feeling connected to the process, just like my grandma did with her old wooden spoon.
- Add the sour cream (or Greek yogurt) and eggs, one at a time, mixing well after each addition. The mixture should be silky and smooth.
- Spoon the cheesecake filling over the cooled Oreo crusts, filling each about three-quarters full.
- Bake for 15-18 minutes, until the edges are set but the centers still have a slight jiggle. Don’t worry if they crack a little—that’s part of their homemade charm!
- Remove from the oven and let cool completely. Once cooled, top each bite with mini marshmallows. For a real s’mores effect, toast the marshmallows with a kitchen torch or under your broiler for just a few seconds until golden brown.
- If desired, melt some chocolate chips and drizzle over the toasted marshmallows for an extra layer of indulgence.
- Chill the bites in the refrigerator for at least 2 hours before serving. This helps everything set so they’re easy to enjoy!
Tips for Making the Best Oreo S’mores Cheesecake Bites
Remember, baking is about intuition and love as much as technique. When I first made these, I learned that patience and a gentle touch make all the difference.
- Use room temperature cream cheese for a smoother, creamier filling. I always take mine out of the fridge about 30 minutes before starting.
- Don’t skip the toasting of marshmallows—it adds that authentic s’mores flavor that truly elevates these bites.
- If you don’t have a torch, broil the marshmallows carefully, watching constantly to prevent burning. It’s a quick process but adds so much character.
- For a more decadent treat, sprinkle crushed Graham crackers or additional crushed Oreos over the tops before serving.
- Chill the bites thoroughly—they taste even better the next day once flavors meld and the filling firms up.
Serving Suggestions and Pairings
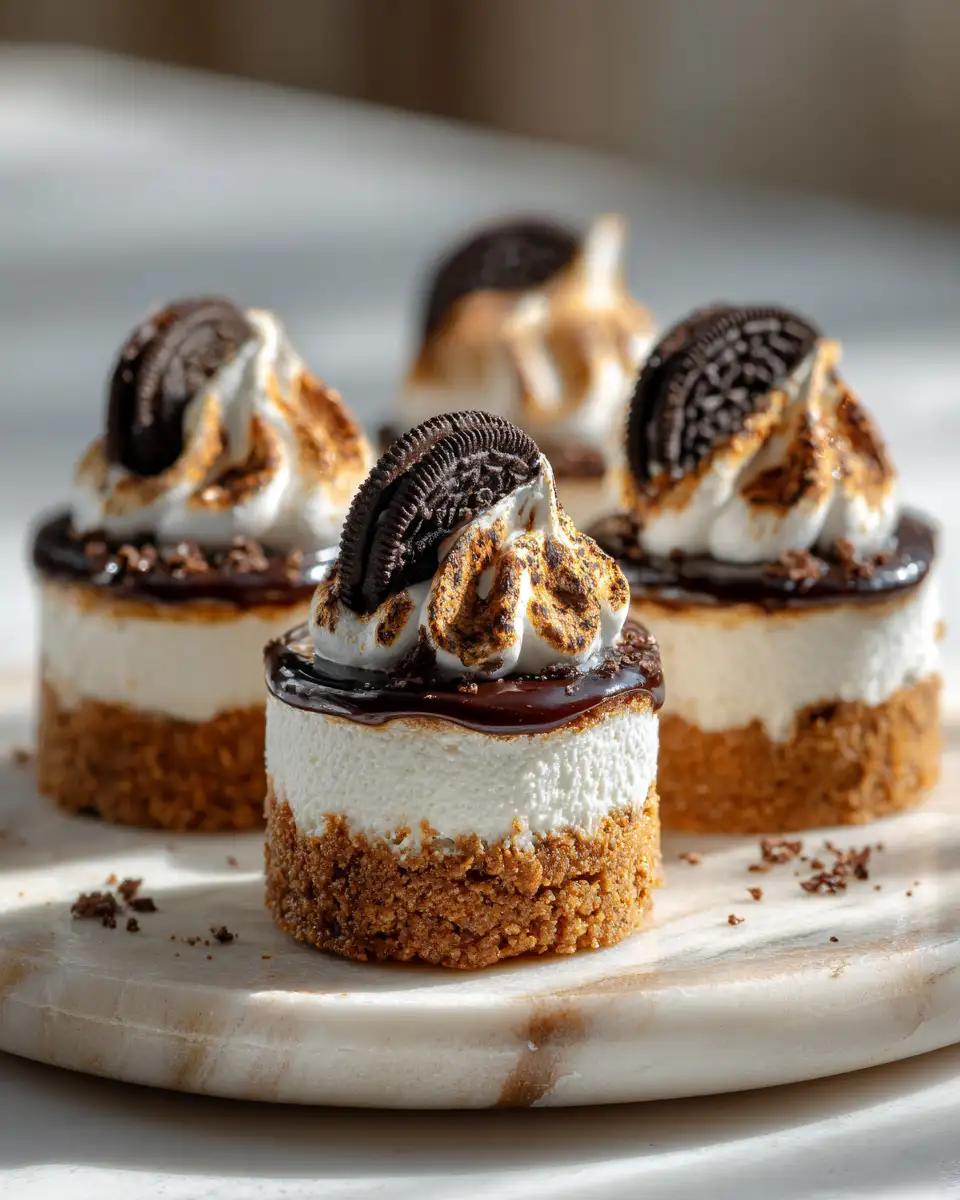
These Oreo S’mores Cheesecake Bites are a crowd-pleaser on their own, but I love pairing them with a couple of extra touches. Serve them with a cold glass of milk or a hot cup of coffee to balance the richness. For summer gatherings, a light berry compote or fresh fruit on the side adds a bright contrast. I’ve even served them alongside a scoop of vanilla ice cream—such a dreamy combo that takes me back to childhood camping trips. Learn more: Irresistible Oreo Chocolate Caramel Cheesecake Bites to Satisfy Your Sweet Tooth
Want to make it special? Arrange the bites on a pretty platter, sprinkle with a little extra crushed Oreos or graham cracker crumbs, and add some sprigs of fresh mint for color. These little treats look as inviting as they taste—perfect for sharing with loved ones or keeping close for a quiet moment of indulgence.
Storage and Reheating Tips
These bites are best enjoyed within 2-3 days of making, but if you have leftovers, don’t worry—they keep well in an airtight container in the fridge. I recommend storing them individually or layered with parchment paper to prevent sticking. When you’re ready to indulge again, you can enjoy them cold straight from the fridge, or gently rewarm in a low oven or microwave for a few seconds if you prefer a slightly softer, melty experience. Just be sure not to overheat, as the marshmallows can become overly sticky or burn easily.
Frequently Asked Questions
What are the main ingredients for Oreo S\’mores Cheesecake Bites?
The main ingredients for Oreo S\’mores Cheesecake Bites include the items listed in our ingredients section above. Each ingredient plays a crucial role in achieving the perfect flavor and texture.
How long does it take to make Oreo S\’mores Cheesecake Bites?
The total time to make Oreo S\’mores Cheesecake Bites includes both preparation and cooking time. Check the recipe card above for exact timing details.
Can I make Oreo S\’mores Cheesecake Bites ahead of time?
Yes, Oreo S\’mores Cheesecake Bites can often be prepared in advance. Store it properly in an airtight container in the refrigerator and consume within the recommended timeframe.
What can I serve with Oreo S\’mores Cheesecake Bites?
Oreo S\’mores Cheesecake Bites pairs well with various sides and accompaniments. Consider the serving suggestions mentioned in the recipe for the best dining experience.
Is Oreo S\’mores Cheesecake Bites suitable for special diets?
Depending on the ingredients used, Oreo S\’mores Cheesecake Bites may be adapted for various dietary needs. Check the ingredients list and consider substitutions as needed for your dietary requirements.
Final Thoughts
Creating these Oreo S’mores Cheesecake Bites is like taking a trip down memory lane—each step reminds me of joyful moments spent sharing treats with friends and family. They’re simple enough for a quick weekend project, yet special enough to impress at any gathering. I love how a few familiar ingredients can come together to make something so warm, comforting, and downright delicious. So, gather your ingredients, channel a bit of that grandma’s kitchen magic, and enjoy every sticky, creamy, crunchy bite. Trust me, once you taste these, they’ll become a staple in your own recipe box—ready to bring a little sweetness to any occasion.