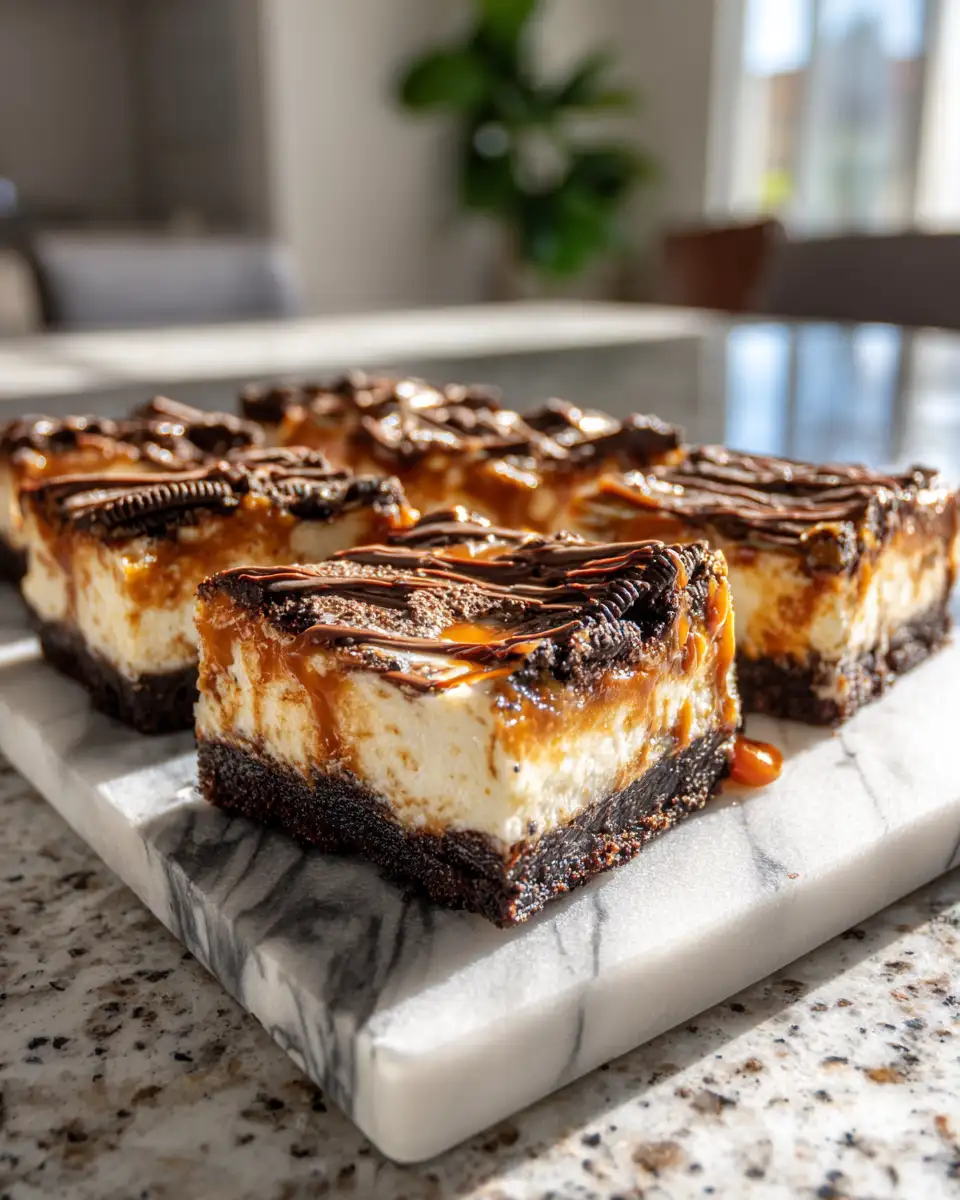
When I first tasted Oreo Caramel Cheesecake Bars, I felt like I was transported straight back to my grandma’s cozy kitchen, where she’d always have a batch of something sweet baking in the oven. These bars are a perfect blend of crunchy Oreo crust, creamy cheesecake filling, and that irresistible drizzle of caramel—comfort food at its finest. I love how simple they are to make, yet they turn out looking and tasting like a fancy dessert you’d find at a bakery. Sharing this recipe is like sharing a piece of my family’s tradition; it’s a little bit of love in every bite, and I can’t wait for you to try it.
Why You’ll Love This Oreo Caramel Cheesecake Bars
I’ve always believed that desserts should be both delightful and approachable. These Oreo Caramel Cheesecake Bars hit that sweet spot perfectly. They’re incredibly easy to assemble, making them ideal for busy weeknights or last-minute get-togethers. The crust is crisp and flavorful, thanks to crushed Oreos mixed with a touch of butter. The cheesecake layer is luxuriously smooth, with just enough sweetness to balance the richness. And then there’s the caramel—oh, the caramel! It adds a luscious, sticky finish that makes every bite feel indulgent and special. Over the years, I’ve made these for family gatherings, potlucks, and even just a quiet Sunday afternoon, and they never fail to bring smiles. Plus, they’re a fun way to impress guests without spending hours in the kitchen.
Ingredients You’ll Need for This Oreo Caramel Cheesecake Bars
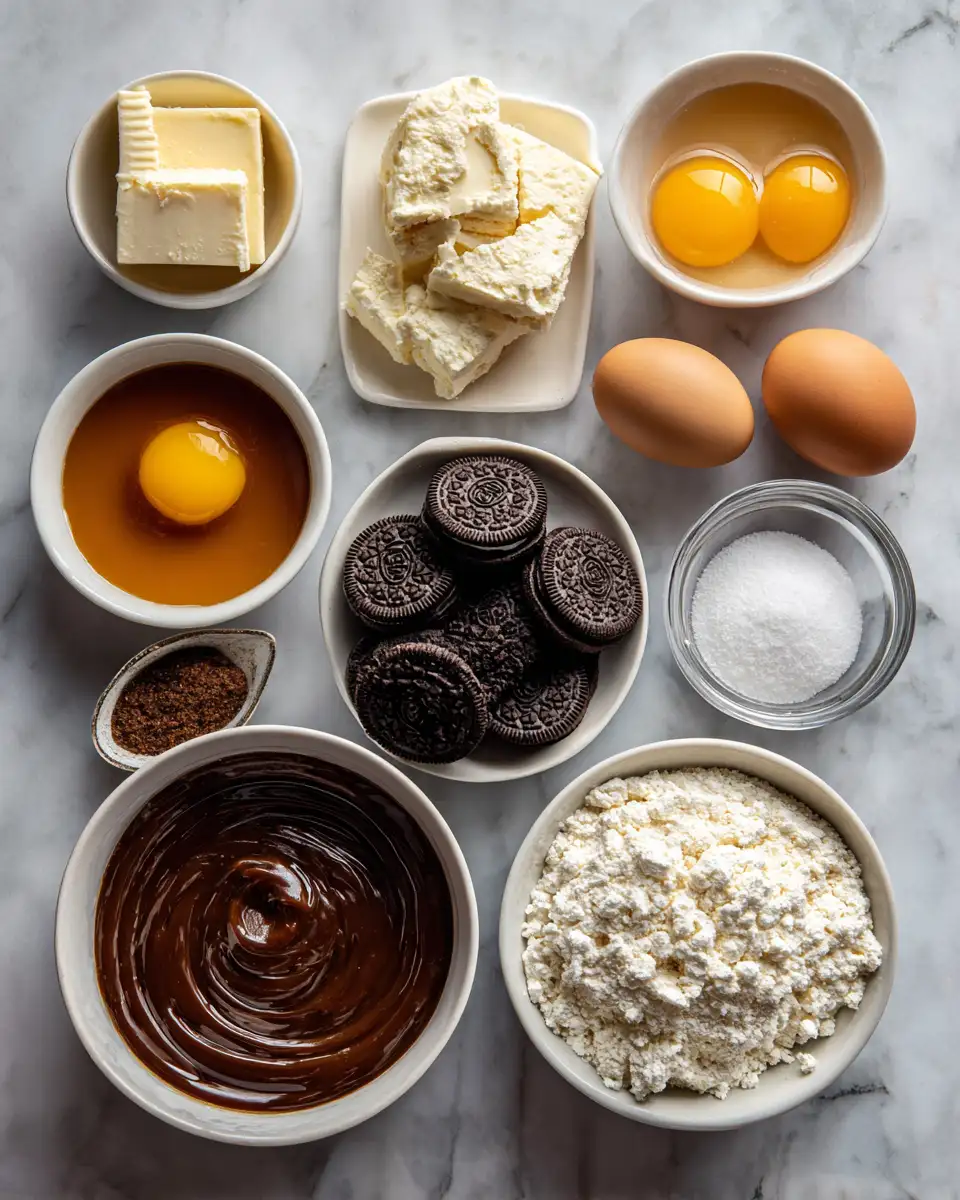
- 2 cups Oreo cookie crumbs (about 20 whole Oreos, crushed finely)
- 1/2 cup unsalted butter, melted
- 24 oz (three 8 oz packages) cream cheese, softened
- 1 cup granulated sugar
- 3 large eggs
- 1 teaspoon vanilla extract
- 1 cup caramel sauce (store-bought or homemade)
- Optional: sea salt flakes for sprinkling on caramel
When I first made this recipe, I used store-bought caramel sauce for convenience—trust me, it works beautifully. If you’re feeling adventurous, making your own caramel adds a deeper, richer flavor. My grandma always said, “Love is in the details,” so I encourage you to choose high-quality Oreos and caramel to really elevate this dessert.
Nutrition Facts
- Calories: Approximately 410 per bar
- Protein: 6g
- Fat: 25g
- Carbohydrates: 45g
- Fiber: 1g
- Sugar: 30g
- Sodium: 150mg
This might seem like a decadent treat, and it is—my grandma always said, “A little sweetness makes life sweeter.” But I also believe in enjoying desserts mindfully. These bars are rich, so a small piece goes a long way. Plus, I like to pair them with a cup of coffee or a glass of cold milk to balance the richness.
PrintIrresistible Oreo Caramel Cheesecake Bars You Need to Try
Learn how to make delicious Oreo Caramel Cheesecake Bars. Easy recipe with step-by-step instructions.
- Prep Time: 15 minutes
- Cook Time: 30 minutes
- Total Time: 45 minutes
- Yield: 4 servings
- Category: Main Dish
- Method: Cooking
- Cuisine: International
Ingredients
- 2 cups Oreo cookie crumbs (about 20 whole Oreos, crushed finely)
- 1/2 cup unsalted butter, melted
- 24 oz (three 8 oz packages) cream cheese, softened
- 1 cup granulated sugar
- 3 large eggs
- 1 teaspoon vanilla extract
- 1 cup caramel sauce (store-bought or homemade)
- Optional: sea salt flakes for sprinkling on caramel
When I first made this recipe, I used store-bought caramel sauce for convenience—trust me, it works beautifully. If you’re feeling adventurous, making your own caramel adds a deeper, richer flavor. My grandma always said, “Love is in the details,” so I encourage you to choose high-quality Oreos and caramel to really elevate this dessert.
Instructions
-
Preheat your oven to 350°F. Line a 9×13-inch baking pan with parchment paper, leaving some overhang for easy removal.
-
In a food processor or by hand, crush the Oreos into fine crumbs. Transfer to a bowl and stir in the melted butter until evenly coated. This is my favorite part—I love crushing Oreos with a heavy rolling pin when I don’t have a food processor, just like my grandma used to do.
-
Press the Oreo mixture firmly into the bottom of the prepared pan to form an even crust. Bake for 8-10 minutes until slightly set. This step gives the crust a bit of crunch and flavor—trust me, it makes all the difference.
-
While the crust bakes, beat the softened cream cheese and sugar together in a large mixing bowl until smooth and creamy, about 3-4 minutes. I always do this step with a hand mixer; it’s quick and makes the filling silky.
-
Add eggs one at a time, mixing well after each addition. Then stir in vanilla extract. The eggs help set the cheesecake, so don’t rush this step.
-
Pour the cream cheese mixture over the pre-baked crust, spreading evenly with a spatula. Gently tap the pan on the counter to remove air bubbles. I find that a gentle tap helps create a smooth surface.
-
Bake for 35-40 minutes, or until the edges are set and the center slightly jiggles. It will firm up as it cools. My grandma always told me to keep an eye on the edges—they should be just starting to turn golden.
-
Remove from oven and let cool completely in the pan on a wire rack. Once cooled, spread a generous layer of caramel sauce on top. If you like a little extra flair, sprinkle some sea salt flakes on the caramel while it’s still soft—that salty-sweet combo is one of my favorites.
-
Refrigerate the bars for at least 4 hours, or overnight, to let the flavors meld and the cheesecake set fully. I like to make these a day ahead—it gives me more time to relax and enjoy the process.
-
Once chilled, cut into squares and serve. For the perfect clean cut, dip your knife in hot water and wipe it dry between slices. It’s a trick I learned from my grandma’s baking secrets.
Steps to Create Your Oreo Caramel Cheesecake Bars
Preheat your oven to 350°F. Line a 9×13-inch baking pan with parchment paper, leaving some overhang for easy removal.
In a food processor or by hand, crush the Oreos into fine crumbs. Transfer to a bowl and stir in the melted butter until evenly coated. This is my favorite part—I love crushing Oreos with a heavy rolling pin when I don’t have a food processor, just like my grandma used to do.
Press the Oreo mixture firmly into the bottom of the prepared pan to form an even crust. Bake for 8-10 minutes until slightly set. This step gives the crust a bit of crunch and flavor—trust me, it makes all the difference.
While the crust bakes, beat the softened cream cheese and sugar together in a large mixing bowl until smooth and creamy, about 3-4 minutes. I always do this step with a hand mixer; it’s quick and makes the filling silky.
Add eggs one at a time, mixing well after each addition. Then stir in vanilla extract. The eggs help set the cheesecake, so don’t rush this step.
Pour the cream cheese mixture over the pre-baked crust, spreading evenly with a spatula. Gently tap the pan on the counter to remove air bubbles. I find that a gentle tap helps create a smooth surface.
Bake for 35-40 minutes, or until the edges are set and the center slightly jiggles. It will firm up as it cools. My grandma always told me to keep an eye on the edges—they should be just starting to turn golden.
Remove from oven and let cool completely in the pan on a wire rack. Once cooled, spread a generous layer of caramel sauce on top. If you like a little extra flair, sprinkle some sea salt flakes on the caramel while it’s still soft—that salty-sweet combo is one of my favorites.
Refrigerate the bars for at least 4 hours, or overnight, to let the flavors meld and the cheesecake set fully. I like to make these a day ahead—it gives me more time to relax and enjoy the process.
Once chilled, cut into squares and serve. For the perfect clean cut, dip your knife in hot water and wipe it dry between slices. It’s a trick I learned from my grandma’s baking secrets.
Tips for Making the Best Oreo Caramel Cheesecake Bars
- Use room temperature ingredients: Softened cream cheese mixes more smoothly, preventing lumps and ensuring a silky texture.
- Crush Oreos finely: Small crumbs help create a sturdy crust that holds together well, especially when cutting into bars.
- Don’t overbake: The cheesecake is best when just set and slightly jiggly in the center. It will firm up as it cools.
- Choose quality caramel: A rich, buttery caramel makes all the difference. Store-bought works perfectly, but homemade caramel can add a special touch if you have the time.
- Chill thoroughly: Patience is key—give the bars enough time in the fridge so they hold their shape and flavors meld beautifully.
- Get creative with toppings: Chopped nuts, chocolate shavings, or even a drizzle of chocolate can turn these bars into a showstopper.
Serving Suggestions and Pairings
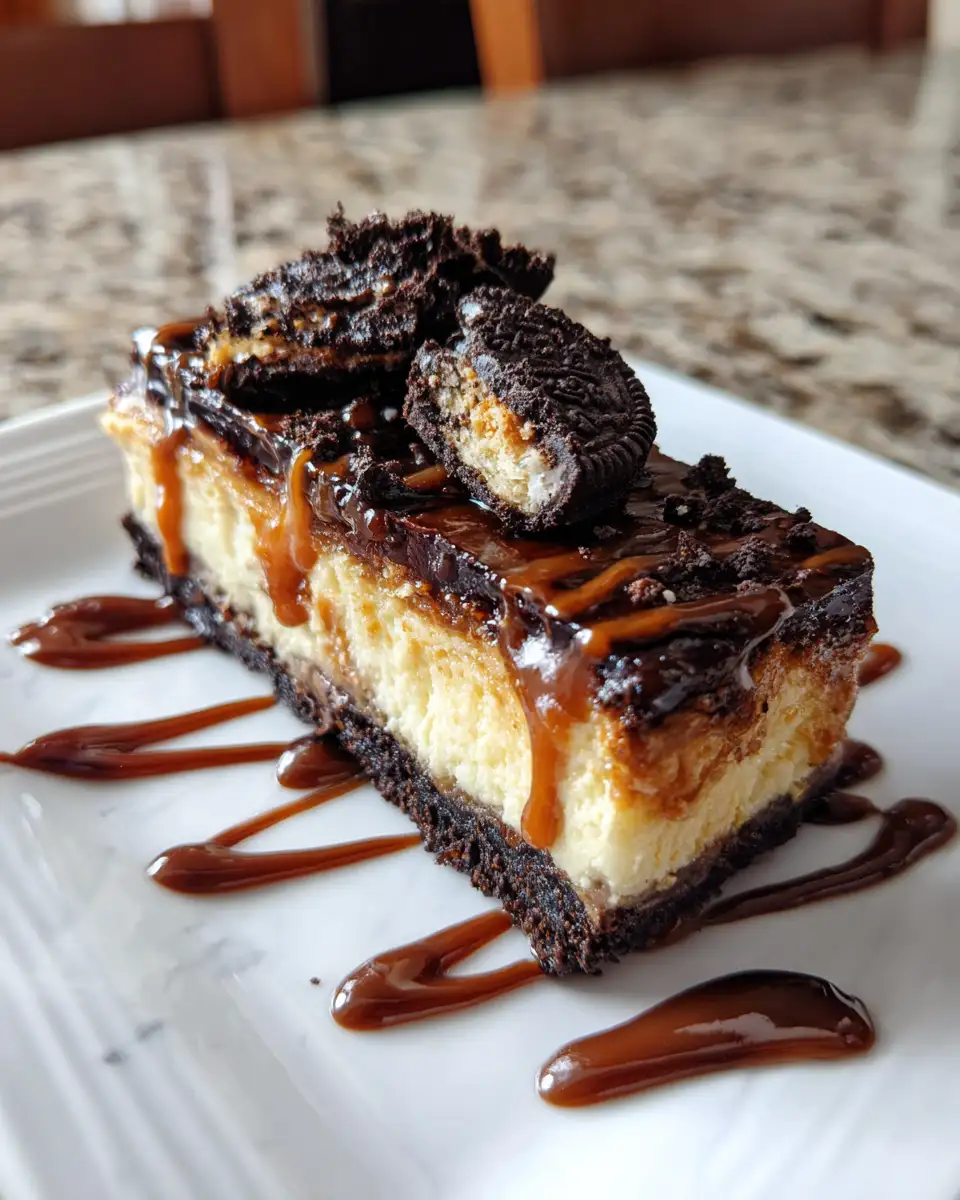
I love serving these Oreo Caramel Cheesecake Bars as a special dessert for family gatherings or weekend treats. They pair wonderfully with a cup of strong coffee or a glass of cold milk—kind of like my grandma used to say, “Sweeten your moment.” For a festive touch, sprinkle some extra caramel and sea salt just before serving.
If I want to elevate the presentation, I sometimes add a dollop of whipped cream or a few fresh berries on top. It’s a simple addition that makes the dessert feel a little more luxurious. Plus, I always keep a few extra Oreos on hand for a quick crumble topping—because a little crunch on top never hurts! Learn more: Irresistible Oreo Chocolate Caramel Cheesecake Bites to Satisfy Your Sweet Tooth
Storage and Reheating Tips
These bars are best stored in an airtight container in the refrigerator. They’ll stay fresh for about 3-4 days, but I find they taste even better the next day as the flavors have time to meld. If you want to keep them longer, you can freeze individual portions—just wrap each piece tightly in plastic wrap and store in a freezer-safe bag. To enjoy later, thaw in the fridge overnight.
Reheating isn’t necessary, but if you prefer a warm dessert, you can microwave a single bar on low for about 10-15 seconds until just warm. The caramel might become a little gooey, which I personally love—it feels like a hug in every bite.
Frequently Asked Questions
What are the main ingredients for Oreo Caramel Cheesecake Bars?
The main ingredients for Oreo Caramel Cheesecake Bars include the items listed in our ingredients section above. Each ingredient plays a crucial role in achieving the perfect flavor and texture.
How long does it take to make Oreo Caramel Cheesecake Bars?
The total time to make Oreo Caramel Cheesecake Bars includes both preparation and cooking time. Check the recipe card above for exact timing details.
Can I make Oreo Caramel Cheesecake Bars ahead of time?
Yes, Oreo Caramel Cheesecake Bars can often be prepared in advance. Store it properly in an airtight container in the refrigerator and consume within the recommended timeframe.
What can I serve with Oreo Caramel Cheesecake Bars?
Oreo Caramel Cheesecake Bars pairs well with various sides and accompaniments. Consider the serving suggestions mentioned in the recipe for the best dining experience.
Is Oreo Caramel Cheesecake Bars suitable for special diets?
Depending on the ingredients used, Oreo Caramel Cheesecake Bars may be adapted for various dietary needs. Check the ingredients list and consider substitutions as needed for your dietary requirements.
Final Thoughts
Creating these Oreo Caramel Cheesecake Bars has become a beloved tradition in my home, a recipe that bridges generations with its comforting flavors and simple steps. Every time I make them, I think of my grandma’s kitchen, where love was the secret ingredient. I hope you find as much joy in making and sharing these bars as I have. Remember, the best desserts are made with a little patience, a lot of love, and a sprinkle of creativity. Happy baking, and enjoy every delicious bite!