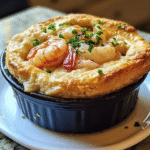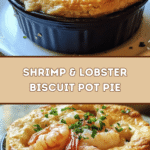

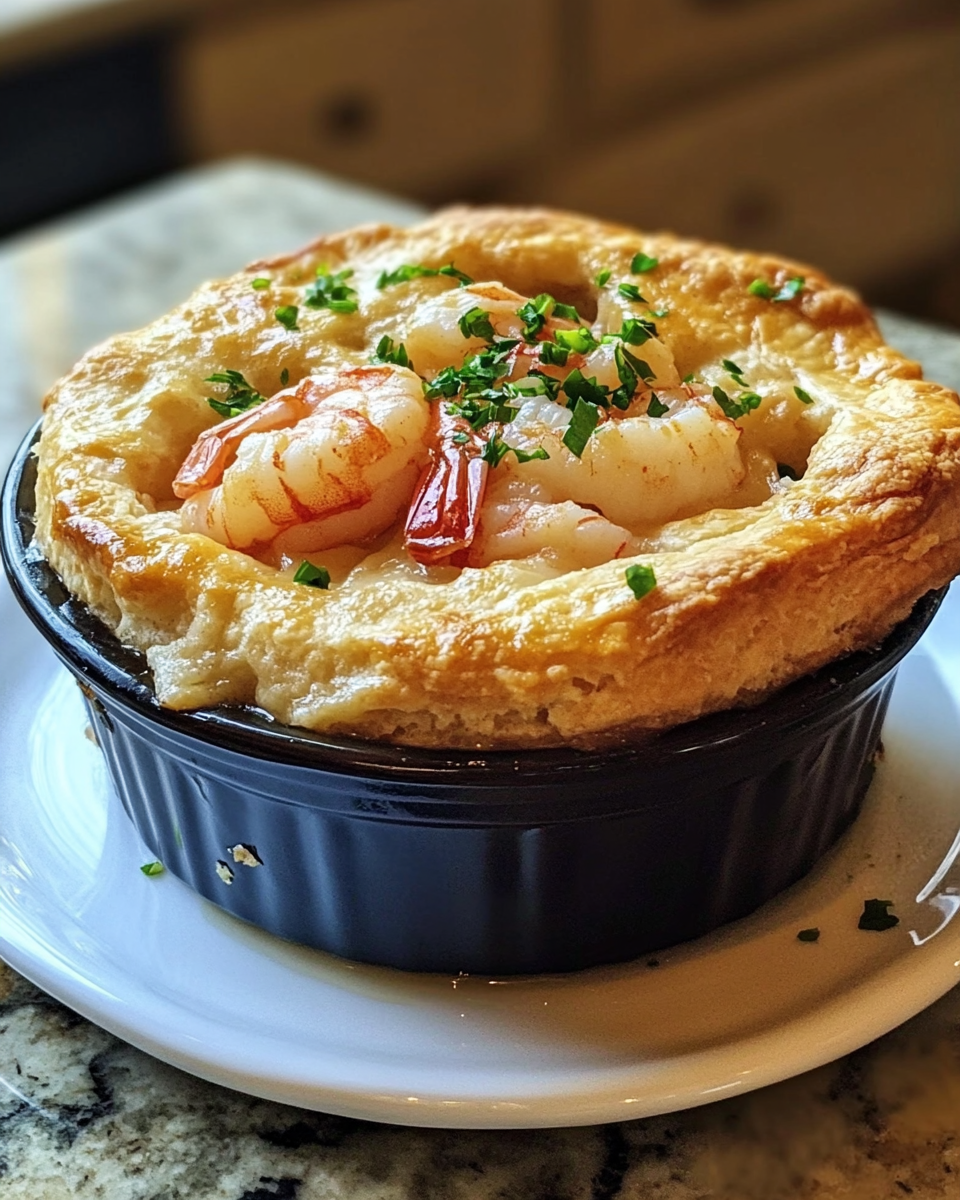
There’s something wonderfully comforting about a pot pie, especially when it’s packed with luxurious seafood like shrimp and lobster. This Shrimp & Lobster Biscuit Pot Pie has become one of my favorite ways to bring a little indulgence to an otherwise simple weeknight dinner. Growing up in a small English town, I rarely encountered dishes quite this decadent, but my time in restaurant kitchens taught me how to elevate humble ingredients without losing that homey feeling. This recipe balances creamy, buttery biscuit topping with a rich, flavorful filling that reminds me of those cozy afternoons spent in my mum’s kitchen, where food was always about warmth and connection.
Table of Contents
Why You’ll Love This Shrimp & Lobster Biscuit Pot Pie
This recipe is a celebration of comfort and elegance rolled into one. First, it’s the perfect way to showcase fresh seafood in a format that feels approachable—no fancy plating required. I’ve found that the biscuit topping adds a delightful texture contrast to the creamy filling, something that always gets a nod of approval from my kids, even if they’re more focused on the ketchup. Plus, it’s a one-dish meal that warms everyone up, making it ideal for busy days when you want something satisfying without hours in the kitchen. Finally, it’s a dish that invites creativity—you can swap in different seafood or tweak the herbs to suit your mood.
Ingredients You’ll Need for This Shrimp & Lobster Biscuit Pot Pie

The key to this dish lies in selecting the right ingredients, especially when it comes to seafood. I always recommend using the freshest shrimp and lobster you can find, whether from a trusted fishmonger or a local market. Quality seafood transforms the pot pie from ordinary to extraordinary. For the biscuit topping, I lean towards using cold butter and buttermilk to get that tender, flaky texture that’s utterly irresistible. When I first tried making biscuits without chilling the butter, the results were less than stellar—a reminder that patience really pays off in baking.
- 1 pound peeled and deveined shrimp, cut into bite-sized pieces
- 1 cup cooked lobster meat, chopped
- 2 tablespoons unsalted butter
- 1 small onion, finely diced
- 2 cloves garlic, minced
- 2 tablespoons all-purpose flour
- 1 1/2 cups whole milk or half-and-half
- 1/2 cup frozen peas
- 1/2 cup diced carrots
- 1 teaspoon fresh thyme leaves (or 1/2 teaspoon dried thyme)
- Salt and freshly ground black pepper, to taste
- For the biscuit topping:
- 1 1/2 cups all-purpose flour
- 2 teaspoons baking powder
- 1/2 teaspoon salt
- 6 tablespoons cold unsalted butter, cut into cubes
- 3/4 cup buttermilk (or milk with 1 tablespoon lemon juice)
If you don’t have lobster on hand, crab meat makes a lovely substitution, and you can swap the peas and carrots for seasonal vegetables like corn or green beans depending on what’s freshest.
Nutrition Facts
- Calories: Approximately 450 per serving
- Protein: 30g
- Fat: 18g
- Carbohydrates: 35g
- Fiber: 3g
- Sugar: 5g
- Sodium: 600mg

Decadent Shrimp and Lobster Biscuit Pot Pie That Will Wow Your Taste Buds
Learn how to make delicious Shrimp & Lobster Biscuit Pot Pie. Easy recipe with step-by-step instructions.
- Total Time: 45 minutes
- Yield: 4 servings 1x
Ingredients
The key to this dish lies in selecting the right ingredients, especially when it comes to seafood. I always recommend using the freshest shrimp and lobster you can find, whether from a trusted fishmonger or a local market. Quality seafood transforms the pot pie from ordinary to extraordinary. For the biscuit topping, I lean towards using cold butter and buttermilk to get that tender, flaky texture that’s utterly irresistible. When I first tried making biscuits without chilling the butter, the results were less than stellar—a reminder that patience really pays off in baking.
- 1 pound peeled and deveined shrimp, cut into bite-sized pieces
- 1 cup cooked lobster meat, chopped
- 2 tablespoons unsalted butter
- 1 small onion, finely diced
- 2 cloves garlic, minced
- 2 tablespoons all-purpose flour
- 1 1/2 cups whole milk or half-and-half
- 1/2 cup frozen peas
- 1/2 cup diced carrots
- 1 teaspoon fresh thyme leaves (or 1/2 teaspoon dried thyme)
- Salt and freshly ground black pepper, to taste
- For the biscuit topping:
- 1 1/2 cups all-purpose flour
- 2 teaspoons baking powder
- 1/2 teaspoon salt
- 6 tablespoons cold unsalted butter, cut into cubes
- 3/4 cup buttermilk (or milk with 1 tablespoon lemon juice)
If you don’t have lobster on hand, crab meat makes a lovely substitution, and you can swap the peas and carrots for seasonal vegetables like corn or green beans depending on what’s freshest.
Instructions
- Preheat your oven to 400°F (200°C). This higher temperature will help the biscuit topping brown beautifully while the filling bubbles underneath.
- In a large skillet, melt the butter over medium heat. Add the diced onion and carrots, cooking until softened, about 5 minutes. Stir in garlic and thyme, cooking for another minute until fragrant.
- Sprinkle the flour over the vegetables and stir well to coat. Cook for 2 minutes to eliminate the raw flour taste, stirring constantly.
- Gradually whisk in the milk, making sure to smooth out any lumps. Continue cooking until the mixture thickens and coats the back of a spoon, about 5-7 minutes. Season with salt and pepper.
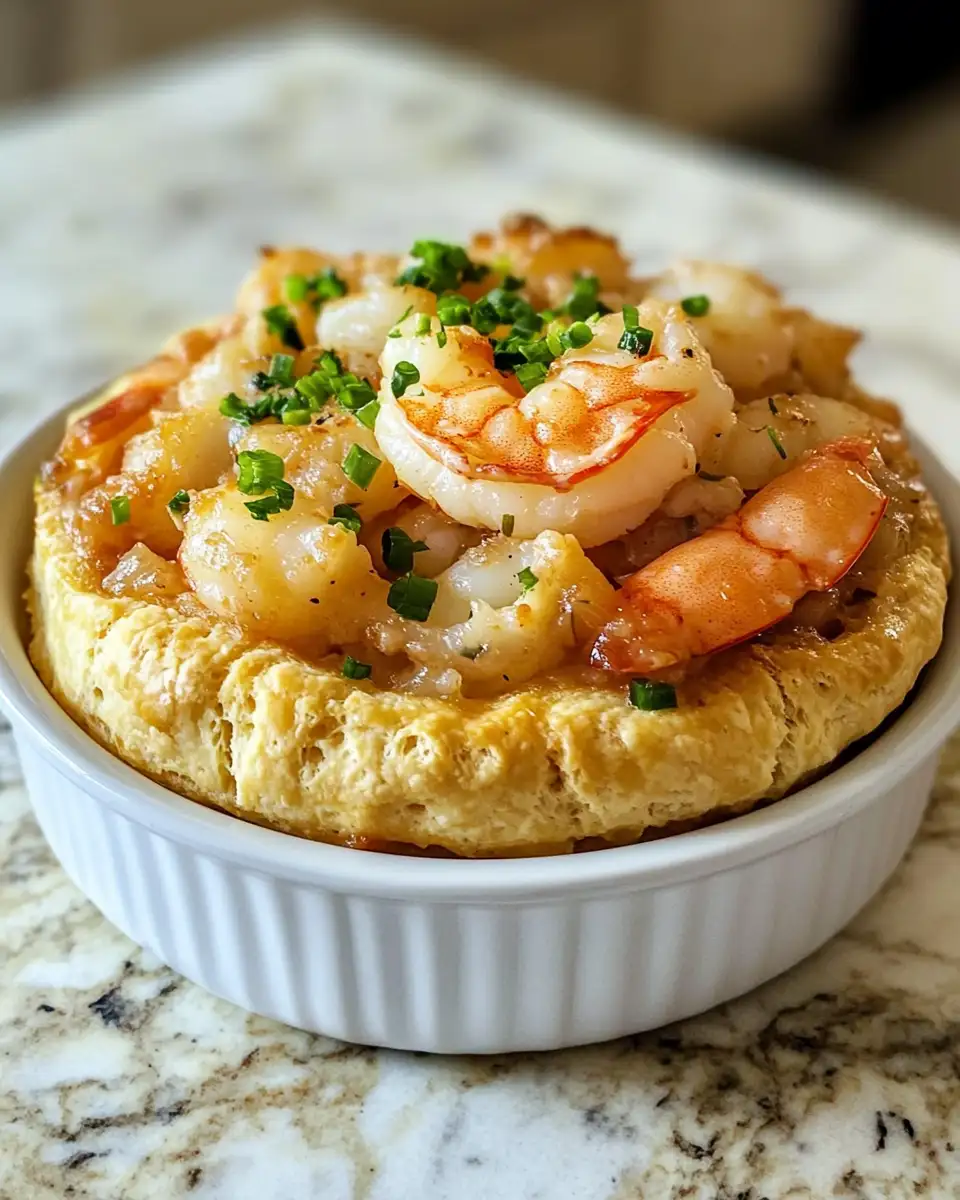
- Stir in the shrimp, lobster, and peas, cooking just until the shrimp turns pink, about 2-3 minutes. Remove from heat.
- Transfer the filling into a buttered or oven-safe dish, spreading evenly.
- To make the biscuit topping, combine flour, baking powder, and salt in a bowl. Add cubed cold butter and use your fingers or a pastry cutter to rub it in until the mixture resembles coarse crumbs.
- Pour in the buttermilk and stir gently until just combined. Don’t overmix—some lumps are okay.
- Drop spoonfuls of biscuit dough evenly over the seafood filling. Aim for coverage but don’t worry about perfection; rustic is part of the charm.
- Bake for 20-25 minutes, or until the biscuits are golden and the filling is bubbling around the edges. Let it rest for a few minutes before serving.
- Prep Time: 15 minutes
- Cook Time: 30 minutes
- Category: Main Dish
- Method: Cooking
- Cuisine: International
Steps to Create Your Shrimp & Lobster Biscuit Pot Pie
- Preheat your oven to 400°F (200°C). This higher temperature will help the biscuit topping brown beautifully while the filling bubbles underneath.
- In a large skillet, melt the butter over medium heat. Add the diced onion and carrots, cooking until softened, about 5 minutes. Stir in garlic and thyme, cooking for another minute until fragrant.
- Sprinkle the flour over the vegetables and stir well to coat. Cook for 2 minutes to eliminate the raw flour taste, stirring constantly.
- Gradually whisk in the milk, making sure to smooth out any lumps. Continue cooking until the mixture thickens and coats the back of a spoon, about 5-7 minutes. Season with salt and pepper.
- Stir in the shrimp, lobster, and peas, cooking just until the shrimp turns pink, about 2-3 minutes. Remove from heat.
- Transfer the filling into a buttered or oven-safe dish, spreading evenly.
- To make the biscuit topping, combine flour, baking powder, and salt in a bowl. Add cubed cold butter and use your fingers or a pastry cutter to rub it in until the mixture resembles coarse crumbs.
- Pour in the buttermilk and stir gently until just combined. Don’t overmix—some lumps are okay.
- Drop spoonfuls of biscuit dough evenly over the seafood filling. Aim for coverage but don’t worry about perfection; rustic is part of the charm.
- Bake for 20-25 minutes, or until the biscuits are golden and the filling is bubbling around the edges. Let it rest for a few minutes before serving.
Tips for Making the Best Shrimp & Lobster Biscuit Pot Pie
Getting this dish perfect requires attention to a few key details that I’ve learned over years of kitchen trials and a few happy accidents. The seafood must be fresh and not overcooked to keep it tender. The biscuit topping needs cold butter to achieve its signature flakiness—warm butter will lead to dense biscuits. Also, be patient when thickening the sauce; rushing this step can result in a watery filling. My mum always said that good cooking is like a conversation—you have to listen to the ingredients and adjust as you go. Learn more: Irresistible Sausage Baked Brie Recipe That Will Wow Your Taste Buds
- Use fresh or properly thawed seafood to avoid a rubbery texture
- Chill your biscuit dough before dropping it onto the filling for better rise
- Don’t overmix biscuit dough—minimal handling keeps it tender
- Simmer the sauce gently and stir often to prevent lumps or burning
- Rest the pot pie after baking so the filling sets slightly for easier serving
With these tips, you’ll create a restaurant-quality dish every time. Learn more: related recipe
Serving Suggestions and Pairings
This dish is incredibly versatile and works beautifully for various occasions, from a cozy family dinner on a chilly evening to a casual weekend gathering with friends. I like to serve it with something light and fresh to balance the richness—a simple green salad with a tangy vinaigrette is my go-to. When entertaining, a crisp white wine like Sauvignon Blanc or a sparkling water with lemon complements the seafood beautifully, enhancing the flavors without overpowering them.
- Pair with a crisp white wine or sparkling water with lemon
- Serve alongside a fresh green salad with vinaigrette
- Add roasted asparagus or green beans for a seasonal twist
- Offer crusty bread to soak up any extra sauce
- Garnish with fresh herbs like parsley or chives for color and brightness
Whether it’s a relaxed weeknight meal or a special occasion, this pot pie always brings a sense of warmth and satisfaction to the table. My kids love when I sneak in their favorite veggies, and I love how it feels a little indulgent without being fussy.
Storage and Reheating Tips
Proper storage ensures you can enjoy leftovers just as much as the fresh dish, which is a lifesaver on busy days. I’ve found that this pot pie keeps beautifully in the fridge and reheats well if you take a few precautions to maintain that creamy sauce and flaky biscuit texture.
- Store in an airtight container in the refrigerator for up to 3 days
- Reheat in the oven at 350°F (175°C) covered with foil to prevent the biscuit from drying out
- Add a splash of milk or cream to the filling before reheating to restore creaminess
- Avoid microwaving if possible, as it can make the biscuit soggy
- For make-ahead, assemble without baking and keep covered in the fridge for up to 24 hours before baking fresh
Frequently Asked Questions
What are the main ingredients for Shrimp & Lobster Biscuit Pot Pie?
The main ingredients for Shrimp & Lobster Biscuit Pot Pie include the items listed in our ingredients section above. Each ingredient plays a crucial role in achieving the perfect flavor and texture.
How long does it take to make Shrimp & Lobster Biscuit Pot Pie?
The total time to make Shrimp & Lobster Biscuit Pot Pie includes both preparation and cooking time. Check the recipe card above for exact timing details.
Can I make Shrimp & Lobster Biscuit Pot Pie ahead of time?
Yes, Shrimp & Lobster Biscuit Pot Pie can often be prepared in advance. Store it properly in an airtight container in the refrigerator and consume within the recommended timeframe.
What can I serve with Shrimp & Lobster Biscuit Pot Pie?
Shrimp & Lobster Biscuit Pot Pie pairs well with various sides and accompaniments. Consider the serving suggestions mentioned in the recipe for the best dining experience.
Is Shrimp & Lobster Biscuit Pot Pie suitable for special diets?
Depending on the ingredients used, Shrimp & Lobster Biscuit Pot Pie may be adapted for various dietary needs. Check the ingredients list and consider substitutions as needed for your dietary requirements.
Final Thoughts
This Shrimp & Lobster Biscuit Pot Pie is one of those dishes that feels like a warm hug from the inside out. It’s approachable yet special, perfect for bringing people together around the table. I hope you enjoy making it as much as I do and that it becomes a new favorite in your home. Let me know how it goes—I’m always here to swap stories and share a few kitchen laughs along the way.


")