
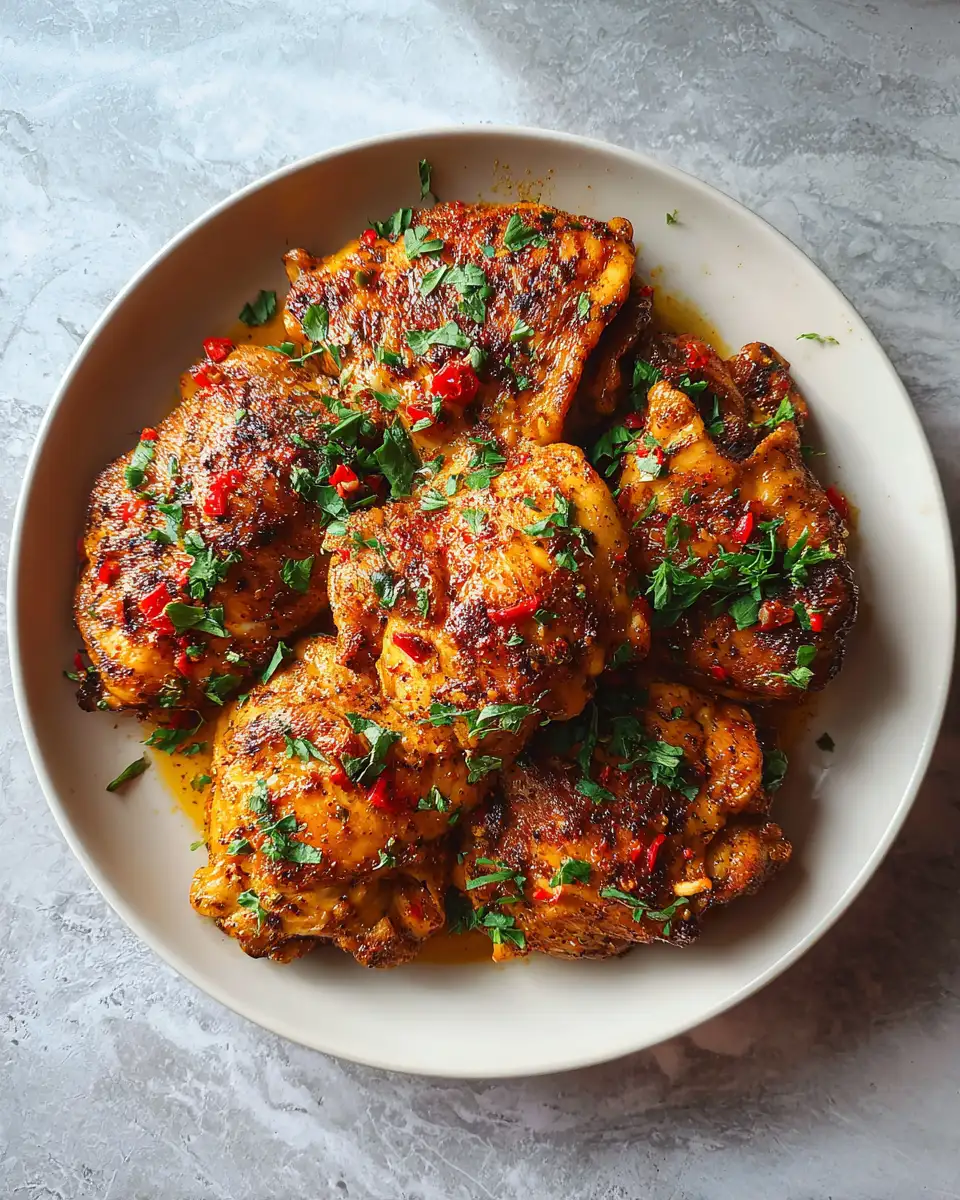
There’s something truly comforting about pulling a dish together that fills your home with warm, savory aromas. Old Bay Chicken Thighs have become one of those go-to recipes in my kitchen — a perfect blend of nostalgia and bold flavor that reminds me of lazy Sunday afternoons with my grandma. I still remember the first time I tasted her perfectly seasoned chicken, the spices dancing on my tongue, making me feel loved and cared for. Today, I want to share that magic with you, in a way that’s simple, approachable, and full of that authentic warmth I cherish. Whether you’re cooking for family, friends, or just yourself, these chicken thighs are guaranteed to bring comfort and joy to your table.
Why You’ll Love This Old Bay Chicken Thighs
If you’re like me, food is more than just sustenance—it’s a way to connect, create memories, and nurture those around you. Old Bay Chicken Thighs check all those boxes. The rich, savory flavor of the Old Bay seasoning creates a beautifully seasoned crust that’s crispy on the outside and tender on the inside. I’ve always loved how the spices evoke a hint of the coast — a reminder of seaside picnics and summer breezes, even if I’m just cooking in my cozy kitchen on a chilly evening.
This recipe is incredibly forgiving and versatile. I’ve made it for weeknight dinners, casual gatherings, and even special occasions. The best part? It’s straightforward enough that even a busy mom like me, juggling a million things, can whip it up in under an hour. Plus, the chicken thighs stay juicy and flavorful, thanks to their natural fat content, making each bite satisfying and rich. I promise, once you try these Old Bay Chicken Thighs, they’ll become a staple in your recipe repertoire.
Ingredients You’ll Need for This Old Bay Chicken Thighs
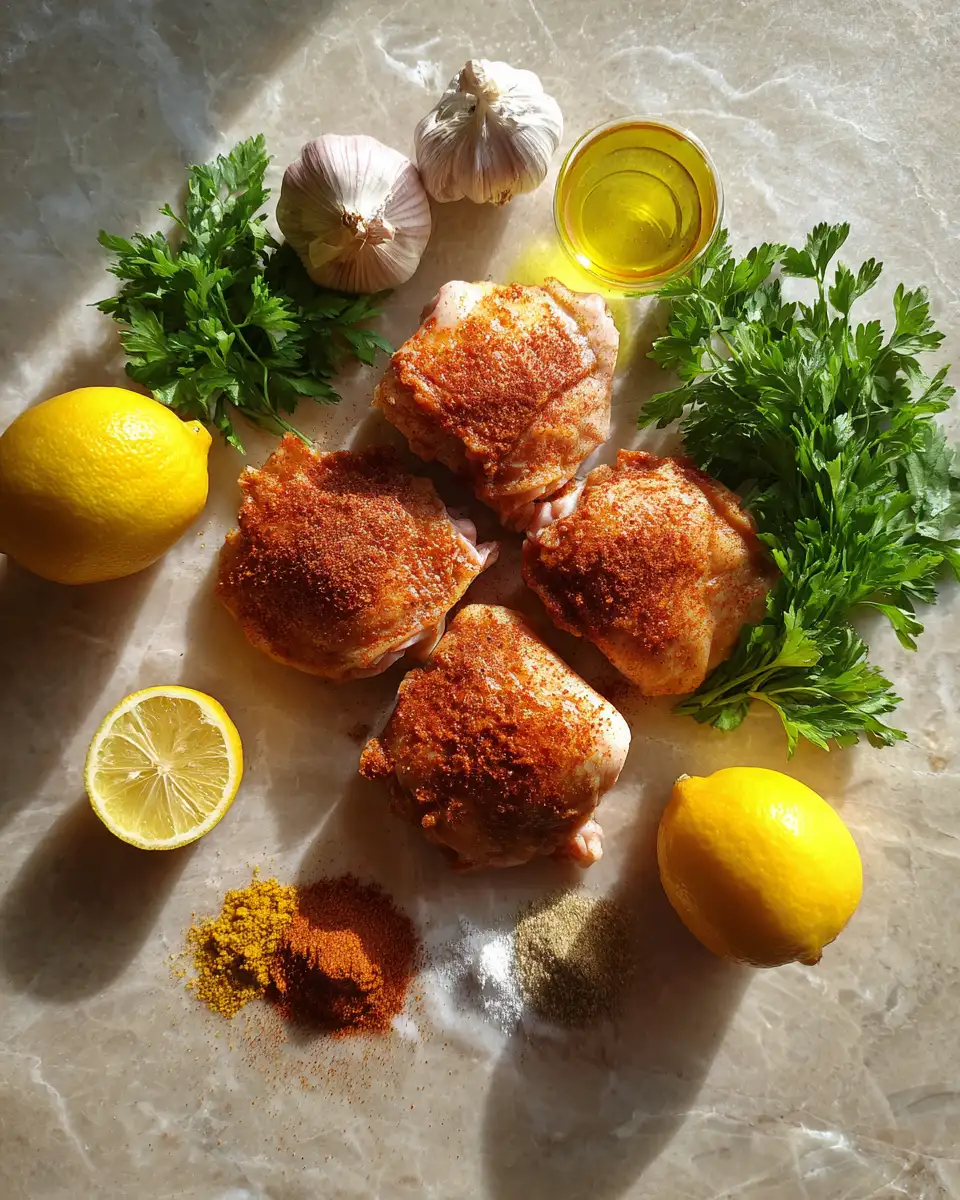
Gathering the ingredients for this dish is almost like collecting a little treasure chest of flavors. I love keeping my pantry stocked with Old Bay seasoning — it’s a secret weapon that elevates so many dishes. Here’s what you’ll need:
- 4 bone-in, skin-on chicken thighs (you can use boneless if you prefer, just adjust cooking time)
- 2 tablespoons Old Bay seasoning (adjust to taste; I love a generous coating)
- 1 teaspoon garlic powder
- 1 teaspoon smoked paprika (for a smoky depth)
- 1/2 teaspoon black pepper
- Salt to taste (be mindful, as Old Bay already contains salt)
- 2 tablespoons olive oil or melted butter
- Juice of half a lemon (for brightening the flavors)
- Fresh parsley for garnish (optional, but adds a lovely color and freshness)
If you’re feeling adventurous, you can add a pinch of cayenne pepper for heat or some chopped fresh thyme for an herbal twist. I often experiment with substitutions, like using smoked sea salt if I want an extra smoky kick or swapping lemon juice for a splash of apple cider vinegar if I want a tangier profile. These little adjustments make the dish truly your own.
Nutrition Facts
- Calories: Approximately 350 per serving
- Protein: 25g
- Fat: 20g
- Carbohydrates: 4g
- Fiber: 1g
- Sugar: 1g
- Sodium: Varies depending on seasoning and salt added; Old Bay seasoning is salty, so season with care
This nutritional profile reflects a hearty, satisfying meal that balances flavor and comfort. As someone who’s always mindful of what goes into my cooking, I appreciate how flavorful these chicken thighs are without relying on heavy sauces or additives. Plus, I find that the protein and healthy fats keep me energized and satisfied for hours.
PrintIrresistible Old Bay Chicken Thighs Your Taste Buds Will Love

Learn how to make delicious Old Bay Chicken Thighs. Easy recipe with step-by-step instructions.
- Prep Time: 15 minutes
- Cook Time: 30 minutes
- Total Time: 45 minutes
- Yield: 4 servings
- Category: Main Dish
- Method: Cooking
- Cuisine: International
Ingredients
Gathering the ingredients for this dish is almost like collecting a little treasure chest of flavors. I love keeping my pantry stocked with Old Bay seasoning — it’s a secret weapon that elevates so many dishes. Here’s what you’ll need:
- 4 bone-in, skin-on chicken thighs (you can use boneless if you prefer, just adjust cooking time)
- 2 tablespoons Old Bay seasoning (adjust to taste; I love a generous coating)
- 1 teaspoon garlic powder
- 1 teaspoon smoked paprika (for a smoky depth)
- 1/2 teaspoon black pepper
- Salt to taste (be mindful, as Old Bay already contains salt)
- 2 tablespoons olive oil or melted butter
- Juice of half a lemon (for brightening the flavors)
- Fresh parsley for garnish (optional, but adds a lovely color and freshness)
If you’re feeling adventurous, you can add a pinch of cayenne pepper for heat or some chopped fresh thyme for an herbal twist. I often experiment with substitutions, like using smoked sea salt if I want an extra smoky kick or swapping lemon juice for a splash of apple cider vinegar if I want a tangier profile. These little adjustments make the dish truly your own.
Instructions
- Preheat your oven to 400°F (200°C). Line a baking sheet with parchment paper or lightly grease it to prevent sticking.
- Pat the chicken thighs dry with paper towels. This step is crucial for getting a crispy skin — I learned this from my grandma’s kitchen, where even the simplest step makes a big difference.
- In a small bowl, mix together the Old Bay seasoning, garlic powder, smoked paprika, black pepper, and a pinch of salt if needed.
- Rub the seasoning mixture all over the chicken thighs, making sure to coat both the skin and meat sides generously. I like to do this part with my hands — it’s messy but satisfying, and it helps me feel connected to the process.
- Heat the olive oil or melted butter in a large skillet over medium-high heat. Once hot, place the chicken thighs skin-side down. Sear for about 4-5 minutes until the skin is golden and crispy. I always watch for that beautiful caramelization — it’s like a little reward for patience.
- Flip the chicken thighs and sear the other side for another 3-4 minutes. This step locks in flavor and gives the skin a lovely crunch.
- Transfer the skillet or chicken to the prepared baking sheet if you seared them in a skillet. If you used a baking dish, you can proceed directly.
- Spritz the chicken with lemon juice, then bake in the preheated oven for 25-30 minutes, or until the internal temperature reaches 165°F. I always use a meat thermometer — it’s the best way to ensure perfect doneness without overcooking.
- Remove from oven, let rest for 5 minutes, then sprinkle with fresh parsley before serving. Resting helps the juices redistribute, keeping each bite moist and flavorful.
This process may seem straightforward, but it’s the little details — like patting the chicken dry, searing for that crispy skin, and resting afterward — that elevate this simple dish into something truly special. I’ve made these dozens of times, adjusting seasoning and cooking times, and I still find joy in watching the transformation from raw to beautifully roasted.
Steps to Create Your Old Bay Chicken Thighs
- Preheat your oven to 400°F (200°C). Line a baking sheet with parchment paper or lightly grease it to prevent sticking.
- Pat the chicken thighs dry with paper towels. This step is crucial for getting a crispy skin — I learned this from my grandma’s kitchen, where even the simplest step makes a big difference.
- In a small bowl, mix together the Old Bay seasoning, garlic powder, smoked paprika, black pepper, and a pinch of salt if needed.
- Rub the seasoning mixture all over the chicken thighs, making sure to coat both the skin and meat sides generously. I like to do this part with my hands — it’s messy but satisfying, and it helps me feel connected to the process.
- Heat the olive oil or melted butter in a large skillet over medium-high heat. Once hot, place the chicken thighs skin-side down. Sear for about 4-5 minutes until the skin is golden and crispy. I always watch for that beautiful caramelization — it’s like a little reward for patience.
- Flip the chicken thighs and sear the other side for another 3-4 minutes. This step locks in flavor and gives the skin a lovely crunch.
- Transfer the skillet or chicken to the prepared baking sheet if you seared them in a skillet. If you used a baking dish, you can proceed directly.
- Spritz the chicken with lemon juice, then bake in the preheated oven for 25-30 minutes, or until the internal temperature reaches 165°F. I always use a meat thermometer — it’s the best way to ensure perfect doneness without overcooking.
- Remove from oven, let rest for 5 minutes, then sprinkle with fresh parsley before serving. Resting helps the juices redistribute, keeping each bite moist and flavorful.
This process may seem straightforward, but it’s the little details — like patting the chicken dry, searing for that crispy skin, and resting afterward — that elevate this simple dish into something truly special. I’ve made these dozens of times, adjusting seasoning and cooking times, and I still find joy in watching the transformation from raw to beautifully roasted. Learn more: Deliciously Healthy Zucchini Meatballs That Will Make Your Taste Buds Dance
Tips for Making the Best Old Bay Chicken Thighs
- Always pat your chicken dry before seasoning. Moisture is the enemy of crispy skin, and I learned this early on from my grandma’s kitchen — it’s a game changer.
- Don’t skimp on searing time. A good sear creates that irresistible crispy exterior that makes all the difference. Be patient; it’s worth the wait.
- If you prefer skinless chicken, you can still enjoy the flavorful seasoning by marinating the thighs in the spice mix for an hour before cooking. Just adjust the cooking time accordingly.
- Use fresh lemon juice and herbs for brightness — it cuts through the richness and adds a layer of freshness I love.
- For extra crispy skin, finish the chicken under the broiler for a minute or two — just keep an eye on it so it doesn’t burn. I do this sometimes when I want that extra crunch that reminds me of seaside seafood shacks.
- Leftovers taste great cold or reheated, but I find they’re best enjoyed fresh out of the oven with that crispy skin intact.
Serving Suggestions and Pairings
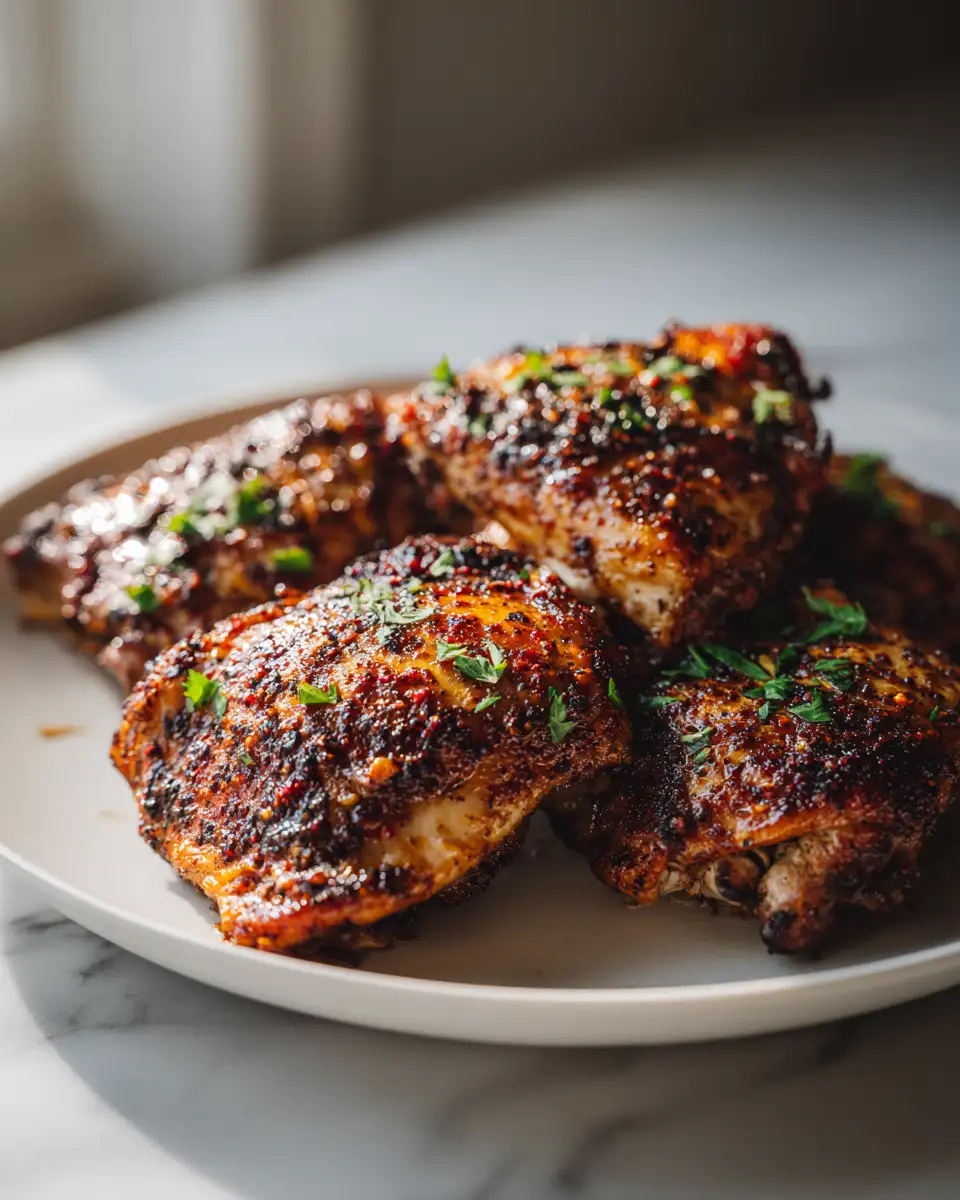
In my family, Old Bay Chicken Thighs are a celebration of simple, bold flavors. I love serving them with a side of roasted or steamed vegetables — think green beans, asparagus, or a colorful medley of bell peppers. A crisp green salad with a lemon vinaigrette also pairs beautifully, especially if you want to keep things light and fresh.
For carbs, crusty bread or buttery mashed potatoes are my go-to options. I once served these thighs with my grandma’s homemade cornbread — a match made in heaven, especially if you squeeze a little more lemon on top.
If you’re feeling festive, pair the chicken with a chilled Chardonnay or a light pilsner — something that complements the spice without overpowering it. I find that a cold glass of lemonade or iced tea also balances the smoky, savory notes perfectly.
And don’t forget the garnishes! A sprinkle of chopped parsley or a wedge of lemon can elevate the presentation and add a fresh burst of flavor that makes the meal feel complete.
Storage and Reheating Tips
Leftovers are always a blessing — I often cook extra just so I can enjoy this dish for lunch the next day. To store, transfer the cooled chicken thighs to an airtight container and keep them in the refrigerator for up to 3 days.
Reheating is best done gently to preserve that crispy skin. I recommend reheating in a skillet over medium heat for about 5-7 minutes, flipping occasionally until warmed through and the skin is crispy again. If you’re in a hurry, a quick stint in the oven at 375°F for 10-15 minutes works well, especially if you want to revive that lovely texture.
Avoid microwaving if you can, as it tends to make the skin soggy. I remember my grandma’s tip: a little reheating love goes a long way in keeping this dish tasting fresh and flavorful.
Frequently Asked Questions
What are the main ingredients for Old Bay Chicken Thighs?
The main ingredients for Old Bay Chicken Thighs include the items listed in our ingredients section above. Each ingredient plays a crucial role in achieving the perfect flavor and texture.
How long does it take to make Old Bay Chicken Thighs?
The total time to make Old Bay Chicken Thighs includes both preparation and cooking time. Check the recipe card above for exact timing details.
Can I make Old Bay Chicken Thighs ahead of time?
Yes, Old Bay Chicken Thighs can often be prepared in advance. Store it properly in an airtight container in the refrigerator and consume within the recommended timeframe.
What can I serve with Old Bay Chicken Thighs?
Old Bay Chicken Thighs pairs well with various sides and accompaniments. Consider the serving suggestions mentioned in the recipe for the best dining experience.
Is Old Bay Chicken Thighs suitable for special diets?
Depending on the ingredients used, Old Bay Chicken Thighs may be adapted for various dietary needs. Check the ingredients list and consider substitutions as needed for your dietary requirements.
Final Thoughts
Old Bay Chicken Thighs are a testament to the magic that simple spices and good technique can create. I’ve always believed that food is an expression of love, and this recipe embodies that philosophy perfectly. It’s hearty, flavorful, and nostalgic — a dish that reminds me of my grandma’s kitchen every time I make it.
Whether you’re new to cooking or a seasoned home chef, I encourage you to give this recipe a try. Play with the seasonings, add your own twist, and most importantly, enjoy the process. Food should be a celebration, a way to bring people together around a table filled with warmth and good conversation. I hope these Old Bay Chicken Thighs become a favorite in your home, just as they are in mine.
1 thought on “Irresistible Old Bay Chicken Thighs Your Taste Buds Will Love”