
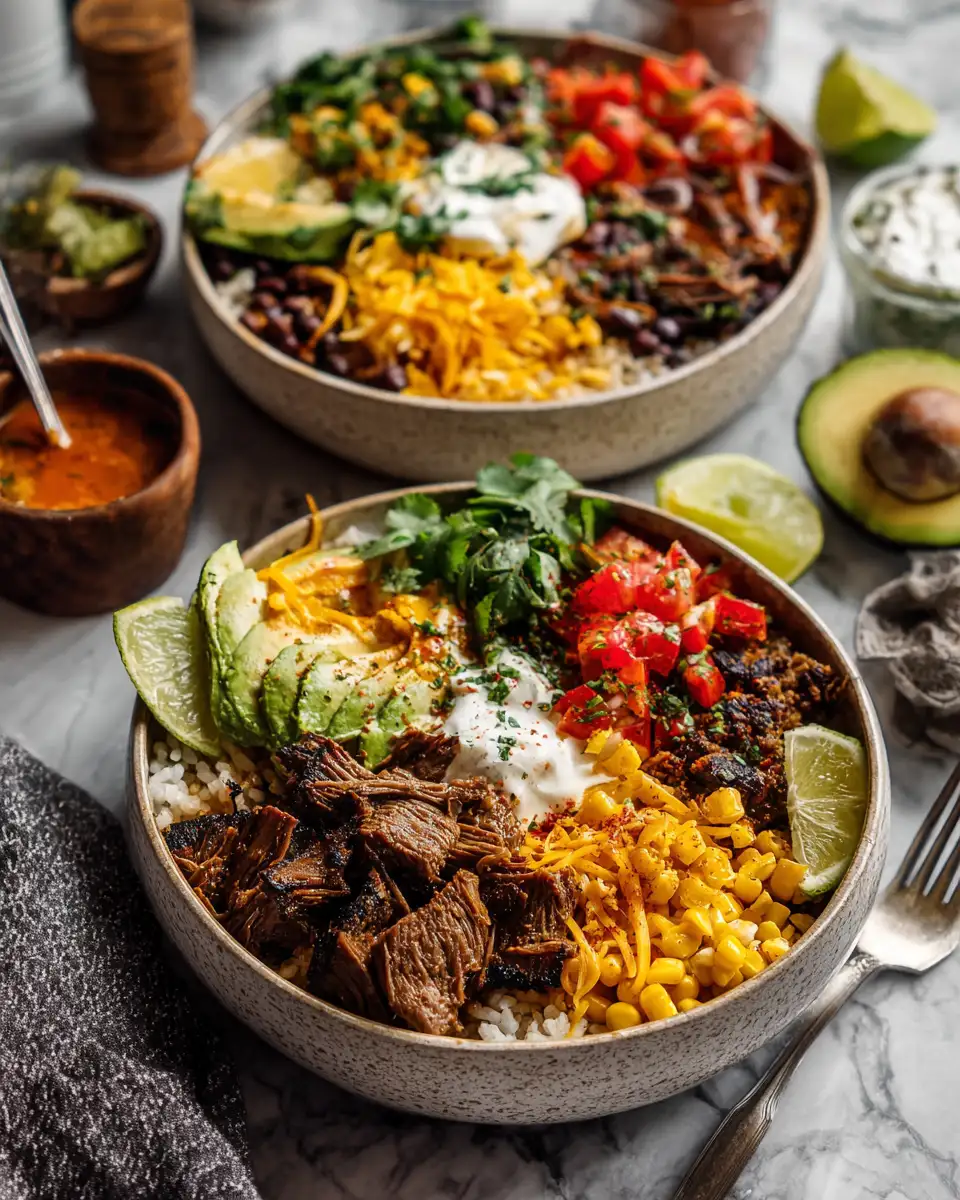
There’s something truly comforting about a bowl piled high with tender, flavorful meat, fresh toppings, and just the right amount of spice. That’s exactly what you get with these Birria Beef Taco Bowls—my take on a dish that’s become a personal favorite over the years. I remember the first time I tasted birria at a small roadside stand during a trip to Mexico. The rich, slow-cooked beef, infused with spices and served with warm tortillas, instantly stole my heart. Inspired by those authentic flavors and my grandma’s loving kitchen, I set out to create a version that’s perfect for a cozy weeknight dinner or a casual gathering. So, gather your ingredients, and let’s make a bowl of comfort that’s bursting with flavor and nostalgia.
Why You’ll Love This Birria Beef Taco Bowls
If you’re like me, food is all about connection—whether that’s sharing a meal with loved ones or recreating a taste memory from a trip or family recipe. These Birria Beef Taco Bowls are a celebration of both. They’re incredibly easy to put together, yet they taste like something you’ve been simmering all day. The beef is slow-cooked until it’s melt-in-your-mouth tender, soaked in a rich, smoky broth that’s perfect for spooning over rice or draping over tortillas. Plus, the toppings—fresh cilantro, diced onions, a squeeze of lime—add brightness that balances the savory richness. I love how versatile they are: you can make them a little spicy or keep them mild, add your favorite hot sauce, or even toss in some roasted vegetables. It’s comfort food with a personal touch, inspired by my grandma’s kitchen and my desire to share that warmth with you.
Ingredients You’ll Need for This Birria Beef Taco Bowls
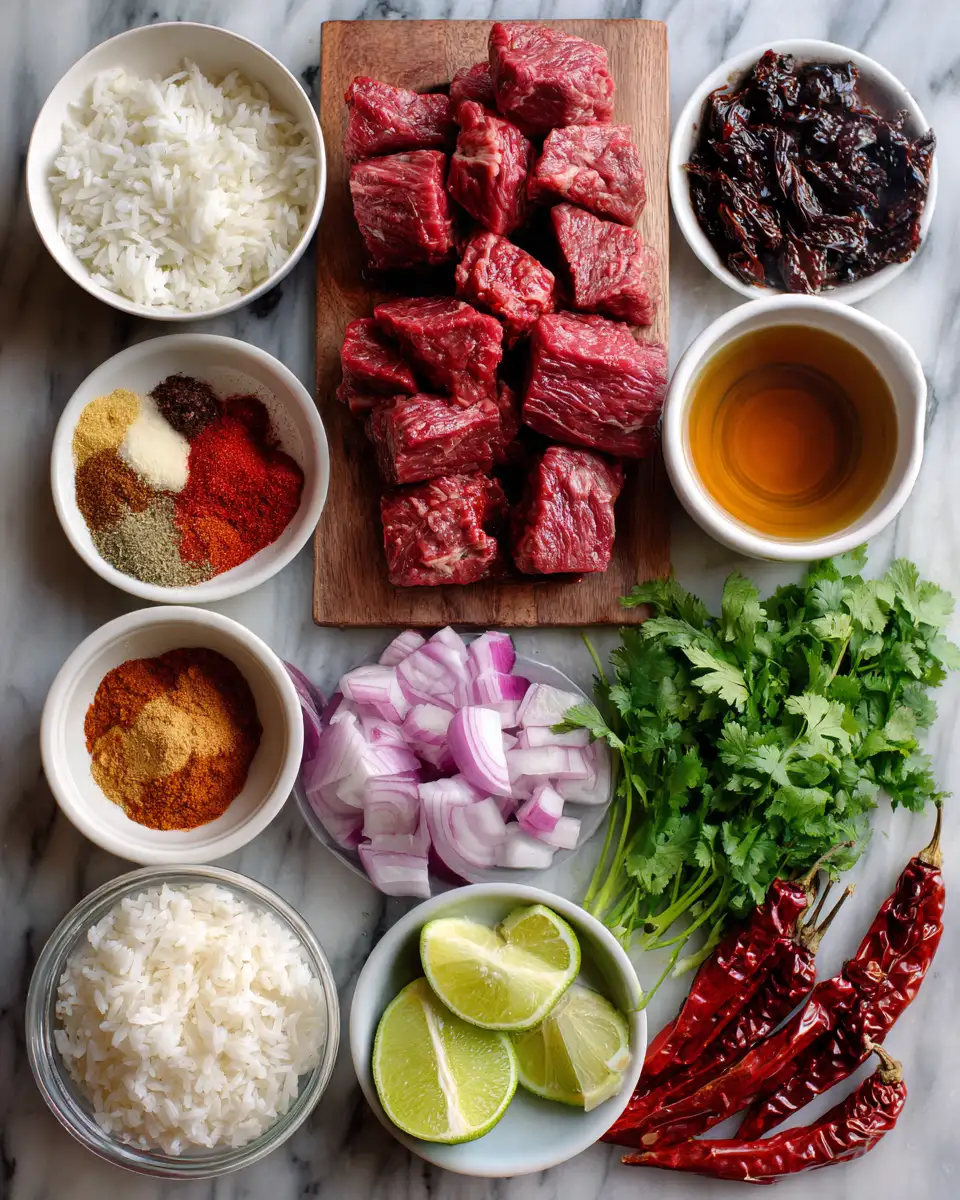
My approach to cooking is all about using fresh, quality ingredients that speak for themselves. For these taco bowls, I keep it simple but flavorful. Here’s what you’ll need:
- 3 pounds beef chuck roast, cut into large chunks (substitute with beef brisket or stew meat if preferred)
- 4 dried guajillo chilies (or substitute with dried ancho chilies if unavailable)
- 2 dried chipotle chilies (optional, for extra smoky heat)
- 1 large onion, chopped
- 4 cloves garlic, minced
- 1 teaspoon cumin
- 1 teaspoon dried oregano
- 1/2 teaspoon black pepper
- 1 teaspoon smoked paprika (adds nice smoky flavor)
- 2 bay leaves
- 4 cups beef broth
- 2 tablespoons apple cider vinegar (helps tenderize and adds tang)
- Salt to taste
- Olive oil for searing
- Cooked rice or cauliflower rice (for serving)
- Fresh cilantro, chopped (for garnish)
- Diced red onion (for garnish)
- Fresh lime wedges (for serving)
- Warm corn or flour tortillas (for serving)
Optional substitutions:
- Use chicken or pork if beef isn’t your thing
- Swap dried chilies for canned chipotle peppers in adobo for convenience
- Replace rice with quinoa or greens for a lighter option
Remember, my grandma always said, “Use what you have, and love what you cook.” Feel free to adapt the spices and toppings to suit your taste buds or what’s in your pantry! Learn more: Ultimate Comfort Food Loaded Baked Potato Soup Recipe
Nutrition Facts
- Calories: Approximately 480 per serving
- Protein: 35g
- Fat: 22g
- Carbohydrates: 35g
- Fiber: 4g
- Sugar: 5g
- Sodium: 600mg
This nutrition estimate is based on four hearty servings, making it a satisfying meal that feeds both body and soul. I’ve always believed that good food isn’t just about calories but about nourishment and comfort, especially when you’ve put love into every step.
PrintUltimate Birria Beef Taco Bowls Recipe for Flavorful Comfort Food

Learn how to make delicious Birria Beef Taco Bowls. Easy recipe with step-by-step instructions.
- Prep Time: 15 minutes
- Cook Time: 30 minutes
- Total Time: 45 minutes
- Yield: 4 servings
- Category: Main Dish
- Method: Cooking
- Cuisine: International
Ingredients
My approach to cooking is all about using fresh, quality ingredients that speak for themselves. For these taco bowls, I keep it simple but flavorful. Here’s what you’ll need:
- 3 pounds beef chuck roast, cut into large chunks (substitute with beef brisket or stew meat if preferred)
- 4 dried guajillo chilies (or substitute with dried ancho chilies if unavailable)
- 2 dried chipotle chilies (optional, for extra smoky heat)
- 1 large onion, chopped
- 4 cloves garlic, minced
- 1 teaspoon cumin
- 1 teaspoon dried oregano
- 1/2 teaspoon black pepper
- 1 teaspoon smoked paprika (adds nice smoky flavor)
- 2 bay leaves
- 4 cups beef broth
- 2 tablespoons apple cider vinegar (helps tenderize and adds tang)
- Salt to taste
- Olive oil for searing
- Cooked rice or cauliflower rice (for serving)
- Fresh cilantro, chopped (for garnish)
- Diced red onion (for garnish)
- Fresh lime wedges (for serving)
- Warm corn or flour tortillas (for serving)
Optional substitutions:
- Use chicken or pork if beef isn’t your thing
- Swap dried chilies for canned chipotle peppers in adobo for convenience
- Replace rice with quinoa or greens for a lighter option
Remember, my grandma always said, “Use what you have, and love what you cook.” Feel free to adapt the spices and toppings to suit your taste buds or what’s in your pantry!
Instructions
- Start by preparing your dried chilies. Remove stems and seeds, then soak them in hot water for about 15 minutes until they’re soft. This helps mellow their flavor and makes blending easier. As a kid, I remember helping my grandma rehydrate chilies; I loved the vibrant colors and the aroma that filled her kitchen.
- While the chilies soak, season the beef chunks with salt and pepper. Heat a tablespoon of olive oil in a large Dutch oven or heavy-bottomed pot over medium-high heat. Sear the beef in batches until browned on all sides, about 5-7 minutes per batch. This step builds flavor—trust me, it’s worth the extra few minutes.
- Remove the beef and set aside. In the same pot, add chopped onion and cook until translucent, about 3-4 minutes. Add minced garlic, cumin, oregano, smoked paprika, and bay leaves; cook for another minute until fragrant. My grandma always said, “Build layers of flavor,” and I find it’s true—each step adds depth to the final dish.
- Drain the soaked chilies and transfer them to a blender. Add the sautéed onions and garlic, along with a cup of beef broth. Blend until smooth. If the mixture is too thick, add a little more broth or water to help it puree smoothly.
- Pour the chili sauce back into the pot with the beef. Add the remaining beef broth and apple cider vinegar. Stir to combine and bring to a gentle simmer. Return the beef to the pot, cover, and let it cook on low heat for about 2.5 to 3 hours, or until the meat is fall-apart tender. I love checking on it periodically, smelling those rich aromas that remind me of my grandma’s kitchen on a Sunday afternoon.
- Once the beef is tender, remove it from the sauce and shred it using two forks. Return the shredded beef to the pot, stirring to coat with the sauce. Taste and adjust salt or spice as needed. This is the magic moment—when all those flavors meld together.
- Prepare your rice or greens for serving. Warm your tortillas separately—nothing beats the aroma of fresh tortillas just off the skillet. To serve, ladle the beef into bowls over rice or greens, then top with chopped cilantro, diced onions, and a squeeze of lime. Serve with warm tortillas on the side, and enjoy the comforting flavors of your homemade birria taco bowls.
Steps to Create Your Birria Beef Taco Bowls
- Start by preparing your dried chilies. Remove stems and seeds, then soak them in hot water for about 15 minutes until they’re soft. This helps mellow their flavor and makes blending easier. As a kid, I remember helping my grandma rehydrate chilies; I loved the vibrant colors and the aroma that filled her kitchen.
- While the chilies soak, season the beef chunks with salt and pepper. Heat a tablespoon of olive oil in a large Dutch oven or heavy-bottomed pot over medium-high heat. Sear the beef in batches until browned on all sides, about 5-7 minutes per batch. This step builds flavor—trust me, it’s worth the extra few minutes.
- Remove the beef and set aside. In the same pot, add chopped onion and cook until translucent, about 3-4 minutes. Add minced garlic, cumin, oregano, smoked paprika, and bay leaves; cook for another minute until fragrant. My grandma always said, “Build layers of flavor,” and I find it’s true—each step adds depth to the final dish.
- Drain the soaked chilies and transfer them to a blender. Add the sautéed onions and garlic, along with a cup of beef broth. Blend until smooth. If the mixture is too thick, add a little more broth or water to help it puree smoothly.
- Pour the chili sauce back into the pot with the beef. Add the remaining beef broth and apple cider vinegar. Stir to combine and bring to a gentle simmer. Return the beef to the pot, cover, and let it cook on low heat for about 2.5 to 3 hours, or until the meat is fall-apart tender. I love checking on it periodically, smelling those rich aromas that remind me of my grandma’s kitchen on a Sunday afternoon.
- Once the beef is tender, remove it from the sauce and shred it using two forks. Return the shredded beef to the pot, stirring to coat with the sauce. Taste and adjust salt or spice as needed. This is the magic moment—when all those flavors meld together.
- Prepare your rice or greens for serving. Warm your tortillas separately—nothing beats the aroma of fresh tortillas just off the skillet. To serve, ladle the beef into bowls over rice or greens, then top with chopped cilantro, diced onions, and a squeeze of lime. Serve with warm tortillas on the side, and enjoy the comforting flavors of your homemade birria taco bowls.
Tips for Making the Best Birria Beef Taco Bowls
- Use good-quality dried chilies. They are the foundation of authentic flavor. If you’re unsure about heat levels, start with less and add more later.
- Don’t rush the slow-cooking process. It’s what makes the beef tender and the flavors deep. I usually set my timer for 2.5 hours, but I often let it go a little longer if I have the time.
- If you prefer a thicker sauce, uncover the pot during the last 30 minutes of cooking to allow some liquid to evaporate. Or, stir in a teaspoon of cornstarch mixed with water to thicken it up quickly.
- Save some of the cooking broth to spoon over the bowls just before serving—it’s like a rich, spicy gravy that enhances every bite.
- For a smoky flavor, lightly char your tortillas or toast your spices before blending. It’s a small step that adds big flavor.
- Make ahead! The flavors actually deepen overnight, so if you have time, prepare the dish a day in advance. Reheat gently on the stove, adding a splash of broth if needed.
Serving Suggestions and Pairings
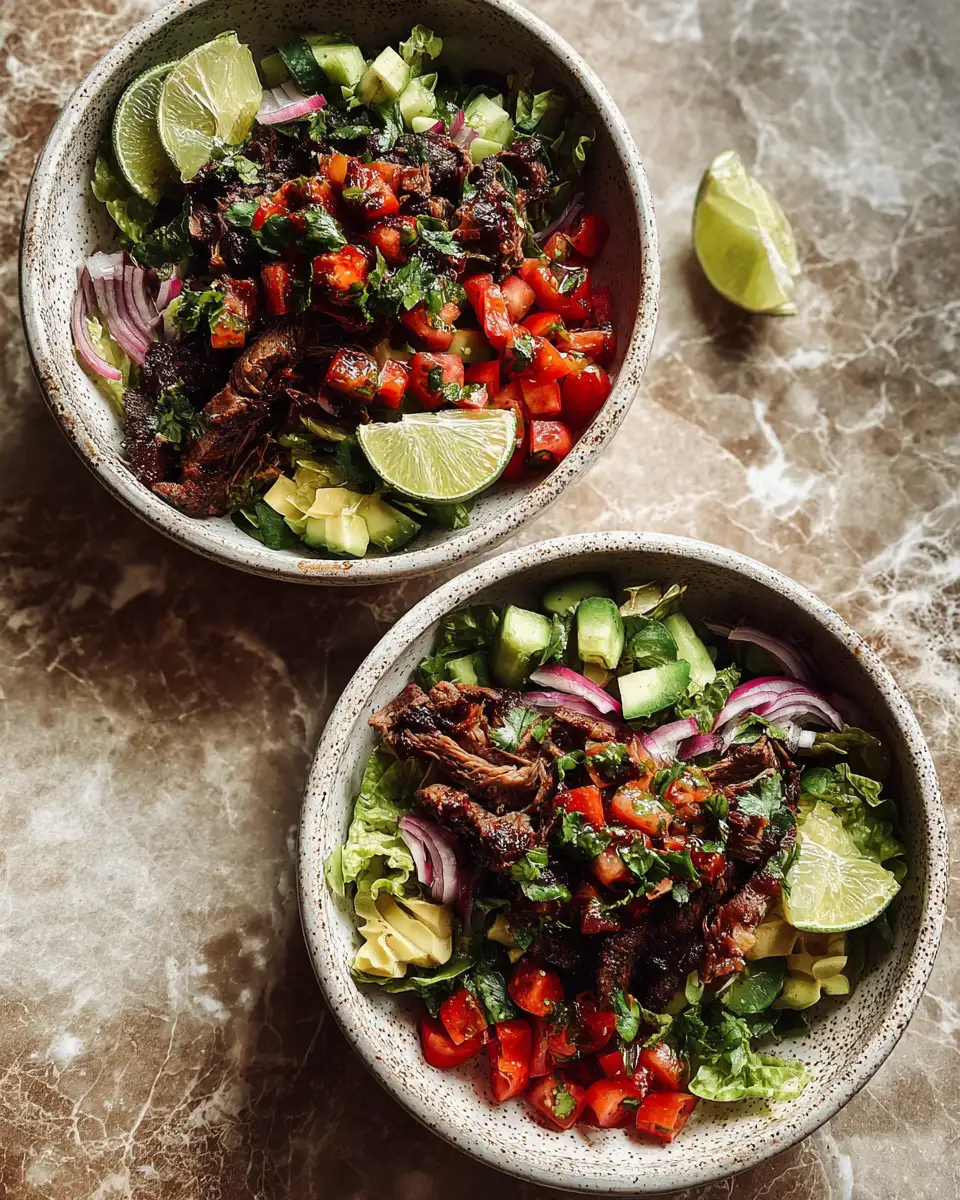
This dish is all about versatility. I love serving my birria beef taco bowls with a side of charred corn salad or simple black beans. For a fresh contrast, a crisp cabbage slaw dressed with lime and a touch of honey is perfect. My grandma always said, “Balance your flavors,” and I find that bright, crunchy toppings elevate this hearty dish beautifully.
For drinks, I recommend cold Mexican sodas, sparkling water with lime, or a light cerveza. If you prefer non-alcoholic options, a chilled hibiscus tea or homemade limeade pairs wonderfully.
And don’t forget the extras! A dollop of sour cream or a sprinkle of crumbled queso fresco can add creaminess, while hot sauce brings an extra kick for those who like it spicy. I’ve learned that sharing these bowls with friends or family makes the flavors even more special—just like those Sunday dinners with my grandma.
Storage and Reheating Tips
Leftovers are a gift—these flavors only get better with time. Store any remaining birria beef and broth in airtight containers in the refrigerator for up to 3 days. To reheat, gently warm in a saucepan over low heat, adding a splash of broth or water to keep it moist. I’ve also frozen portions for up to 2 months—just thaw overnight in the fridge and reheat thoroughly. The key is gentle warming to preserve that tender texture I love so much.
Frequently Asked Questions
What are the main ingredients for Birria Beef Taco Bowls?
The main ingredients for Birria Beef Taco Bowls include the items listed in our ingredients section above. Each ingredient plays a crucial role in achieving the perfect flavor and texture.
How long does it take to make Birria Beef Taco Bowls?
The total time to make Birria Beef Taco Bowls includes both preparation and cooking time. Check the recipe card above for exact timing details.
Can I make Birria Beef Taco Bowls ahead of time?
Yes, Birria Beef Taco Bowls can often be prepared in advance. Store it properly in an airtight container in the refrigerator and consume within the recommended timeframe.
What can I serve with Birria Beef Taco Bowls?
Birria Beef Taco Bowls pairs well with various sides and accompaniments. Consider the serving suggestions mentioned in the recipe for the best dining experience.
Is Birria Beef Taco Bowls suitable for special diets?
Depending on the ingredients used, Birria Beef Taco Bowls may be adapted for various dietary needs. Check the ingredients list and consider substitutions as needed for your dietary requirements.
Final Thoughts
Making these Birria Beef Taco Bowls feels like a culinary hug—a way to bring a little piece of my grandma’s kitchen into your home. The process might take a few hours, but the reward is so worth it. Every bite is a reminder that good food is about patience, love, and a little bit of spice. Whether you’re cooking for family, friends, or just yourself, I promise these bowls will become a new favorite in your rotation. So gather your ingredients, channel some of that grandma magic, and enjoy every delicious, comforting spoonful. Happy cooking!