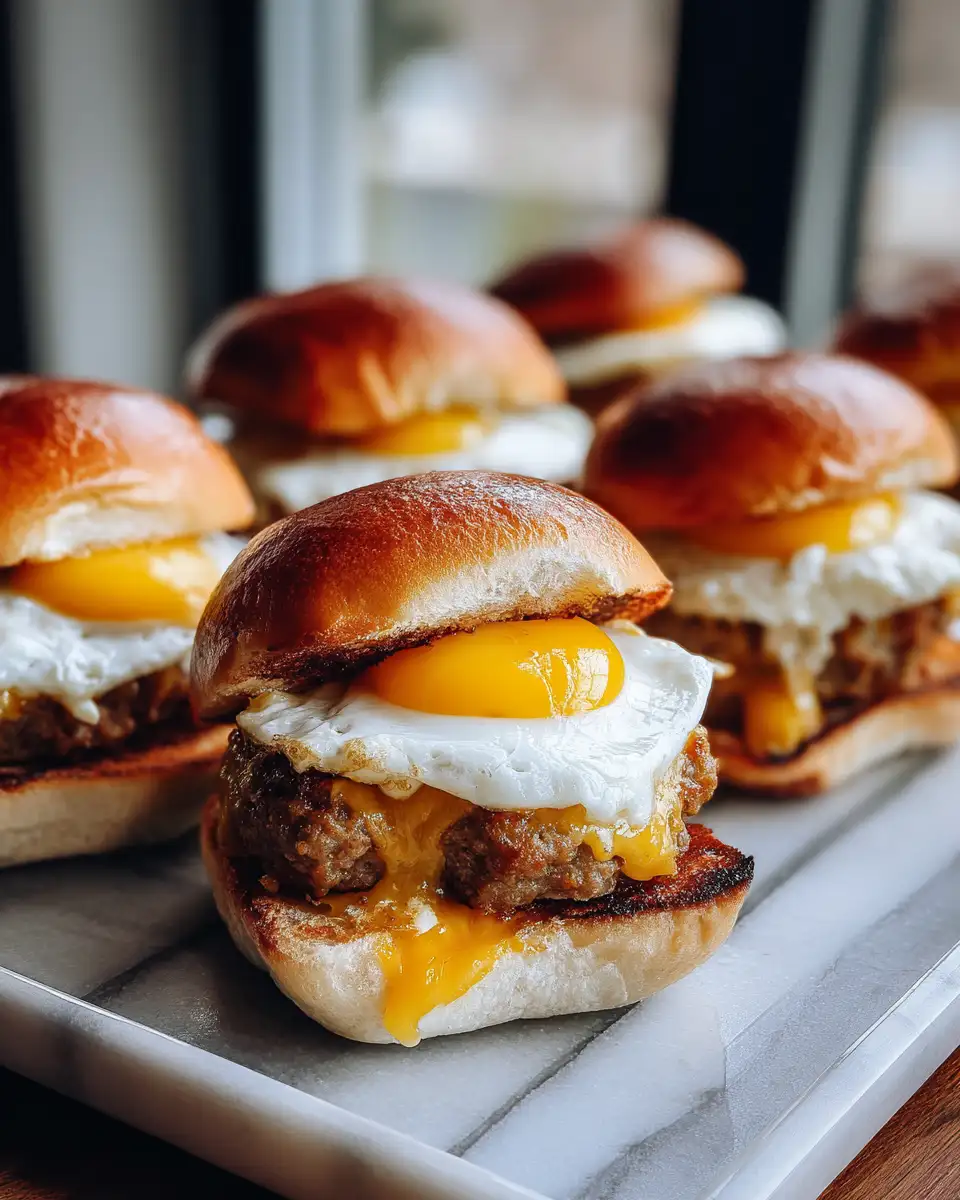
There’s something truly comforting about a warm, savory breakfast that you can prepare ahead of time and enjoy without fuss. That’s exactly what Cheesy Sausage and Egg Breakfast Sliders are all about—little bites of morning magic that bring a smile to my face every time I make them. As someone who grew up in my grandma’s kitchen, I’ve always believed that good food is about love, simplicity, and the joy of sharing. These sliders remind me of those cozy weekend mornings, where family gathered around, and everything was made with care. Whether you’re feeding a crowd or just want a satisfying breakfast to start your day, these sliders are a hit—and I can’t wait to share my tips and stories with you.
Why You’ll Love This Cheesy Sausage and Egg Breakfast Sliders
Ever since I first tasted something similar at a brunch my neighbor brought over on a lazy Sunday, I was hooked. There’s a nostalgic charm to these sliders—they’re hearty, cheesy, and packed with flavor, but also incredibly easy to make. I love how versatile they are: you can swap out the sausage for turkey or vegetarian options if you prefer, or add some fresh herbs for a pop of brightness. Plus, they’re perfect for making ahead, which means no last-minute fuss on busy mornings. I remember my grandma’s smile when I brought her a plate of these; she said they tasted like a warm hug. That’s exactly the kind of comfort I want to share with you through this recipe.
Ingredients You’ll Need for This Cheesy Sausage and Egg Breakfast Sliders
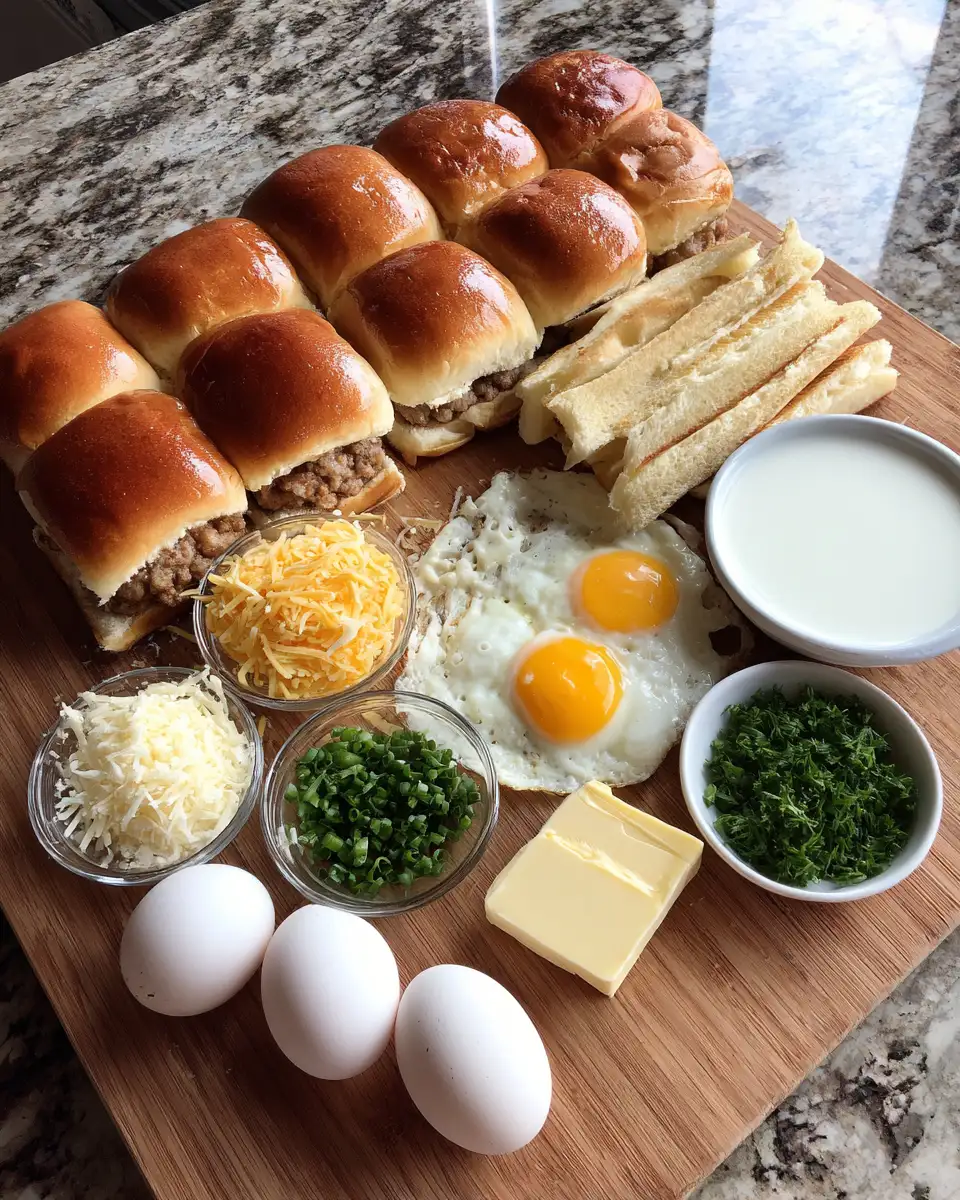
When I first started experimenting with these sliders, I kept it simple—using ingredients I always have in my pantry and fridge. Here’s what you’ll need:
- 1 pound breakfast sausage (pork or turkey, your choice; if you prefer veggie, try plant-based sausage)
- 6 large eggs
- 1/2 cup milk (whole or 2% for creaminess; almond milk works as a dairy-free alternative)
- 1 cup shredded cheddar cheese (feel free to mix in Monterey Jack or mozzarella for variation)
- 12 slider buns or mini sandwich rolls (I like brioche for extra richness, but potato rolls work well too)
- 2 tablespoons butter, melted
- Salt and freshly ground black pepper, to taste
- Optional: chopped chives or parsley for garnish
For a little extra flavor, I sometimes add a dash of hot sauce or a sprinkle of garlic powder—because a bit of spice never hurts. I remember the first time I made these for a brunch with friends; I threw in some sautéed bell peppers, and it was a game-changer. Feel free to customize based on your taste and what you have on hand.
Nutrition Facts
- Calories: Approximately 340 per slider
- Protein: 18g
- Fat: 22g
- Carbohydrates: 25g
- Fiber: 1g
- Sugar: 3g
- Sodium: 600mg
These numbers are approximate, of course, but they give you a good idea of the hearty, satisfying nature of these sliders. I’ve always believed that food should nourish both body and soul, and this recipe hits that sweet spot—rich enough to satisfy, but balanced with plenty of protein and flavor.
PrintIrresistible Cheesy Sausage and Egg Breakfast Sliders to Start Your Day

Learn how to make delicious Cheesy Sausage and Egg Breakfast Sliders. Easy recipe with step-by-step instructions.
- Prep Time: 15 minutes
- Cook Time: 30 minutes
- Total Time: 45 minutes
- Yield: 4 servings
- Category: Main Dish
- Method: Cooking
- Cuisine: International
Ingredients
When I first started experimenting with these sliders, I kept it simple—using ingredients I always have in my pantry and fridge. Here’s what you’ll need:
- 1 pound breakfast sausage (pork or turkey, your choice; if you prefer veggie, try plant-based sausage)
- 6 large eggs
- 1/2 cup milk (whole or 2% for creaminess; almond milk works as a dairy-free alternative)
- 1 cup shredded cheddar cheese (feel free to mix in Monterey Jack or mozzarella for variation)
- 12 slider buns or mini sandwich rolls (I like brioche for extra richness, but potato rolls work well too)
- 2 tablespoons butter, melted
- Salt and freshly ground black pepper, to taste
- Optional: chopped chives or parsley for garnish
For a little extra flavor, I sometimes add a dash of hot sauce or a sprinkle of garlic powder—because a bit of spice never hurts. I remember the first time I made these for a brunch with friends; I threw in some sautéed bell peppers, and it was a game-changer. Feel free to customize based on your taste and what you have on hand.
Instructions
- Preheat your oven to 350°F. Line a baking dish with parchment paper or lightly grease it to prevent sticking.
- In a large skillet over medium heat, cook the sausage until browned and cooked through, breaking it apart with a spoon as it cooks. About 7-8 minutes. Remove from heat and set aside.
- While the sausage cools slightly, crack the eggs into a mixing bowl. Add milk, salt, and pepper, then whisk until well combined. I like to add a splash of hot sauce here for a little kick—just a personal touch from my own brunch experiments.
- Pour the egg mixture into a greased or parchment-lined baking dish. Bake in the preheated oven for about 15-20 minutes, or until the eggs are set and slightly puffed. I often check at the 15-minute mark and give the eggs a gentle shake—if they jiggle slightly in the center, they need a bit more time.
- Once the eggs are baked, let them cool for a few minutes, then chop into small, even squares or crumble them gently with a fork.
- Slice the slider buns in half horizontally. Spread the bottom halves evenly with a little melted butter—this adds flavor and keeps the rolls moist. Place a few spoonfuls of sausage on each bottom bun, followed by a generous handful of scrambled eggs.
- Sprinkle shredded cheese over the eggs. Then, cap with the top bun. If you’re making ahead, you can now wrap the assembled sliders in foil and refrigerate for up to a day.
- Before baking or serving, brush the tops with a little melted butter for a golden finish. If baking from cold, pop them into a 350°F oven for about 10 minutes or until heated through and cheese is melted.
When I first made these for my family, I remember how the kitchen filled with that irresistible aroma—sizzling sausage, melting cheese, warm bread. It’s one of those moments where you realize that food truly brings people together. Trust me, once you get the hang of assembling these sliders, they’ll become a go-to for breakfast gatherings or even weekend brunches.
Steps to Create Your Cheesy Sausage and Egg Breakfast Sliders
- Preheat your oven to 350°F. Line a baking dish with parchment paper or lightly grease it to prevent sticking.
- In a large skillet over medium heat, cook the sausage until browned and cooked through, breaking it apart with a spoon as it cooks. About 7-8 minutes. Remove from heat and set aside.
- While the sausage cools slightly, crack the eggs into a mixing bowl. Add milk, salt, and pepper, then whisk until well combined. I like to add a splash of hot sauce here for a little kick—just a personal touch from my own brunch experiments.
- Pour the egg mixture into a greased or parchment-lined baking dish. Bake in the preheated oven for about 15-20 minutes, or until the eggs are set and slightly puffed. I often check at the 15-minute mark and give the eggs a gentle shake—if they jiggle slightly in the center, they need a bit more time.
- Once the eggs are baked, let them cool for a few minutes, then chop into small, even squares or crumble them gently with a fork.
- Slice the slider buns in half horizontally. Spread the bottom halves evenly with a little melted butter—this adds flavor and keeps the rolls moist. Place a few spoonfuls of sausage on each bottom bun, followed by a generous handful of scrambled eggs.
- Sprinkle shredded cheese over the eggs. Then, cap with the top bun. If you’re making ahead, you can now wrap the assembled sliders in foil and refrigerate for up to a day.
- Before baking or serving, brush the tops with a little melted butter for a golden finish. If baking from cold, pop them into a 350°F oven for about 10 minutes or until heated through and cheese is melted.
When I first made these for my family, I remember how the kitchen filled with that irresistible aroma—sizzling sausage, melting cheese, warm bread. It’s one of those moments where you realize that food truly brings people together. Trust me, once you get the hang of assembling these sliders, they’ll become a go-to for breakfast gatherings or even weekend brunches. Learn more: Breakfast Bliss: Mini Sausage and Egg Waffle Tacos Delight
Tips for Making the Best Cheesy Sausage and Egg Breakfast Sliders
- Use fresh, high-quality sausage. I’ve found that good sausage makes all the difference—especially if you’re using flavorful varieties like spicy Italian or maple-flavored. It elevates the whole dish.
- Don’t skip the cheese—cheddar adds that perfect melty, savory note. But feel free to mix in other cheeses for variety, such as Monterey Jack or Pepper Jack for a bit of heat.
- If you want a more substantial slider, add sautéed vegetables like bell peppers, onions, or even spinach. I love tossing in some sautéed mushrooms, which remind me of my grandma’s mushroom quiche.
- Make the eggs ahead of time if you’re pressed for time in the morning. Just bake, cool, crumble, and store in an airtight container. Reheat in the microwave or oven before assembling.
- For even more flavor, brush the tops of the buns with garlic butter before baking. The aroma alone will make everyone’s morning.
- For a crispy top, bake the assembled sliders uncovered for the last 5 minutes—this gives a beautifully golden crust that adds texture.
Serving Suggestions and Pairings

These sliders are incredibly versatile, and I love serving them with a variety of sides. A fresh fruit salad with berries and melon balances their richness perfectly. I also enjoy a simple green salad with a tangy vinaigrette or crispy hash browns for added crunch.
If you’re hosting a brunch, consider pairing these sliders with a mimosa or fresh orange juice. For a cozy weekend breakfast, a steaming mug of coffee or a cinnamon-spiced latte completes the experience. I remember one chilly morning, serving these sliders alongside homemade cinnamon rolls—the warmth of the food and the aroma made the house feel extra inviting.
For kids and adults alike, these sliders are a hit. You can even set up a mini breakfast station where everyone gets to customize their own with toppings like sliced avocado, hot sauce, or chopped herbs. It’s a fun way to make breakfast interactive and personal.
Storage and Reheating Tips
If you have leftovers—or want to prepare these ahead for busy mornings—store the assembled sliders in an airtight container in the fridge for up to 24 hours. To reheat, I recommend wrapping each slider in foil and warming them in a 350°F oven for about 10 minutes. This keeps the bread soft and the cheese melty. Alternatively, a quick microwave blast for 30-40 seconds works in a pinch, but the oven gives a better texture and flavor.
For longer storage, you can freeze the assembled sliders after baking. Wrap tightly in foil or plastic wrap, then store in a freezer bag for up to a month. To reheat, thaw overnight in the fridge and then warm in the oven or microwave.
Over the years, I’ve learned that these sliders taste just as good reheated, and they’re a real lifesaver on busy mornings or when unexpected guests arrive. It’s a little trick I picked up from my grandma’s habit of always having something ready to serve—because a little preparation goes a long way in creating comfort and joy.
Frequently Asked Questions
What are the main ingredients for Cheesy Sausage and Egg Breakfast Sliders?
The main ingredients for Cheesy Sausage and Egg Breakfast Sliders include the items listed in our ingredients section above. Each ingredient plays a crucial role in achieving the perfect flavor and texture.
How long does it take to make Cheesy Sausage and Egg Breakfast Sliders?
The total time to make Cheesy Sausage and Egg Breakfast Sliders includes both preparation and cooking time. Check the recipe card above for exact timing details.
Can I make Cheesy Sausage and Egg Breakfast Sliders ahead of time?
Yes, Cheesy Sausage and Egg Breakfast Sliders can often be prepared in advance. Store it properly in an airtight container in the refrigerator and consume within the recommended timeframe.
What can I serve with Cheesy Sausage and Egg Breakfast Sliders?
Cheesy Sausage and Egg Breakfast Sliders pairs well with various sides and accompaniments. Consider the serving suggestions mentioned in the recipe for the best dining experience.
Is Cheesy Sausage and Egg Breakfast Sliders suitable for special diets?
Depending on the ingredients used, Cheesy Sausage and Egg Breakfast Sliders may be adapted for various dietary needs. Check the ingredients list and consider substitutions as needed for your dietary requirements.
Final Thoughts
In my kitchen, breakfast is more than just a meal—it’s a chance to start the day with love, warmth, and a little bit of magic. Cheesy Sausage and Egg Breakfast Sliders embody that spirit perfectly. They’re simple to make, endlessly customizable, and absolutely delicious. I’ve shared many mornings with my family and friends over these sliders, and I truly believe they have the power to turn an ordinary breakfast into a special occasion.
So, give this recipe a try, and don’t be afraid to add your own personal touch. Whether you’re making them for a weekend brunch, a weekday breakfast, or just because you want to treat yourself, these sliders are sure to become a treasured part of your breakfast repertoire. Remember, good food is made with love—and I hope every bite of these sliders brings a little of that warmth into your home, just like it does in mine.