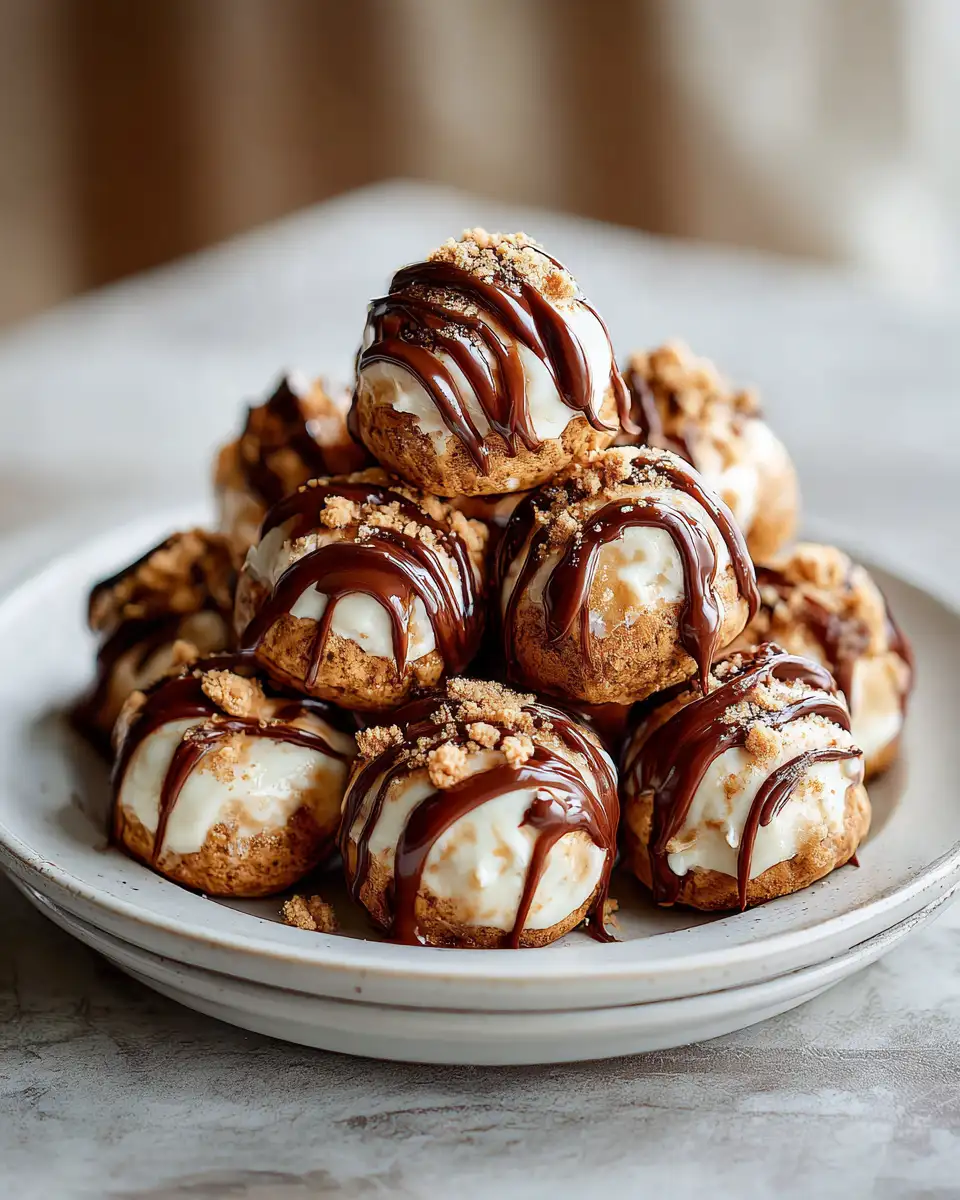
There’s something truly special about bitesized desserts that combine familiar flavors with a touch of elegance. Enter the delightful world of Biscoff Cheesecake Truffle Bites — little morsels that pack a punch of creamy, caramel-spiced goodness. I still remember the first time I made these after a cozy weekend baking with my grandma’s old cookbook. Her kitchen was always filled with the warm aroma of spices and sweet treats, and these bites remind me of those cherished moments. Whether you’re hosting a party or just craving a sweet escape, these truffle bites are a guaranteed hit, and I can’t wait to share the magic with you.
Why You’ll Love This Biscoff Cheesecake Truffle Bites
If you’re someone who loves the comforting taste of Biscoff cookies combined with the smooth richness of cheesecake, then these truffle bites are destined to become your new favorite. They’re incredibly easy to make — I promise, even if you’re new to baking, you’ll find these straightforward and fun. Plus, they’re perfect for sharing, whether at a family gathering or a casual afternoon tea. I especially love how versatile they are; you can customize the coating or add a sprinkle of sea salt for that perfect sweet-salty balance. Every time I pop one into my mouth, I’m transported back to my grandma’s kitchen, where simple ingredients became magic through love and care. That’s what truly makes these bites special.
Ingredients You’ll Need for This Biscoff Cheesecake Truffle Bites

- 1 ½ cups Biscoff cookies (about 20 cookies), crushed into fine crumbs — substitute with graham crackers or digestive biscuits if needed
- 8 oz (about 225g) cream cheese, softened — full-fat for best flavor, but light cream cheese works too
- ½ cup powdered sugar — for a touch of sweetness without overpowering
- 1 teaspoon vanilla extract — enhances the overall flavor
- 1 cup white chocolate chips or melting wafers — for coating, or almond bark for a nutty twist
- Optional: a pinch of sea salt or flaky sea salt for sprinkling on top
- Optional: crushed Biscoff cookies or sprinkles for decorating
Some notes from my experience: I like to use a food processor to crush the cookies finely, but if you don’t have one, you can place them in a zippered bag and crush with a rolling pin. For the cream cheese, I always let it sit at room temperature before mixing — it blends more smoothly and results in a creamier texture. And don’t skip the vanilla; it adds a lovely depth that complements the Biscoff flavor beautifully.
Nutrition Facts
- Calories: Approximately 150 per bite-sized piece
- Protein: 2g
- Fat: 8g
- Carbohydrates: 18g
- Fiber: 1g
- Sugar: 9g
- Sodium: 60mg
These bites are rich but small, so they fit nicely into a balanced treat. When I first made them, I was surprised at how satisfying a few could be, thanks to the creamy cheese and crunchy cookie exterior. Plus, I always remind myself that enjoying sweets in moderation is part of a joyful life — especially when they’re made with love and wholesome ingredients.
PrintIrresistible Biscoff Cheesecake Truffle Bites You Can’t Stop Eating
Learn how to make delicious Biscoff Cheesecake Truffle Bites. Easy recipe with step-by-step instructions.
- Prep Time: 15 minutes
- Cook Time: 30 minutes
- Total Time: 45 minutes
- Yield: 4 servings
- Category: Main Dish
- Method: Cooking
- Cuisine: International
Ingredients
- 1 ½ cups Biscoff cookies (about 20 cookies), crushed into fine crumbs — substitute with graham crackers or digestive biscuits if needed
- 8 oz (about 225g) cream cheese, softened — full-fat for best flavor, but light cream cheese works too
- ½ cup powdered sugar — for a touch of sweetness without overpowering
- 1 teaspoon vanilla extract — enhances the overall flavor
- 1 cup white chocolate chips or melting wafers — for coating, or almond bark for a nutty twist
- Optional: a pinch of sea salt or flaky sea salt for sprinkling on top
- Optional: crushed Biscoff cookies or sprinkles for decorating
Some notes from my experience: I like to use a food processor to crush the cookies finely, but if you don’t have one, you can place them in a zippered bag and crush with a rolling pin. For the cream cheese, I always let it sit at room temperature before mixing — it blends more smoothly and results in a creamier texture. And don’t skip the vanilla; it adds a lovely depth that complements the Biscoff flavor beautifully.
Instructions
- Begin by crushing the Biscoff cookies into fine crumbs. You can do this in a food processor or by placing them in a zippered bag and crushing with a rolling pin. Set aside about 2 tablespoons of crumbs for garnish later.
- In a mixing bowl, combine the crushed cookies, softened cream cheese, powdered sugar, and vanilla extract. Use a spatula or your hands to mix everything thoroughly until the mixture is smooth and cohesive. I find that mixing with clean hands helps achieve the best consistency.
- Once combined, roll the mixture into small, even balls — about 1 inch in diameter. Place these on a baking sheet lined with parchment paper. If the mixture feels too soft to roll, refrigerate it for about 30 minutes to firm up.
- While the mixture chills, melt the white chocolate chips in a microwave-safe bowl in 20-second intervals, stirring after each, until smooth. Be careful not to overheat, as white chocolate can seize or burn.
- Using a fork or a dipping tool, dip each cheesecake ball into the melted white chocolate, ensuring they are fully coated. Gently tap off excess chocolate and place the coated truffles back on the parchment paper.
- Sprinkle the tops with the reserved cookie crumbs or a pinch of sea salt while the coating is still wet for added flavor and texture. I love adding a tiny pinch of flaky sea salt to balance the sweetness — it’s a tip I picked up from my grandma’s kitchen, where a little salt can elevate a dessert to new heights.
- Allow the chocolate coating to set at room temperature or in the refrigerator for about 30 minutes. Once set, you can serve immediately or store for later.
One little tip from my own experience: I find that refrigerating the balls before dipping makes them easier to handle and prevents melting. Plus, I love how the chill makes the flavors meld beautifully. Remember, these bites are forgiving — if one doesn’t look perfect, just nibble it anyway, because love is the real secret ingredient.
Steps to Create Your Biscoff Cheesecake Truffle Bites
- Begin by crushing the Biscoff cookies into fine crumbs. You can do this in a food processor or by placing them in a zippered bag and crushing with a rolling pin. Set aside about 2 tablespoons of crumbs for garnish later.
- In a mixing bowl, combine the crushed cookies, softened cream cheese, powdered sugar, and vanilla extract. Use a spatula or your hands to mix everything thoroughly until the mixture is smooth and cohesive. I find that mixing with clean hands helps achieve the best consistency.
- Once combined, roll the mixture into small, even balls — about 1 inch in diameter. Place these on a baking sheet lined with parchment paper. If the mixture feels too soft to roll, refrigerate it for about 30 minutes to firm up.
- While the mixture chills, melt the white chocolate chips in a microwave-safe bowl in 20-second intervals, stirring after each, until smooth. Be careful not to overheat, as white chocolate can seize or burn.
- Using a fork or a dipping tool, dip each cheesecake ball into the melted white chocolate, ensuring they are fully coated. Gently tap off excess chocolate and place the coated truffles back on the parchment paper.
- Sprinkle the tops with the reserved cookie crumbs or a pinch of sea salt while the coating is still wet for added flavor and texture. I love adding a tiny pinch of flaky sea salt to balance the sweetness — it’s a tip I picked up from my grandma’s kitchen, where a little salt can elevate a dessert to new heights.
- Allow the chocolate coating to set at room temperature or in the refrigerator for about 30 minutes. Once set, you can serve immediately or store for later.
One little tip from my own experience: I find that refrigerating the balls before dipping makes them easier to handle and prevents melting. Plus, I love how the chill makes the flavors meld beautifully. Remember, these bites are forgiving — if one doesn’t look perfect, just nibble it anyway, because love is the real secret ingredient. Learn more: Irresistible Biscoff Caramel Cheesecake Bites You Need to Try
Tips for Making the Best Biscoff Cheesecake Truffle Bites
- Use high-quality white chocolate or melting wafers for a glossy, smooth coating — it makes a big difference in presentation and taste.
- If the mixture feels too sticky to roll, refrigerate it for 30 minutes or until firm enough to handle. Personal tip: I often make the mixture a day ahead; the flavors develop more overnight.
- For a more intense Biscoff flavor, toss some cookie crumbs into the cream cheese mixture before rolling. You can also add a dash of cinnamon or a pinch of nutmeg for extra warmth.
- Don’t overcoat the truffles — a thin layer of chocolate is enough. Too much coating can mask the delicate cookie-cheesecake flavor.
- Experiment with coatings: dark chocolate, milk chocolate, or even a drizzle of caramel for a decadent touch.
- Remember, presentation matters! I like to arrange the bites on a pretty plate, sprinkle with extra crumbs, and even add fresh berries or edible flowers for a charming finish.
Serving Suggestions and Pairings
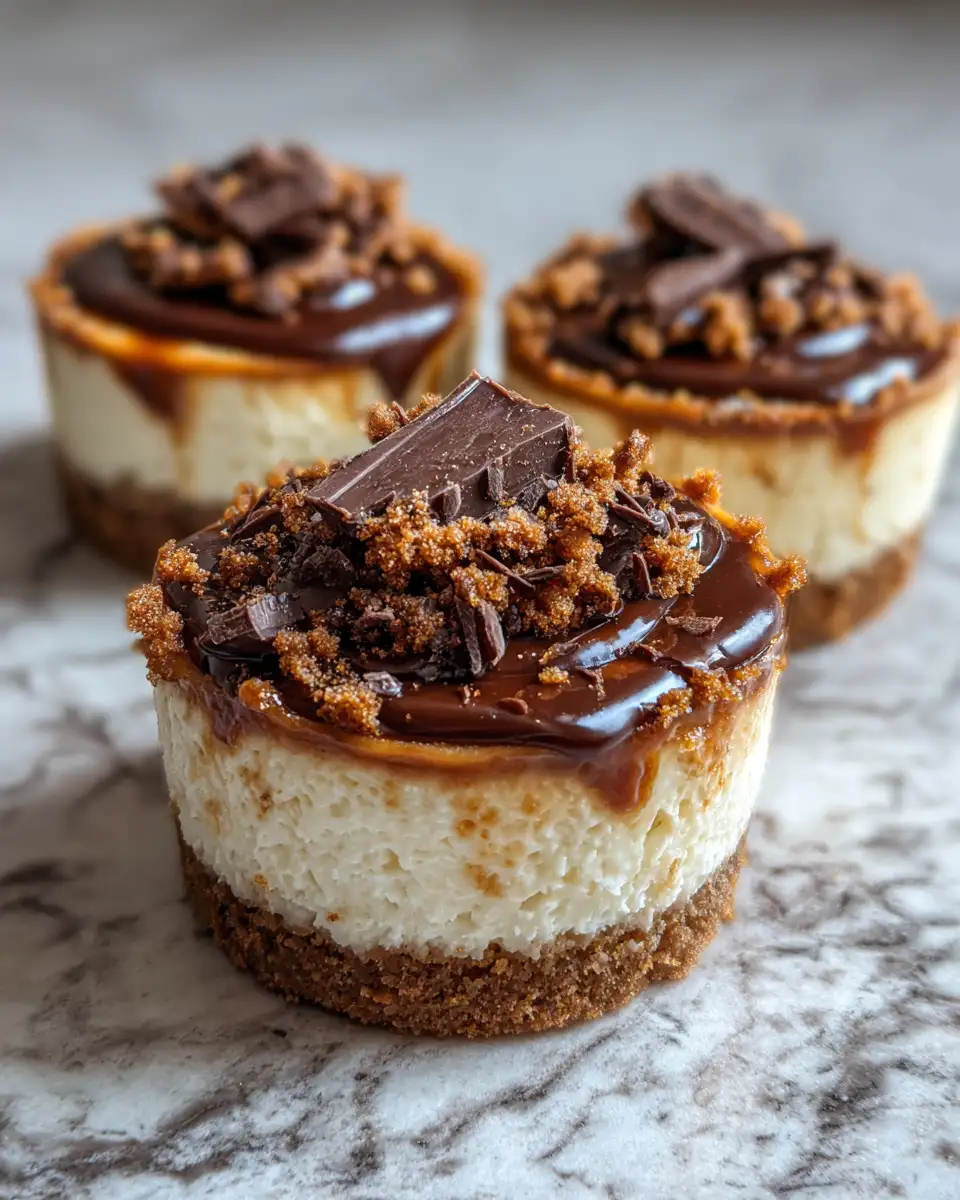
These Biscoff Cheesecake Truffle Bites are versatile enough to serve at almost any occasion. I love pairing them with a cup of freshly brewed coffee or a warm chai latte — the spices and sweetness complement each other beautifully. For a special touch, serve them alongside a glass of dessert wine or a rich port. Their bite-sized nature makes them perfect for a platter at parties, a cozy movie night, or even as a sweet gift in a decorative box.
When I first made these, I shared them with friends during a casual brunch, and they disappeared in minutes. I always keep a few extra in the fridge for when unexpected guests arrive — because nothing beats the warm welcomes of homemade treats that remind you of family and love.
Storage and Reheating Tips
These bites are best stored in an airtight container in the refrigerator. Because they contain cream cheese, refrigeration helps keep them fresh and maintains their texture. I recommend storing them for up to 4 days — but honestly, they’re so delicious, they usually get eaten faster!
If you want to serve them later, simply take them out about 10-15 minutes before serving to allow the chocolate to soften slightly at room temperature. I avoid reheating them because the chocolate coating can become sticky or melt unevenly, but if you want to soften the interior just a tad, a quick moment in the fridge or a gentle room temperature wait works perfectly.
Frequently Asked Questions
What are the main ingredients for Biscoff Cheesecake Truffle Bites?
The main ingredients for Biscoff Cheesecake Truffle Bites include the items listed in our ingredients section above. Each ingredient plays a crucial role in achieving the perfect flavor and texture.
How long does it take to make Biscoff Cheesecake Truffle Bites?
The total time to make Biscoff Cheesecake Truffle Bites includes both preparation and cooking time. Check the recipe card above for exact timing details.
Can I make Biscoff Cheesecake Truffle Bites ahead of time?
Yes, Biscoff Cheesecake Truffle Bites can often be prepared in advance. Store it properly in an airtight container in the refrigerator and consume within the recommended timeframe.
What can I serve with Biscoff Cheesecake Truffle Bites?
Biscoff Cheesecake Truffle Bites pairs well with various sides and accompaniments. Consider the serving suggestions mentioned in the recipe for the best dining experience.
Is Biscoff Cheesecake Truffle Bites suitable for special diets?
Depending on the ingredients used, Biscoff Cheesecake Truffle Bites may be adapted for various dietary needs. Check the ingredients list and consider substitutions as needed for your dietary requirements.
Final Thoughts
Creating these Biscoff Cheesecake Truffle Bites is like bringing a little piece of my grandma’s kitchen into your home — simple ingredients, lots of love, and a sprinkle of joy. They’re a reminder that the best desserts are often those that are fuss-free yet full of flavor. I hope you enjoy making and sharing these as much as I do. Trust me, once you try them, they’ll become a go-to treat for any occasion. Happy baking, and may your kitchen always be filled with warmth and sweet memories!