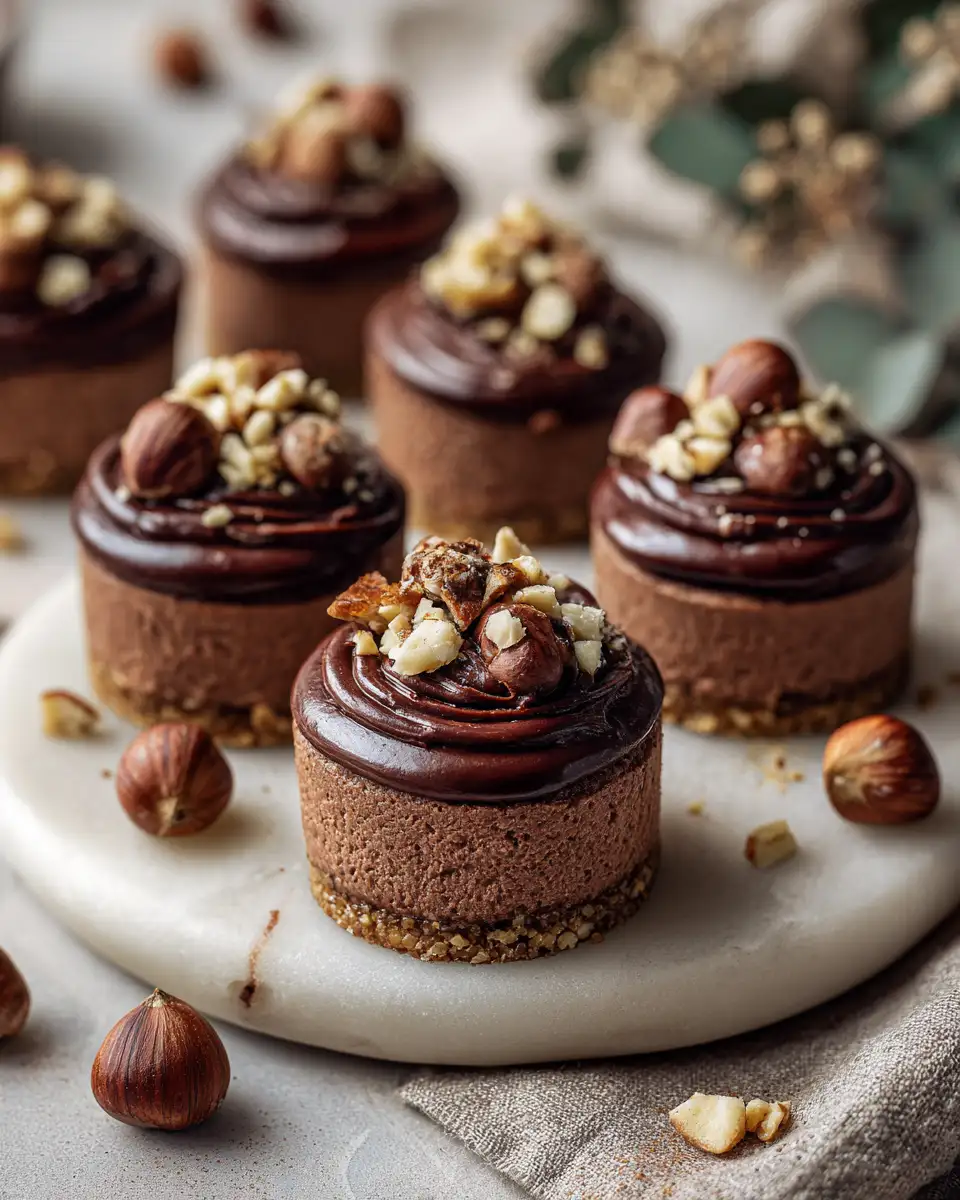
There’s something truly magical about mixing simple ingredients with a little love—something I learned from my grandma’s kitchen, where every cookie, cake, and treat was made with care and a sprinkle of joy. Today, I want to share a recipe that’s both indulgent and easy to make: Nutella Cheesecake Truffle Bites. These little bites are perfect for satisfying sweet cravings without the fuss of a whole cake, and they remind me of those cozy afternoons baking together, where the best moments were shared over a spoonful of Nutella or a handful of graham crackers. Whether you’re hosting a party or just in need of a comforting treat, these truffle bites will bring warmth and smiles to your home.
Why You’ll Love This Nutella Cheesecake Truffle Bites
If you’re anything like me, a good dessert is all about flavor, texture, and a touch of nostalgia. These Nutella Cheesecake Truffle Bites check all those boxes. They’re rich yet not overwhelming, with a creamy cheesecake center infused with the beloved hazelnut chocolate spread. The best part? They’re no-bake, which means you can whip them up quickly, making them perfect for last-minute gatherings or a cozy night in. I love how these bites remind me of the warm, loving atmosphere of my grandma’s kitchen—where the simplest ingredients came together to create something truly special. Plus, they’re incredibly versatile: you can customize the toppings or add a splash of liqueur for an adult twist. From my personal experience, these are always a hit at parties and a comforting treat on quiet evenings.
Ingredients You’ll Need for This Nutella Cheesecake Truffle Bites

- 8 oz (226 g) cream cheese, softened
- 1 cup Nutella hazelnut spread
- 1 1/2 cups graham cracker crumbs (about 10 full sheets)
- 1/2 cup powdered sugar
- 1 teaspoon vanilla extract
- Chopped hazelnuts or chocolate shavings for garnish
- Optional: mini chocolate chips or sprinkles for extra fun
For substitutions, I’ve often used digestive biscuits instead of graham crackers, which work beautifully, or a dash of espresso powder to enhance the chocolate flavor. Growing up, my grandma often added a splash of coffee liqueur to her desserts, and I sometimes do the same here—it adds a lovely depth. Remember, these bites are forgiving, so feel free to get creative with your toppings or flavor tweaks!
Nutrition Facts
- Calories: Approximately 120 per bite (based on 20 bites total)
- Protein: 2g
- Fat: 7g
- Carbohydrates: 14g
- Fiber: 1g
- Sugar: 8g
- Sodium: 30mg
I like to keep these bites small because they’re rich—trust me, a little goes a long way! When I first made these with my kids, we enjoyed them slowly, savoring each one. It’s always a good reminder that treats are about balance and enjoying the moment.
PrintIrresistible Nutella Cheesecake Truffle Bites That Will Melt Your Heart
Learn how to make delicious Nutella Cheesecake Truffle Bites. Easy recipe with step-by-step instructions.
- Prep Time: 15 minutes
- Cook Time: 30 minutes
- Total Time: 45 minutes
- Yield: 4 servings
- Category: Main Dish
- Method: Cooking
- Cuisine: International
Ingredients
- 8 oz (226 g) cream cheese, softened
- 1 cup Nutella hazelnut spread
- 1 1/2 cups graham cracker crumbs (about 10 full sheets)
- 1/2 cup powdered sugar
- 1 teaspoon vanilla extract
- Chopped hazelnuts or chocolate shavings for garnish
- Optional: mini chocolate chips or sprinkles for extra fun
For substitutions, I’ve often used digestive biscuits instead of graham crackers, which work beautifully, or a dash of espresso powder to enhance the chocolate flavor. Growing up, my grandma often added a splash of coffee liqueur to her desserts, and I sometimes do the same here—it adds a lovely depth. Remember, these bites are forgiving, so feel free to get creative with your toppings or flavor tweaks!
Instructions
- Start by preparing your graham cracker crumbs. If you’re using whole crackers, break them into smaller pieces and pulse in a food processor until finely ground. I often do this while my grandma’s old radio plays softly in the background—those are the moments I cherish most.
- In a large mixing bowl, beat the softened cream cheese until smooth and creamy, about 1-2 minutes. I prefer doing this by hand with a sturdy spatula to really feel the texture—kind of like the kinesthetic joy of kneading dough during holiday baking.
- Add the Nutella hazelnut spread, vanilla extract, and powdered sugar to the cream cheese. Mix until well combined and smooth. You want a thick, uniform mixture that holds together when rolled into balls.
- Fold in the graham cracker crumbs, mixing gently until evenly distributed. If the mixture feels too soft, pop it into the fridge for about 15 minutes to firm up—this was a tip I picked up from my grandma’s secret baking tricks.
- Using a teaspoon or small cookie scoop, portion out the mixture and roll into 1-inch balls with clean hands. I like to wear disposable gloves here to keep things tidy and avoid sticking. Place the rolled truffles onto a baking sheet lined with parchment paper.
- Chill the truffles in the refrigerator for at least 30 minutes. This step helps them set and makes rolling in toppings easier. During this time, I often take a moment to relax with a cup of tea or reflect on childhood memories in grandma’s kitchen.
- Once chilled, roll the truffles in chopped hazelnuts, chocolate shavings, or sprinkles. For a more decadent finish, dip them in melted chocolate—just melt some semi-sweet or dark chocolate and coat each truffle using a fork or toothpick. Place them back on the parchment-lined sheet and let the chocolate set at room temperature or in the fridge for about 15 minutes.
- Serve immediately or store in an airtight container. These bites are best enjoyed within 3-4 days for optimal freshness and flavor.
Steps to Create Your Nutella Cheesecake Truffle Bites
- Start by preparing your graham cracker crumbs. If you’re using whole crackers, break them into smaller pieces and pulse in a food processor until finely ground. I often do this while my grandma’s old radio plays softly in the background—those are the moments I cherish most.
- In a large mixing bowl, beat the softened cream cheese until smooth and creamy, about 1-2 minutes. I prefer doing this by hand with a sturdy spatula to really feel the texture—kind of like the kinesthetic joy of kneading dough during holiday baking.
- Add the Nutella hazelnut spread, vanilla extract, and powdered sugar to the cream cheese. Mix until well combined and smooth. You want a thick, uniform mixture that holds together when rolled into balls.
- Fold in the graham cracker crumbs, mixing gently until evenly distributed. If the mixture feels too soft, pop it into the fridge for about 15 minutes to firm up—this was a tip I picked up from my grandma’s secret baking tricks.
- Using a teaspoon or small cookie scoop, portion out the mixture and roll into 1-inch balls with clean hands. I like to wear disposable gloves here to keep things tidy and avoid sticking. Place the rolled truffles onto a baking sheet lined with parchment paper.
- Chill the truffles in the refrigerator for at least 30 minutes. This step helps them set and makes rolling in toppings easier. During this time, I often take a moment to relax with a cup of tea or reflect on childhood memories in grandma’s kitchen.
- Once chilled, roll the truffles in chopped hazelnuts, chocolate shavings, or sprinkles. For a more decadent finish, dip them in melted chocolate—just melt some semi-sweet or dark chocolate and coat each truffle using a fork or toothpick. Place them back on the parchment-lined sheet and let the chocolate set at room temperature or in the fridge for about 15 minutes.
- Serve immediately or store in an airtight container. These bites are best enjoyed within 3-4 days for optimal freshness and flavor.
Tips for Making the Best Nutella Cheesecake Truffle Bites
- Use softened cream cheese for smooth mixing—cold cream cheese can make your mixture lumpy. I always leave mine out at room temperature for about 30 minutes before starting.
- Chill the mixture if it’s too soft to roll. This makes shaping much easier and prevents sticking.
- Customize with toppings you love—crushed cookies, chopped nuts, or even a drizzle of caramel can elevate these bites. I remember adding a drizzle of caramel on top during a holiday party, and they disappeared in minutes!
- If you want a richer flavor, add a splash of coffee liqueur or Baileys to the filling. It’s a little trick I picked up from my grandma’s boozy dessert recipes.
- For a vegan or dairy-free version, substitute cream cheese with coconut cream or vegan cream cheese, and use vegan chocolate for dipping. I’ve experimented with these swaps, and they still turn out delicious.
- Don’t forget to keep everything chilled. I’ve learned that cold hands make rolling easier and prevent melting the chocolate coating.
Serving Suggestions and Pairings
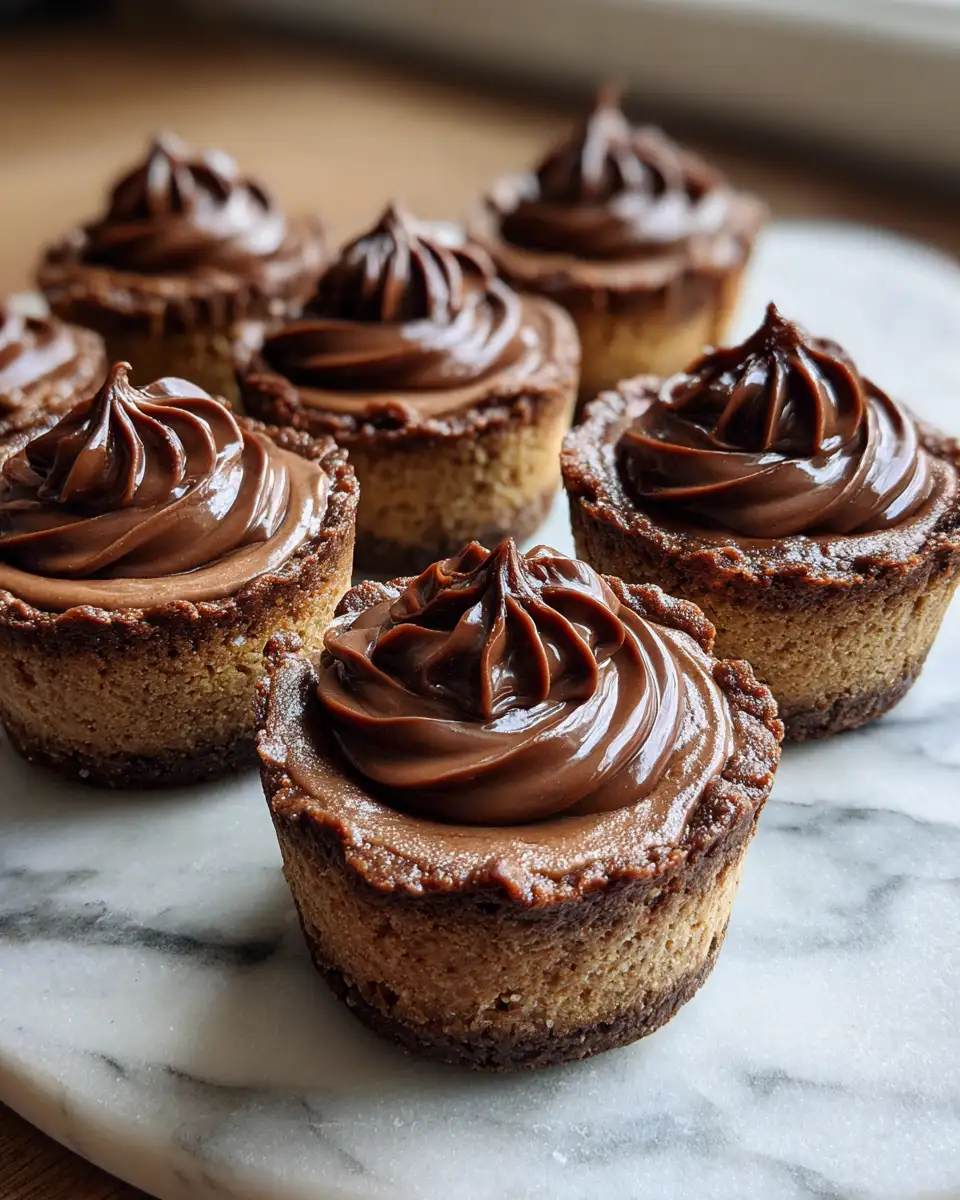
These Nutella Cheesecake Truffle Bites are versatile enough to serve at any occasion. For a cozy family gathering, arrange them on a pretty platter with extra chopped hazelnuts and chocolate shavings. I love pairing them with a cup of rich espresso or a glass of cold milk—reminders of my grandma’s favorite afternoon treats. Learn more: Irresistible Turtle Chocolate Caramel Cheesecake Bites That Will Melt Your Heart
If you’re hosting a party, consider placing them in mini paper cups or on decorative skewers for easy picking. They also pair beautifully with fresh berries or a simple dusting of cocoa powder for a sophisticated touch. I’ve found that these little bites go wonderfully with a glass of dessert wine or a bubbly sparkling cider, making them suitable for both casual and elegant celebrations.
One of my favorite memories is making these with my kids during a snowy winter afternoon. We’d sit by the fireplace, laughing and sharing stories, while the aroma of chocolate and hazelnuts filled the house. That’s the kind of warmth I hope these bites bring to your home, too.
Storage and Reheating Tips
To keep your Nutella Cheesecake Truffle Bites fresh, store them in an airtight container in the refrigerator. They’ll stay good for about 3 to 4 days—though I’d recommend enjoying them sooner to experience the best texture and flavor. If you’ve dipped them in chocolate, make sure they’re fully set before stacking to prevent smudging.
If you want to serve them warm or softened, simply take them out of the fridge about 10 minutes before serving. A quick reheat in the microwave for 5-10 seconds can make the chocolate coating glossy again, and the interior will be delightfully creamy. I’ve done this when I wanted to indulge in a moment of comfort after a long day—nothing beats a warm bite of these little treasures.
Frequently Asked Questions
What are the main ingredients for Nutella Cheesecake Truffle Bites?
The main ingredients for Nutella Cheesecake Truffle Bites include the items listed in our ingredients section above. Each ingredient plays a crucial role in achieving the perfect flavor and texture.
How long does it take to make Nutella Cheesecake Truffle Bites?
The total time to make Nutella Cheesecake Truffle Bites includes both preparation and cooking time. Check the recipe card above for exact timing details.
Can I make Nutella Cheesecake Truffle Bites ahead of time?
Yes, Nutella Cheesecake Truffle Bites can often be prepared in advance. Store it properly in an airtight container in the refrigerator and consume within the recommended timeframe.
What can I serve with Nutella Cheesecake Truffle Bites?
Nutella Cheesecake Truffle Bites pairs well with various sides and accompaniments. Consider the serving suggestions mentioned in the recipe for the best dining experience.
Is Nutella Cheesecake Truffle Bites suitable for special diets?
Depending on the ingredients used, Nutella Cheesecake Truffle Bites may be adapted for various dietary needs. Check the ingredients list and consider substitutions as needed for your dietary requirements.
Final Thoughts
Creating these Nutella Cheesecake Truffle Bites feels like a small act of love—bringing together simple ingredients with a dash of creativity, just like my grandma did. They’re perfect for sharing with loved ones, celebrating special occasions, or simply treating yourself to a moment of happiness. Every time I make them, I’m reminded of those cozy afternoons in her kitchen, where the best memories were made over a spoonful of something sweet and homemade.
I hope you enjoy making and savoring these bites as much as I do. Remember, the magic of baking is in the love you put into it and the joy it brings to others. So, gather your ingredients, get a little messy, and fill your home with the warmth of these delightful treats. Happy baking!