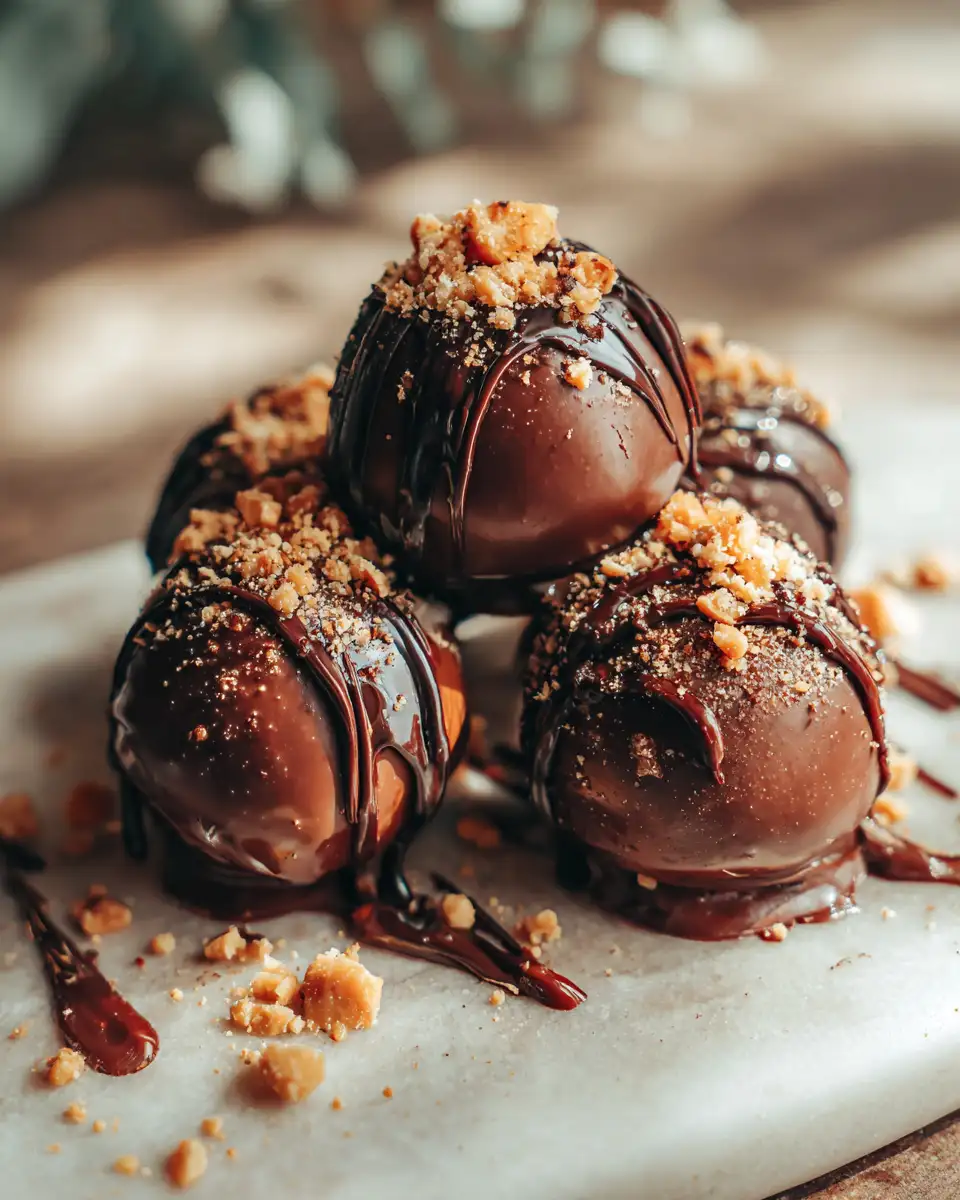
There’s something truly magical about combining rich chocolate and creamy peanut butter into bite-sized treats. If you’re anything like me, a good truffle is the ultimate comfort food—an indulgence that feels special but is surprisingly simple to make at home. Today, I’m excited to share my favorite recipe for Chocolate Peanut Butter Truffles. Inspired by the warm, loving kitchen of my grandma, these truffles are my go-to when I want to bring a little joy—and a lot of flavor—to my family and friends. I’ve made these countless times, tweaking ingredients and techniques to get that perfect balance of smooth, decadent, and just a touch salty. Trust me, once you try these, they’ll become a regular in your dessert rotation too.
Why You’ll Love This Chocolate Peanut Butter Truffles
There’s nothing quite like the feeling of unwrapping a homemade treat that’s packed with flavor and love. These Chocolate Peanut Butter Truffles are the embodiment of that comfort. They’re incredibly easy to make, requiring just a handful of pantry staples, yet they taste like a gourmet indulgence. The creamy peanut butter center is coated in luscious dark chocolate, creating a perfect harmony of salty, sweet, and bitter flavors. I love how versatile these truffles are—they make excellent gifts, party favors, or simply a special treat to enjoy after dinner. Plus, I’ve found that they’re a hit with kids and adults alike—who can resist that irresistible duo of chocolate and peanut butter? Every time I make these, I think of my grandma’s warm kitchen, where love and good ingredients came together to create magic. Sharing this recipe feels like passing on a little piece of that magic to you.
Ingredients You’ll Need for This Chocolate Peanut Butter Truffles
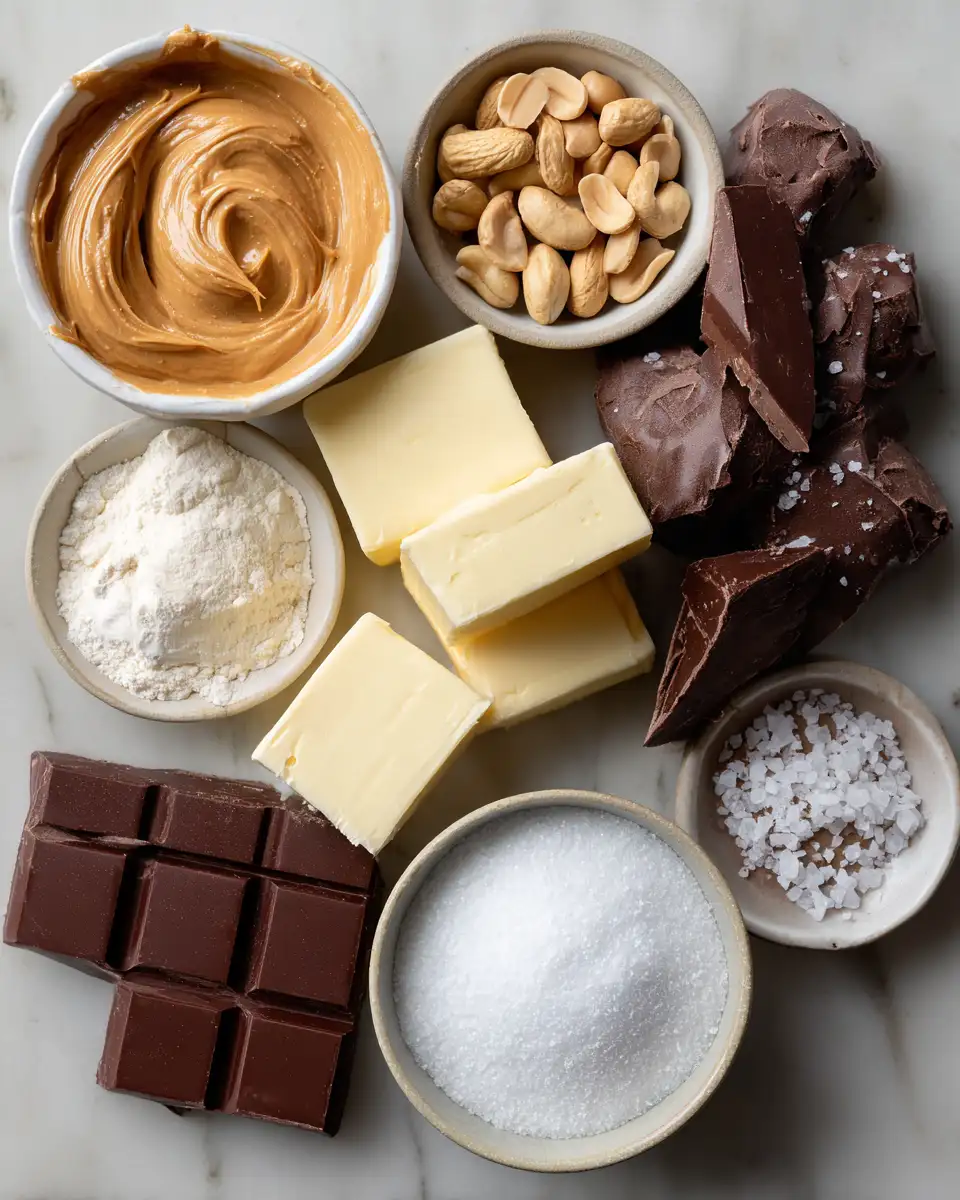
- 1 cup creamy peanut butter (natural or regular, depending on your preference)
- 1/2 cup unsalted butter, softened
- 1 1/2 cups powdered sugar
- 1 teaspoon vanilla extract
- 2 cups high-quality dark chocolate, chopped or in bar form
- 1 tablespoon coconut oil (optional, for smoother coating)
- Sea salt flakes (for sprinkling, optional but highly recommended)
For substitutions, if you’re allergic to nuts, you can try sunflower seed butter or tahini, though the flavor will shift slightly. I always keep my favorite dark chocolate on hand—it’s what gives these truffles their richness, but milk chocolate works too if you prefer a sweeter taste. I like to add a pinch of sea salt on top; it really enhances the flavor and reminds me of the salted caramel touches my grandma used to sprinkle on her desserts.
Nutrition Facts
- Calories: Approximately 150 per truffle (assuming 20 pieces from the batch)
- Protein: 3g
- Fat: 10g
- Carbohydrates: 15g
- Fiber: 1g
- Sugar: 8g
- Sodium: 20mg
These numbers are approximate, of course, but they give you a good idea of the treat’s richness. As someone who loves to bake and share, I find these truffles satisfy sweet cravings without feeling overly indulgent—especially when enjoyed in moderation.
PrintDecadent Chocolate Peanut Butter Truffles That Melt in Your Mouth

Learn how to make delicious Chocolate Peanut Butter Truffles. Easy recipe with step-by-step instructions.
- Prep Time: 15 minutes
- Cook Time: 30 minutes
- Total Time: 45 minutes
- Yield: 4 servings
- Category: Main Dish
- Method: Cooking
- Cuisine: International
Ingredients
- 1 cup creamy peanut butter (natural or regular, depending on your preference)
- 1/2 cup unsalted butter, softened
- 1 1/2 cups powdered sugar
- 1 teaspoon vanilla extract
- 2 cups high-quality dark chocolate, chopped or in bar form
- 1 tablespoon coconut oil (optional, for smoother coating)
- Sea salt flakes (for sprinkling, optional but highly recommended)
For substitutions, if you’re allergic to nuts, you can try sunflower seed butter or tahini, though the flavor will shift slightly. I always keep my favorite dark chocolate on hand—it’s what gives these truffles their richness, but milk chocolate works too if you prefer a sweeter taste. I like to add a pinch of sea salt on top; it really enhances the flavor and reminds me of the salted caramel touches my grandma used to sprinkle on her desserts.
Instructions
- Begin by preparing your workspace. Line a baking sheet with parchment paper and set aside. This will be where you place your finished truffles to set.
- In a large mixing bowl, combine the softened butter and peanut butter. Use a hand or stand mixer on medium speed to blend until smooth and creamy, about 2-3 minutes. This reminds me of helping my grandma mix her fillings—there’s something comforting about the process.
- Add the powdered sugar and vanilla extract to the peanut butter mixture. Continue mixing until fully incorporated, stopping occasionally to scrape down the sides of the bowl. The mixture should be thick but scoopable. If it feels too soft, chill it in the fridge for 15-20 minutes to firm up, which makes rolling easier.
- Once the filling is ready, use a small cookie scoop or your hands to portion out about 1-inch balls. Roll each into a smooth sphere and place them on the prepared baking sheet. I like to work quickly here before the mixture softens too much; it’s a good chance to get a feel for the perfect size—bite-sized but satisfying.
- Place the tray in the freezer for about 30 minutes. This step helps the truffles hold their shape when coated in chocolate, and it’s a trick I learned from years of experimenting in my grandma’s kitchen.
- During the chilling time, melt the dark chocolate with coconut oil (if using) in a heatproof bowl set over simmering water or in short bursts in the microwave, stirring until smooth. I prefer the stovetop method—there’s something soothing about melting chocolate gently over simmering water, almost like a ritual that connects me to my grandma’s slow, loving cooking style.
- Using a fork or toothpick, dip each chilled peanut butter ball into the melted chocolate, covering it completely. Tap lightly to remove excess chocolate, then place back on the parchment-lined sheet. If you like, sprinkle a tiny pinch of sea salt on top of each truffle before the chocolate sets. This brings out the flavors and adds a delightful crunch.
- Once all the truffles are coated, refrigerate them for at least 30 minutes to set the chocolate. I find that this is the best part—watching the glossy finish develop and knowing that the treats are almost ready to enjoy.
Steps to Create Your Chocolate Peanut Butter Truffles
- Begin by preparing your workspace. Line a baking sheet with parchment paper and set aside. This will be where you place your finished truffles to set.
- In a large mixing bowl, combine the softened butter and peanut butter. Use a hand or stand mixer on medium speed to blend until smooth and creamy, about 2-3 minutes. This reminds me of helping my grandma mix her fillings—there’s something comforting about the process.
- Add the powdered sugar and vanilla extract to the peanut butter mixture. Continue mixing until fully incorporated, stopping occasionally to scrape down the sides of the bowl. The mixture should be thick but scoopable. If it feels too soft, chill it in the fridge for 15-20 minutes to firm up, which makes rolling easier.
- Once the filling is ready, use a small cookie scoop or your hands to portion out about 1-inch balls. Roll each into a smooth sphere and place them on the prepared baking sheet. I like to work quickly here before the mixture softens too much; it’s a good chance to get a feel for the perfect size—bite-sized but satisfying.
- Place the tray in the freezer for about 30 minutes. This step helps the truffles hold their shape when coated in chocolate, and it’s a trick I learned from years of experimenting in my grandma’s kitchen.
- During the chilling time, melt the dark chocolate with coconut oil (if using) in a heatproof bowl set over simmering water or in short bursts in the microwave, stirring until smooth. I prefer the stovetop method—there’s something soothing about melting chocolate gently over simmering water, almost like a ritual that connects me to my grandma’s slow, loving cooking style.
- Using a fork or toothpick, dip each chilled peanut butter ball into the melted chocolate, covering it completely. Tap lightly to remove excess chocolate, then place back on the parchment-lined sheet. If you like, sprinkle a tiny pinch of sea salt on top of each truffle before the chocolate sets. This brings out the flavors and adds a delightful crunch.
- Once all the truffles are coated, refrigerate them for at least 30 minutes to set the chocolate. I find that this is the best part—watching the glossy finish develop and knowing that the treats are almost ready to enjoy.
Tips for Making the Best Chocolate Peanut Butter Truffles
- Use good quality chocolate: The flavor of your truffles depends heavily on the chocolate you choose. I always keep a bar of high-quality dark chocolate on hand—it makes a noticeable difference.
- Chill your mixture: Don’t skip the fridge step after shaping the truffles. It helps prevent melting during dipping and results in cleaner, neater chocolates.
- Work quickly when coating: Chocolate hardens fast, so have your melting process ready and work in batches if needed. Keeping the melted chocolate warm by placing the bowl over warm water helps maintain a good consistency.
- Add a pinch of salt: A sprinkle of flaky sea salt on top of each truffle elevates the flavor, balancing the sweetness and richness. It’s a little trick from my grandma’s old cookbook that never fails.
- Make ahead: These truffles taste even better after a day or two in the fridge, allowing the flavors to meld. I often make them the night before a special occasion.
Serving Suggestions and Pairings
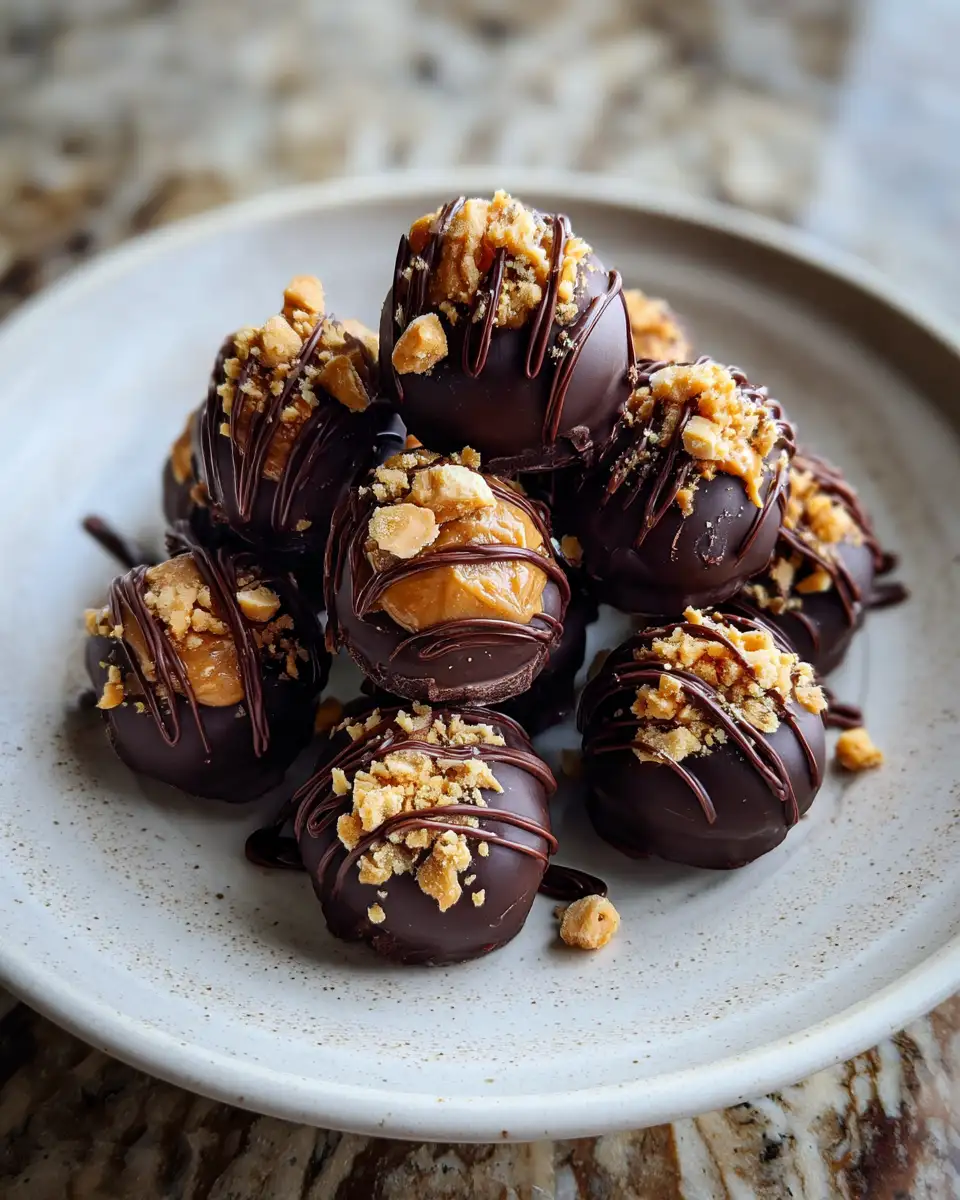
Once your Chocolate Peanut Butter Truffles are set, it’s time to enjoy. I love serving them on a pretty platter, sprinkled with a few extra sea salt flakes or chopped peanuts for texture. They’re perfect for any gathering—whether a cozy family movie night or a fancy dinner party. Learn more: Irresistible Chocolate Fudge Cheesecake Bites That Melt in Your Mouth
If you want to elevate the experience, consider pairing these truffles with a glass of cold milk, a robust coffee, or even a glass of dessert wine like port. I often find that a simple cup of hot herbal tea complements the richness without overpowering it. These little treats are also fantastic alongside a cheese platter, where the salty cheeses bring out the sweetness of the peanut butter and chocolate.
For a special touch, I sometimes roll the truffles in crushed graham crackers, chopped nuts, or cocoa powder before serving. It adds variety and makes each bite feel unique. Honestly, I could sit with a box of these all afternoon—reminding me of lazy Sunday afternoons in my grandma’s kitchen, where the best memories are made around simple, homemade sweets.
Storage and Reheating Tips
To keep your Chocolate Peanut Butter Truffles fresh and delicious, store them in an airtight container in the refrigerator. They’ll stay good for up to two weeks, but I doubt they’ll last that long once you start sharing. If you want them to be a bit softer and more indulgent, let them sit at room temperature for 10-15 minutes before serving.
Reheating isn’t necessary—these are best enjoyed cold or slightly softened. However, if you’re dipping them again or want a warm chocolate coating, gently re-melt the chocolate in a double boiler or microwave in short bursts, stirring frequently. I find that patience is key—slow, gentle reheating preserves the glossy finish and smooth texture I love.
Frequently Asked Questions
What are the main ingredients for Chocolate Peanut Butter Truffles?
The main ingredients for Chocolate Peanut Butter Truffles include the items listed in our ingredients section above. Each ingredient plays a crucial role in achieving the perfect flavor and texture.
How long does it take to make Chocolate Peanut Butter Truffles?
The total time to make Chocolate Peanut Butter Truffles includes both preparation and cooking time. Check the recipe card above for exact timing details.
Can I make Chocolate Peanut Butter Truffles ahead of time?
Yes, Chocolate Peanut Butter Truffles can often be prepared in advance. Store it properly in an airtight container in the refrigerator and consume within the recommended timeframe.
What can I serve with Chocolate Peanut Butter Truffles?
Chocolate Peanut Butter Truffles pairs well with various sides and accompaniments. Consider the serving suggestions mentioned in the recipe for the best dining experience.
Is Chocolate Peanut Butter Truffles suitable for special diets?
Depending on the ingredients used, Chocolate Peanut Butter Truffles may be adapted for various dietary needs. Check the ingredients list and consider substitutions as needed for your dietary requirements.
Final Thoughts
Making Chocolate Peanut Butter Truffles at home is one of those little joys that connects me back to my grandma’s kitchen—where love, simple ingredients, and a dash of patience created something truly special. These truffles are more than just a treat; they’re a way to share warmth and happiness with those around you. Whether you’re gifting them to a friend, bringing them to a party, or simply sneaking a few for yourself, I promise they’ll bring a smile. Give this recipe a try, and I bet it’ll become one of your favorites too. Remember, the best part about homemade treats is the love and memories you put into each bite—just like my grandma always did.