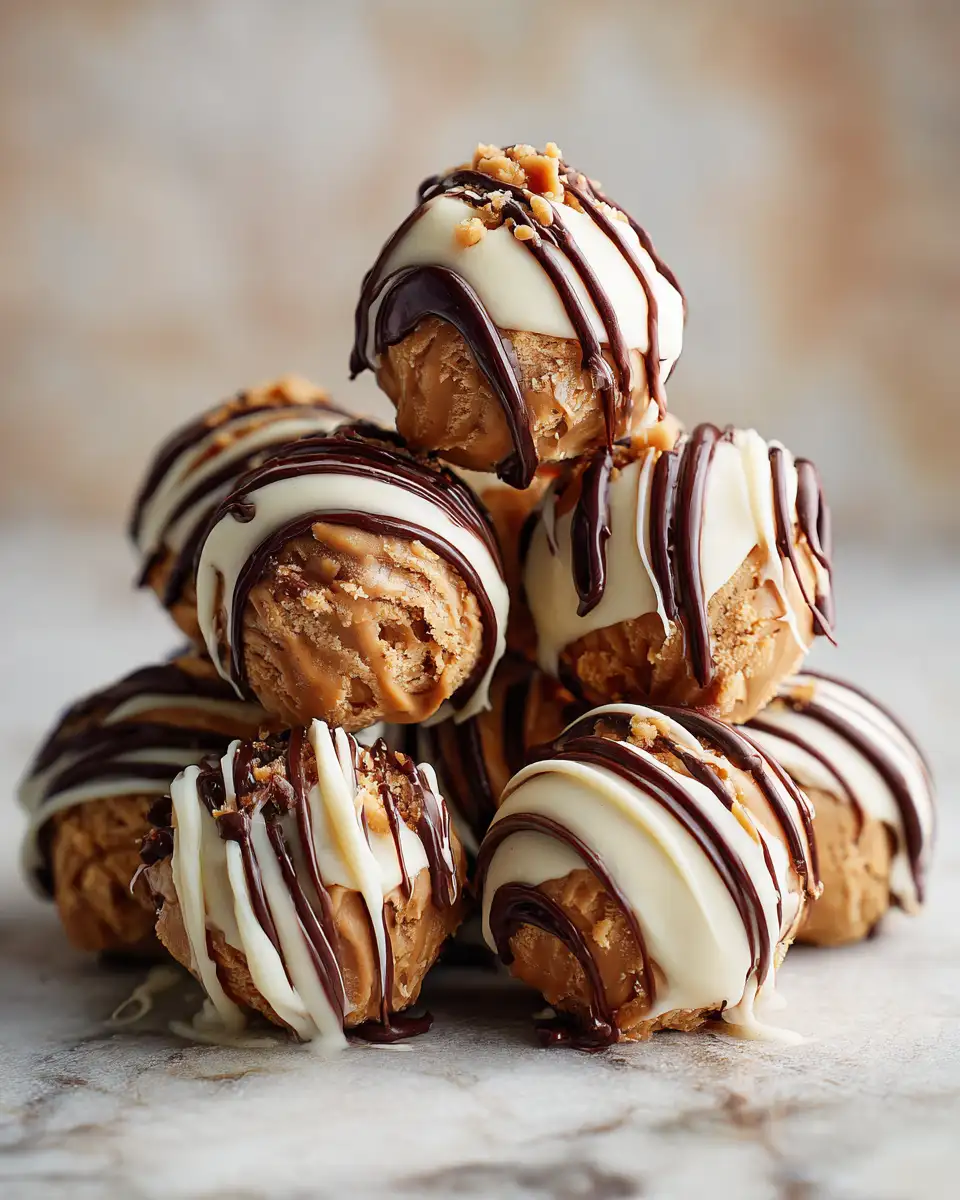
There’s something irresistibly comforting about bite-sized treats that combine rich, creamy cheesecake with the nutty goodness of peanut butter. That’s why I fell in love with making Peanut Butter Cheesecake Truffles—these little gems are a perfect blend of indulgence and simplicity, reminiscent of lazy Sunday afternoons in my grandma’s kitchen. I remember her hands gently mixing ingredients, her smile lighting up the room, and how that warmth still influences my baking today. Sharing these truffles feels like passing down that same love and joy, one delicious bite at a time. Whether you’re celebrating a special occasion or just craving a sweet pick-me-up, these truffles are sure to bring a smile to everyone’s face.
Why You’ll Love This Peanut Butter Cheesecake Truffles
If you’re anything like me, you’ve got a soft spot for no-bake treats that come together quickly but taste like they took hours to craft. These Peanut Butter Cheesecake Truffles tick all those boxes. They’re incredibly easy to make, requiring just a handful of pantry staples and about 30 minutes of prep time. What makes them truly special is their rich, creamy texture—thanks to the luscious cream cheese and smooth peanut butter—that melts in your mouth. Plus, they’re customizable: you can dip them in chocolate, roll them in crushed nuts, or sprinkle a little sea salt for that perfect sweet-salty balance. Every bite reminds me of my grandma’s kitchen—full of love, warmth, and a little bit of magic. These truffles are not just desserts; they’re a tiny hug in edible form.
Ingredients You’ll Need for This Peanut Butter Cheesecake Truffles
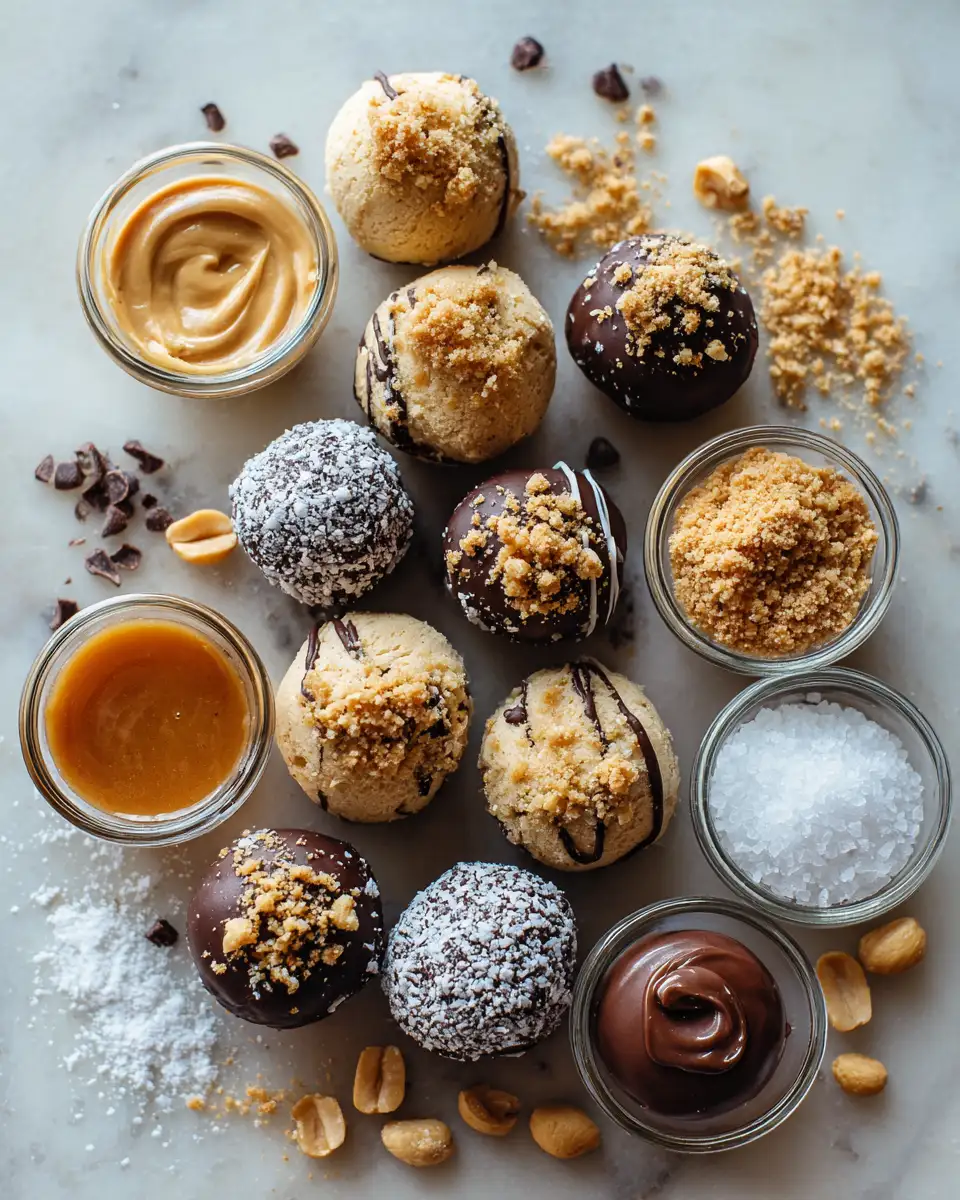
As someone who grew up in a kitchen where fresh ingredients and love made everything taste better, I always recommend using high-quality components. For these truffles, here’s what you’ll need:
- 8 oz (225g) cream cheese, softened — I prefer full-fat for that rich flavor, but light cream cheese works if you’re watching calories
- 1 cup creamy peanut butter — natural peanut butter gives a more robust flavor, but sweetened varieties are perfectly fine too
- 1/2 cup powdered sugar — sifted to avoid lumps, because smooth is key here
- 1 teaspoon vanilla extract — a splash of warmth that elevates the whole treat
- 1 1/2 cups graham cracker crumbs — crush them finely for a smooth truffle, or pulse a little coarser for texture
- Optional: 1/2 teaspoon salt — enhances the flavor, especially if your peanut butter isn’t salted
- Chocolate coating (about 1 cup semi-sweet chocolate chips or melting wafers) — for dipping or drizzling on top
- Optional toppings: crushed peanuts, sea salt, shredded coconut, or sprinkles
If you want to get creative, try substituting the graham cracker crumbs with crushed Oreos or digestive biscuits for a different flavor twist. I’ve even experimented with adding a pinch of cinnamon or a splash of bourbon for a more adult flavor profile—trust me, the possibilities are endless and always delicious.
Nutrition Facts
- Calories: Approximately 150 per truffle (assuming 20 truffles total)
- Protein: 3g
- Fat: 9g
- Carbohydrates: 15g
- Fiber: 1g
- Sugar: 7g
- Sodium: 70mg
Of course, these values can vary depending on the specific ingredients you choose, especially the type of chocolate coating or toppings. I always say, enjoy treats in moderation, but made with love and quality ingredients, they’re worth every calorie. Learn more: Irresistible Turtle Chocolate Caramel Cheesecake Bites That Will Melt Your Heart
PrintDecadent Peanut Butter Cheesecake Truffles That Will Melt Your Heart
Learn how to make delicious Peanut Butter Cheesecake Truffles. Easy recipe with step-by-step instructions.
- Prep Time: 15 minutes
- Cook Time: 30 minutes
- Total Time: 45 minutes
- Yield: 4 servings
- Category: Main Dish
- Method: Cooking
- Cuisine: International
Ingredients
As someone who grew up in a kitchen where fresh ingredients and love made everything taste better, I always recommend using high-quality components. For these truffles, here’s what you’ll need:
- 8 oz (225g) cream cheese, softened — I prefer full-fat for that rich flavor, but light cream cheese works if you’re watching calories
- 1 cup creamy peanut butter — natural peanut butter gives a more robust flavor, but sweetened varieties are perfectly fine too
- 1/2 cup powdered sugar — sifted to avoid lumps, because smooth is key here
- 1 teaspoon vanilla extract — a splash of warmth that elevates the whole treat
- 1 1/2 cups graham cracker crumbs — crush them finely for a smooth truffle, or pulse a little coarser for texture
- Optional: 1/2 teaspoon salt — enhances the flavor, especially if your peanut butter isn’t salted
- Chocolate coating (about 1 cup semi-sweet chocolate chips or melting wafers) — for dipping or drizzling on top
- Optional toppings: crushed peanuts, sea salt, shredded coconut, or sprinkles
If you want to get creative, try substituting the graham cracker crumbs with crushed Oreos or digestive biscuits for a different flavor twist. I’ve even experimented with adding a pinch of cinnamon or a splash of bourbon for a more adult flavor profile—trust me, the possibilities are endless and always delicious.
Instructions
- In a large mixing bowl, beat the softened cream cheese until smooth and creamy. I find that softening the cream cheese ahead of time, leaving it at room temperature for about 30 minutes, makes this step much easier.
- Add the peanut butter and vanilla extract to the cream cheese. Mix until well combined and silky—this is where I like to channel my grandma’s gentle touch, taking my time to ensure everything is blended smoothly.
- Sift the powdered sugar into the mixture and fold it in until fully incorporated. This adds sweetness and helps the filling hold together better.
- In a separate bowl, combine the graham cracker crumbs and optional salt. Gradually add this to the cream cheese mixture, mixing gently until the texture is thick but scoopable. If the mixture feels too soft, pop it in the fridge for 15-20 minutes to firm up.
- Using a small cookie scoop or your hands, form the mixture into about 1-inch balls. Place them on a parchment-lined baking sheet and refrigerate for at least 30 minutes to set. I’ve found that letting them chill helps prevent melting when dipping in chocolate.
- While the truffles chill, melt the chocolate in a microwave-safe bowl in 20-second bursts, stirring between each, until smooth. Alternatively, you can melt it over a double boiler. I always add a tiny bit of coconut oil or vegetable shortening to make the chocolate glossy and easier to work with.
- Take the chilled truffles from the fridge. Using a fork or a dipping tool, dip each ball into the melted chocolate, allowing excess to drip off. Place the coated truffles back on the parchment paper. If you like, sprinkle crushed peanuts, sea salt, or shredded coconut on top immediately before the chocolate sets.
- Once all the truffles are coated, refrigerate for another 15-20 minutes until the chocolate is firm. This step is crucial—trust me, it makes all the difference in achieving that perfect glossy finish.
- Serve and enjoy! These truffles are best enjoyed within a week, but I promise they won’t last that long once you start sharing them around.
Steps to Create Your Peanut Butter Cheesecake Truffles
- In a large mixing bowl, beat the softened cream cheese until smooth and creamy. I find that softening the cream cheese ahead of time, leaving it at room temperature for about 30 minutes, makes this step much easier.
- Add the peanut butter and vanilla extract to the cream cheese. Mix until well combined and silky—this is where I like to channel my grandma’s gentle touch, taking my time to ensure everything is blended smoothly.
- Sift the powdered sugar into the mixture and fold it in until fully incorporated. This adds sweetness and helps the filling hold together better.
- In a separate bowl, combine the graham cracker crumbs and optional salt. Gradually add this to the cream cheese mixture, mixing gently until the texture is thick but scoopable. If the mixture feels too soft, pop it in the fridge for 15-20 minutes to firm up.
- Using a small cookie scoop or your hands, form the mixture into about 1-inch balls. Place them on a parchment-lined baking sheet and refrigerate for at least 30 minutes to set. I’ve found that letting them chill helps prevent melting when dipping in chocolate.
- While the truffles chill, melt the chocolate in a microwave-safe bowl in 20-second bursts, stirring between each, until smooth. Alternatively, you can melt it over a double boiler. I always add a tiny bit of coconut oil or vegetable shortening to make the chocolate glossy and easier to work with.
- Take the chilled truffles from the fridge. Using a fork or a dipping tool, dip each ball into the melted chocolate, allowing excess to drip off. Place the coated truffles back on the parchment paper. If you like, sprinkle crushed peanuts, sea salt, or shredded coconut on top immediately before the chocolate sets.
- Once all the truffles are coated, refrigerate for another 15-20 minutes until the chocolate is firm. This step is crucial—trust me, it makes all the difference in achieving that perfect glossy finish.
- Serve and enjoy! These truffles are best enjoyed within a week, but I promise they won’t last that long once you start sharing them around.
Tips for Making the Best Peanut Butter Cheesecake Truffles
- Use full-fat cream cheese for that authentic, luscious cheesecake flavor. Reduced-fat versions tend to be less creamy and may affect the texture.
- Chill your mixture thoroughly; the colder the filling, the easier it is to shape and dip without melting.
- If you’re short on time, freeze the formed truffles for about 15 minutes before dipping—they’ll hold their shape better and make the dipping process smoother.
- When melting chocolate, add a small amount of coconut oil or shortening to achieve a shiny, smooth coating that won’t crack when you bite into it.
- Don’t rush the cooling steps. Refrigeration helps set the coating and prevents the truffles from falling apart.
- For a more decadent touch, drizzle extra melted chocolate over the finished truffles or dip them twice for a thicker chocolate layer.
- Experiment with toppings! Chopped roasted peanuts, sprinkles, or even a dusting of cocoa powder can elevate the presentation and flavor.
Serving Suggestions and Pairings
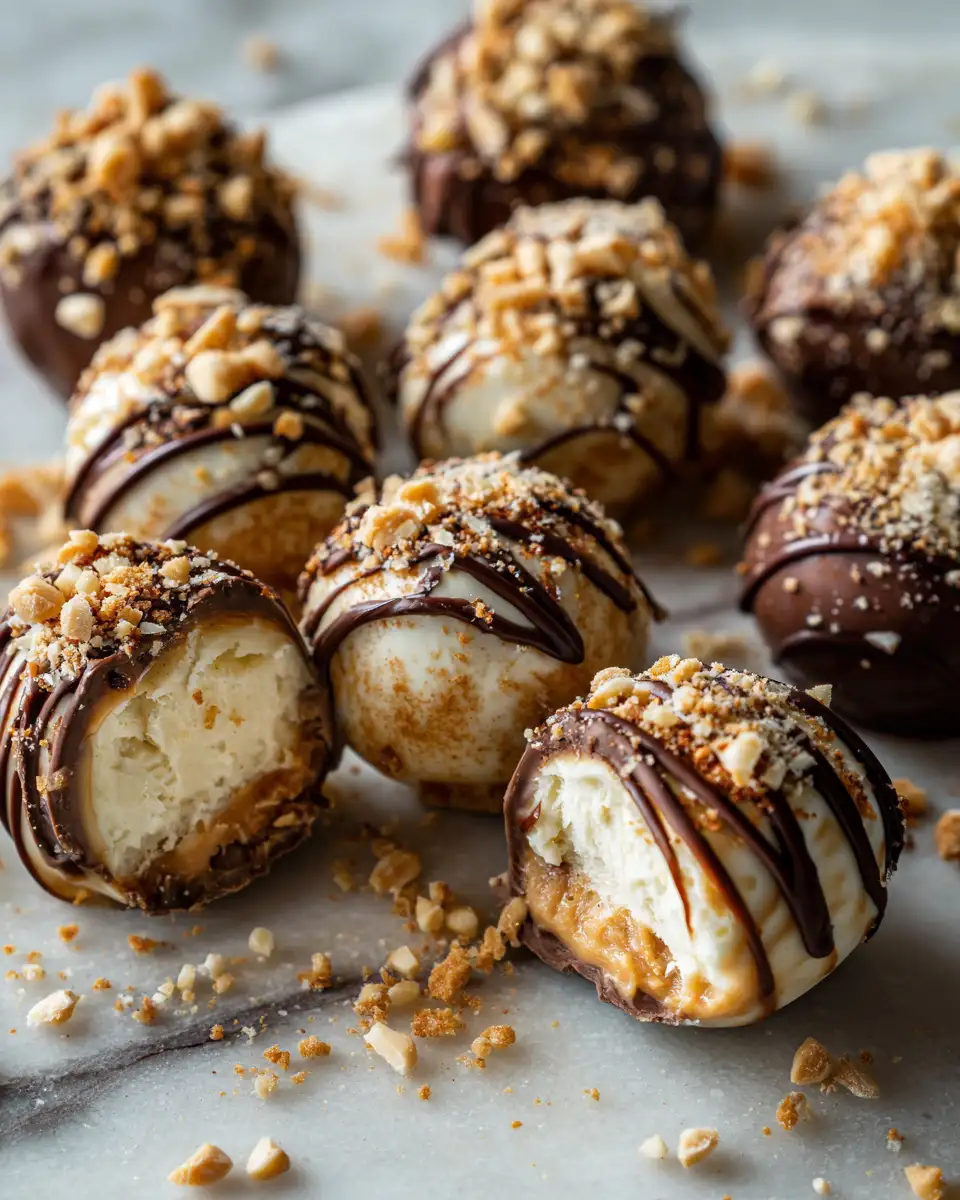
These Peanut Butter Cheesecake Truffles are versatile enough to serve at any gathering, from casual family get-togethers to fancy dinner parties. I love placing them on a beautiful platter, garnished with a few whole peanuts or a sprinkle of sea salt for an elegant touch. They’re also perfect for gift-giving—just arrange them in a pretty box or jar, and you have a homemade present that’s sure to delight.
Pair these truffles with a cup of hot coffee or a glass of cold milk for a comforting treat. If you’re feeling fancy, serve them alongside a glass of dessert wine or a tumbler of bourbon—trust me, the richness balances beautifully with a little something extra. I often find that sharing these with friends makes the moment even sweeter, reminding me of those cozy afternoons in my grandma’s kitchen, where simple ingredients became memories.
Storage and Reheating Tips
To keep your Peanut Butter Cheesecake Truffles fresh and delicious, store them in an airtight container in the refrigerator. They’ll stay good for up to a week, but I recommend consuming them within 5 days for optimal freshness. If you want to prepare them ahead of time, you can freeze the uncoated or coated truffles—just place them in a single layer on a baking sheet, freeze until firm, then transfer to a zip-top bag. When ready to serve, let them thaw in the fridge for about 30 minutes before enjoying.
If your chocolate coating softens slightly after storage, you can re-crisp it by briefly refrigerating the truffles. To reheat, I advise letting them sit at room temperature for a few minutes rather than microwaving, which can cause the chocolate to melt unevenly or crack.
Frequently Asked Questions
What are the main ingredients for Peanut Butter Cheesecake Truffles?
The main ingredients for Peanut Butter Cheesecake Truffles include the items listed in our ingredients section above. Each ingredient plays a crucial role in achieving the perfect flavor and texture.
How long does it take to make Peanut Butter Cheesecake Truffles?
The total time to make Peanut Butter Cheesecake Truffles includes both preparation and cooking time. Check the recipe card above for exact timing details.
Can I make Peanut Butter Cheesecake Truffles ahead of time?
Yes, Peanut Butter Cheesecake Truffles can often be prepared in advance. Store it properly in an airtight container in the refrigerator and consume within the recommended timeframe.
What can I serve with Peanut Butter Cheesecake Truffles?
Peanut Butter Cheesecake Truffles pairs well with various sides and accompaniments. Consider the serving suggestions mentioned in the recipe for the best dining experience.
Is Peanut Butter Cheesecake Truffles suitable for special diets?
Depending on the ingredients used, Peanut Butter Cheesecake Truffles may be adapted for various dietary needs. Check the ingredients list and consider substitutions as needed for your dietary requirements.
Final Thoughts
Making Peanut Butter Cheesecake Truffles is like creating tiny bites of happiness—simple, luscious, and deeply comforting. Growing up in my grandma’s kitchen, I learned that the best recipes are rooted in love, patience, and a little bit of creativity. These truffles embody that spirit perfectly. They’re a testament to how a few humble ingredients can come together to create something truly special. Whether you’re baking for a crowd or just treating yourself, I hope these little bites bring you as much joy as they’ve brought me over the years. Remember, in every recipe, it’s the love you pour in that makes all the difference. Happy baking!