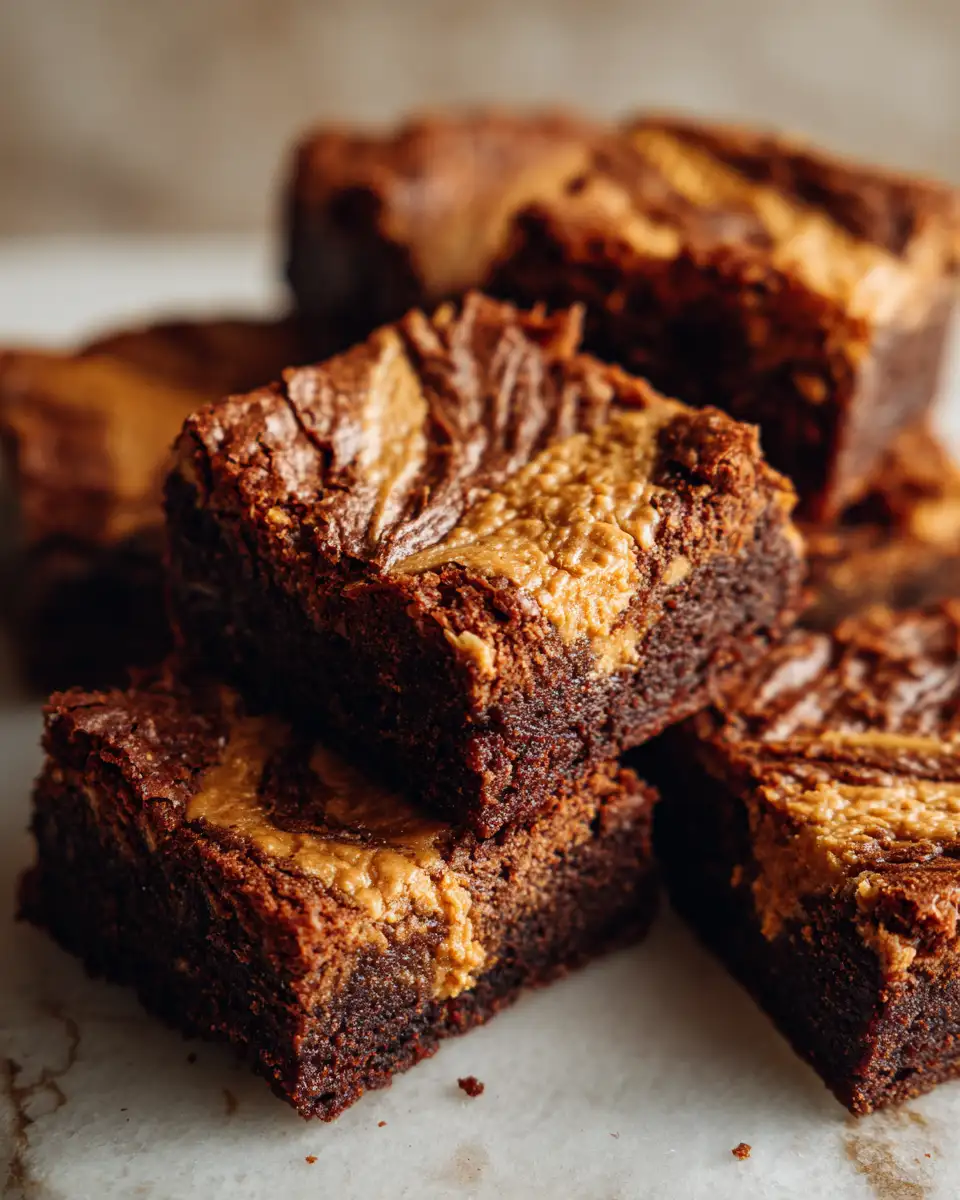
There’s something truly special about a rich, fudgy brownie, especially when it’s infused with the warm, caramel-spiced goodness of Biscoff Cookie Butter. I still remember the first time I tried making Biscoff Cookie Butter Brownies—my grandma’s old wooden spoon in hand, a kitchen filled with the comforting aroma of baked goods, and a heart full of nostalgia. Baking these brownies feels like a warm hug from my childhood, and I love sharing that magic with others. If you’re a fan of the irresistible combination of chocolate and that sweet, spiced cookie butter, then these brownies are destined to become a favorite in your home too. Let’s dive into creating a batch that’s as cozy and delightful as a Sunday morning in grandma’s kitchen.
Why You’ll Love This Biscoff Cookie Butter Brownies
There’s a reason I keep coming back to this recipe—these brownies are pure comfort food. The fudgy center melts in your mouth, while the hint of Biscoff Cookie Butter adds a caramelized, spiced depth that elevates a simple brownie into something extraordinary. I’ve made these countless times for friends’ gatherings, and each time, they disappear faster than I can say “more, please.” What makes these brownies so special is not just the flavor, but the way they bring people together. I remember baking a batch for a quiet afternoon with my grandma, and as we shared slices over tea, I realized that sometimes, the simplest desserts leave the most lasting impressions. Whether you’re baking for a special occasion or just because, these brownies deliver a cozy, indulgent experience that everyone will love.
Ingredients You’ll Need for This Biscoff Cookie Butter Brownies
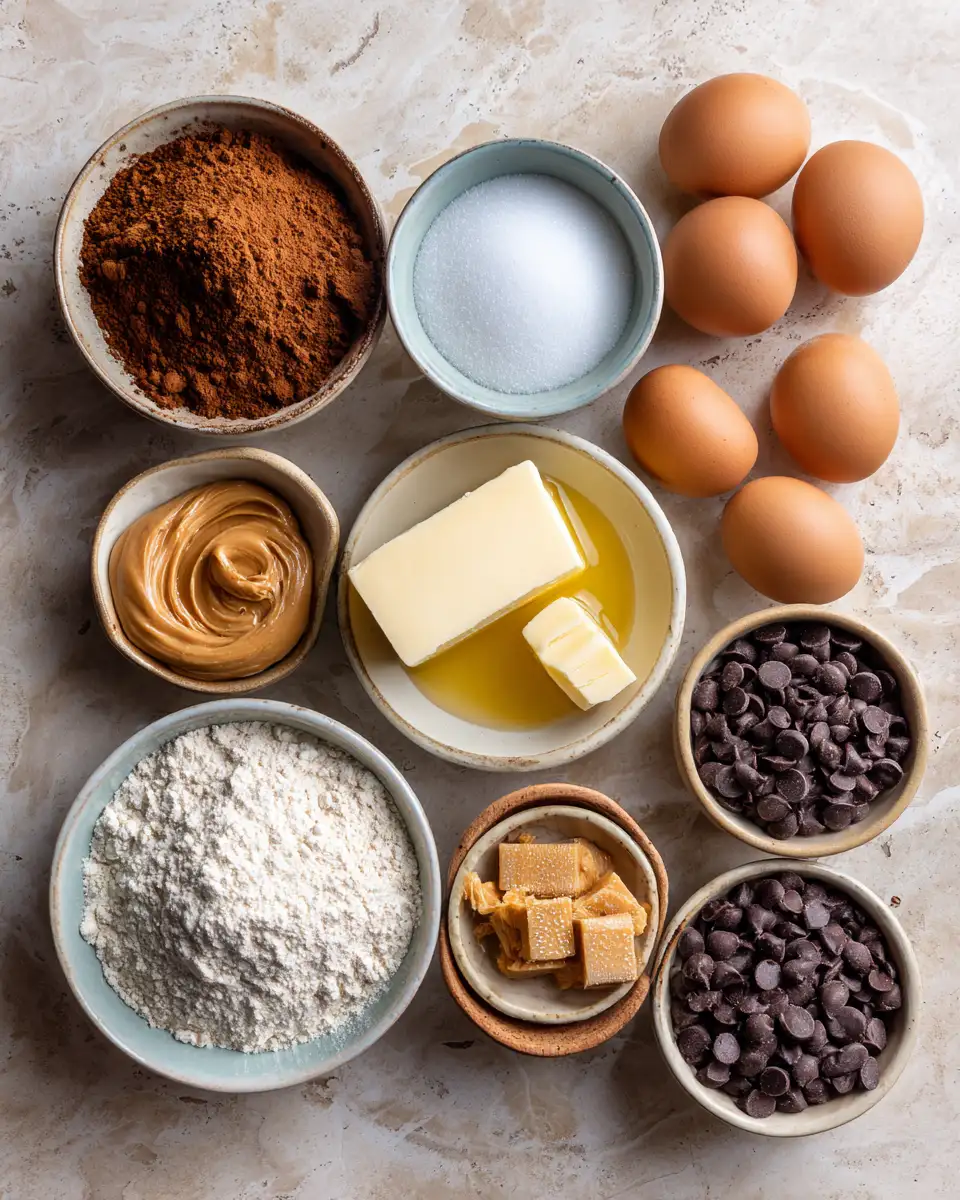
- 1 cup unsalted butter, melted
- 1 1/2 cups granulated sugar
- 3 large eggs
- 1 teaspoon vanilla extract
- 1/2 cup all-purpose flour
- 1/2 cup unsweetened cocoa powder
- 1/4 teaspoon salt
- 1 cup Biscoff Cookie Butter
- 1/2 cup semi-sweet chocolate chips (optional, for extra richness)
I like to keep things simple, but feel free to swap out the semi-sweet chips for white chocolate or even chopped nuts if you like a bit of crunch. I remember once adding a sprinkle of sea salt on top before baking—game changer! The key is using good quality ingredients, especially the Biscoff spread—it’s what makes these brownies so irresistibly flavorful.
Nutrition Facts
- Calories: Approximately 280 per serving
- Protein: 4g
- Fat: 14g
- Carbohydrates: 35g
- Fiber: 2g
- Sugar: 20g
- Sodium: 60mg
These nutrition estimates are based on a typical 9-inch square pan cut into 12 generous pieces. Of course, I believe in enjoying desserts mindfully, so these brownies are perfect as an occasional treat. They also pack enough flavor and richness that a small piece goes a long way, making them feel indulgent without going overboard. Learn more: Indulge in the Ultimate Chocolate Peanut Butter Ruckus Experience
PrintIrresistible Biscoff Cookie Butter Brownies You Need to Try Today
Learn how to make delicious Biscoff Cookie Butter Brownies. Easy recipe with step-by-step instructions.
- Prep Time: 15 minutes
- Cook Time: 30 minutes
- Total Time: 45 minutes
- Yield: 4 servings
- Category: Main Dish
- Method: Cooking
- Cuisine: International
Ingredients
- 1 cup unsalted butter, melted
- 1 1/2 cups granulated sugar
- 3 large eggs
- 1 teaspoon vanilla extract
- 1/2 cup all-purpose flour
- 1/2 cup unsweetened cocoa powder
- 1/4 teaspoon salt
- 1 cup Biscoff Cookie Butter
- 1/2 cup semi-sweet chocolate chips (optional, for extra richness)
I like to keep things simple, but feel free to swap out the semi-sweet chips for white chocolate or even chopped nuts if you like a bit of crunch. I remember once adding a sprinkle of sea salt on top before baking—game changer! The key is using good quality ingredients, especially the Biscoff spread—it’s what makes these brownies so irresistibly flavorful.
Instructions
- Preheat your oven to 350°F (175°C). Line a 9-inch square baking pan with parchment paper, leaving a slight overhang for easy removal. I always do this because, trust me, it saves so much mess and hassle later.
- In a large mixing bowl, combine the melted butter and granulated sugar. Stir until smooth and glossy. I love how the warmth of the butter melts the sugar just enough to create a silky base—this is one of those small tips from my grandma’s kitchen that makes all the difference.
- Add the eggs one at a time, mixing well after each addition. Make sure to beat until the batter is shiny and well combined. This step helps create that fudgy texture we’re aiming for.
- Stir in the vanilla extract and Biscoff Cookie Butter. Mix until the spread is fully incorporated, and you see a beautiful caramel color spreading through the batter. I always melt the cookie butter a little first—this makes it easier to blend and ensures an even flavor throughout.
- Sift together the flour, cocoa powder, and salt in a separate bowl. Gradually fold the dry ingredients into the wet mixture, being gentle but thorough. Overmixing can make the brownies tough, so I usually fold just until no streaks remain.
- If using chocolate chips, fold them into the batter now. I like to save a handful to sprinkle on top before baking for a pretty, melty crust.
- Pour the batter into the prepared baking pan, spreading it out evenly with a spatula. Then, sprinkle the remaining chocolate chips or a pinch of sea salt on top if desired.
- Bake for 25-30 minutes, or until a toothpick inserted into the center comes out with moist crumbs. My trick is to check a few minutes early—these brownies are best when still a little fudgy inside, not dry.
- Allow the brownies to cool in the pan for about 15 minutes before transferring to a wire rack. Patience here is key; I find that letting them cool completely helps set the texture and makes cutting neater.
Steps to Create Your Biscoff Cookie Butter Brownies
- Preheat your oven to 350°F (175°C). Line a 9-inch square baking pan with parchment paper, leaving a slight overhang for easy removal. I always do this because, trust me, it saves so much mess and hassle later.
- In a large mixing bowl, combine the melted butter and granulated sugar. Stir until smooth and glossy. I love how the warmth of the butter melts the sugar just enough to create a silky base—this is one of those small tips from my grandma’s kitchen that makes all the difference.
- Add the eggs one at a time, mixing well after each addition. Make sure to beat until the batter is shiny and well combined. This step helps create that fudgy texture we’re aiming for.
- Stir in the vanilla extract and Biscoff Cookie Butter. Mix until the spread is fully incorporated, and you see a beautiful caramel color spreading through the batter. I always melt the cookie butter a little first—this makes it easier to blend and ensures an even flavor throughout.
- Sift together the flour, cocoa powder, and salt in a separate bowl. Gradually fold the dry ingredients into the wet mixture, being gentle but thorough. Overmixing can make the brownies tough, so I usually fold just until no streaks remain.
- If using chocolate chips, fold them into the batter now. I like to save a handful to sprinkle on top before baking for a pretty, melty crust.
- Pour the batter into the prepared baking pan, spreading it out evenly with a spatula. Then, sprinkle the remaining chocolate chips or a pinch of sea salt on top if desired.
- Bake for 25-30 minutes, or until a toothpick inserted into the center comes out with moist crumbs. My trick is to check a few minutes early—these brownies are best when still a little fudgy inside, not dry.
- Allow the brownies to cool in the pan for about 15 minutes before transferring to a wire rack. Patience here is key; I find that letting them cool completely helps set the texture and makes cutting neater.
Tips for Making the Best Biscoff Cookie Butter Brownies
- Use good quality ingredients: The flavor of Biscoff spread really shines through when you use a fresh jar. I always buy the good stuff and keep it handy for baking, just like my grandma did.
- Don’t overmix: When combining the dry and wet ingredients, mix just until combined. Overmixing can lead to dense, tough brownies, and nobody wants that.
- Adjust baking time for fudginess: For extra fudgy brownies, check a few minutes before the timer and remove when a toothpick has moist crumbs. If you prefer a slightly firmer texture, bake a bit longer.
- Personalize your brownies: Add chopped nuts, white chocolate chips, or even a swirl of additional Biscoff on top before baking for a decorative touch. I once swirled extra cookie butter on top before baking—delicious!
- Let them cool completely: This helps the brownies set and makes slicing easier. I usually prepare them a day ahead so the flavors can meld beautifully.
Serving Suggestions and Pairings
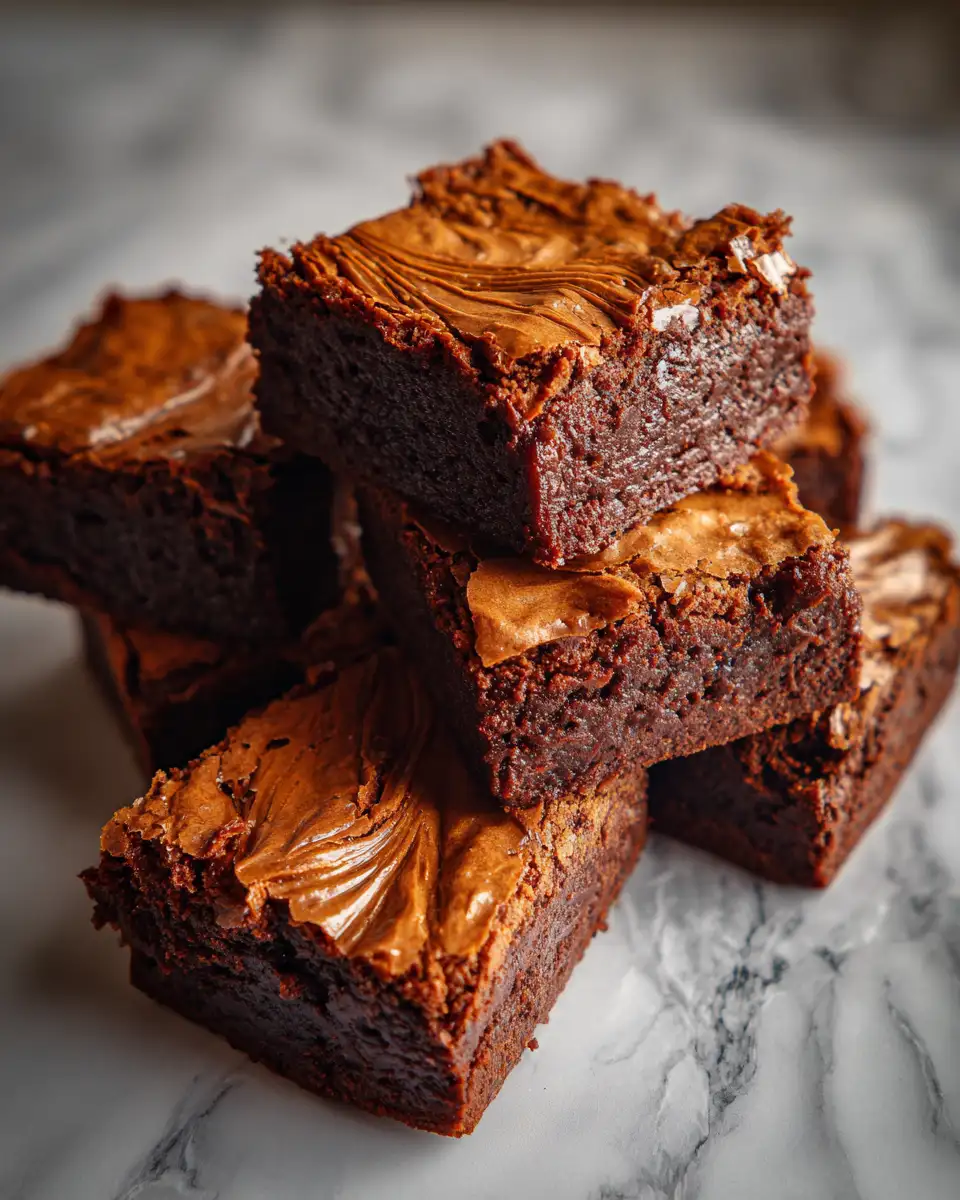
These Biscoff Cookie Butter Brownies are perfect on their own, but I love pairing them with a scoop of vanilla ice cream or a dollop of whipped cream for extra indulgence. The contrast of cold creaminess with warm, fudgy brownies is just heaven. For a touch of elegance, a drizzle of caramel sauce or a sprinkle of crushed Biscoff cookies on top adds both flavor and presentation flair. I’ve also served these brownies alongside a cup of strong coffee or a cup of chai tea—both bring out the warm spices in the cookie butter and make for a cozy afternoon treat. When I bake these for friends, I often cut them into smaller squares and serve them with a glass of milk or a warm cup of tea. No matter how you enjoy them, these brownies are guaranteed to bring smiles and a little bit of nostalgia.
Storage and Reheating Tips
To keep your brownies fresh and delicious, store them in an airtight container at room temperature for up to 3 days. If you want to keep them longer, you can refrigerate them for up to a week—just make sure they’re well wrapped or stored in a sealed container. I find that reheating a slice in the microwave for about 10-15 seconds restores that warm, gooey texture, perfect for a quick dessert fix. When reheating, I always cover the brownie with a damp paper towel to prevent it from drying out. If you prefer cold brownies, they’re just as tasty straight from the fridge—chewy and rich, with that deep cookie butter flavor shining through.
Frequently Asked Questions
What are the main ingredients for Biscoff Cookie Butter Brownies?
The main ingredients for Biscoff Cookie Butter Brownies include the items listed in our ingredients section above. Each ingredient plays a crucial role in achieving the perfect flavor and texture.
How long does it take to make Biscoff Cookie Butter Brownies?
The total time to make Biscoff Cookie Butter Brownies includes both preparation and cooking time. Check the recipe card above for exact timing details.
Can I make Biscoff Cookie Butter Brownies ahead of time?
Yes, Biscoff Cookie Butter Brownies can often be prepared in advance. Store it properly in an airtight container in the refrigerator and consume within the recommended timeframe.
What can I serve with Biscoff Cookie Butter Brownies?
Biscoff Cookie Butter Brownies pairs well with various sides and accompaniments. Consider the serving suggestions mentioned in the recipe for the best dining experience.
Is Biscoff Cookie Butter Brownies suitable for special diets?
Depending on the ingredients used, Biscoff Cookie Butter Brownies may be adapted for various dietary needs. Check the ingredients list and consider substitutions as needed for your dietary requirements.
Final Thoughts
Making Biscoff Cookie Butter Brownies is one of those recipes that feels like a warm hug from my past, brought into my present. They’re simple to make but packed with flavor, texture, and a little bit of magic. Every time I bake a batch, I’m reminded of the joy that comes from sharing homemade treats—whether it’s with family, friends, or just myself on a quiet afternoon. I encourage you to give this recipe a try, customize it to your taste, and enjoy the comforting aroma filling your home. Remember, baking is all about love, tradition, and creating moments—this brownie recipe captures all that and more.