
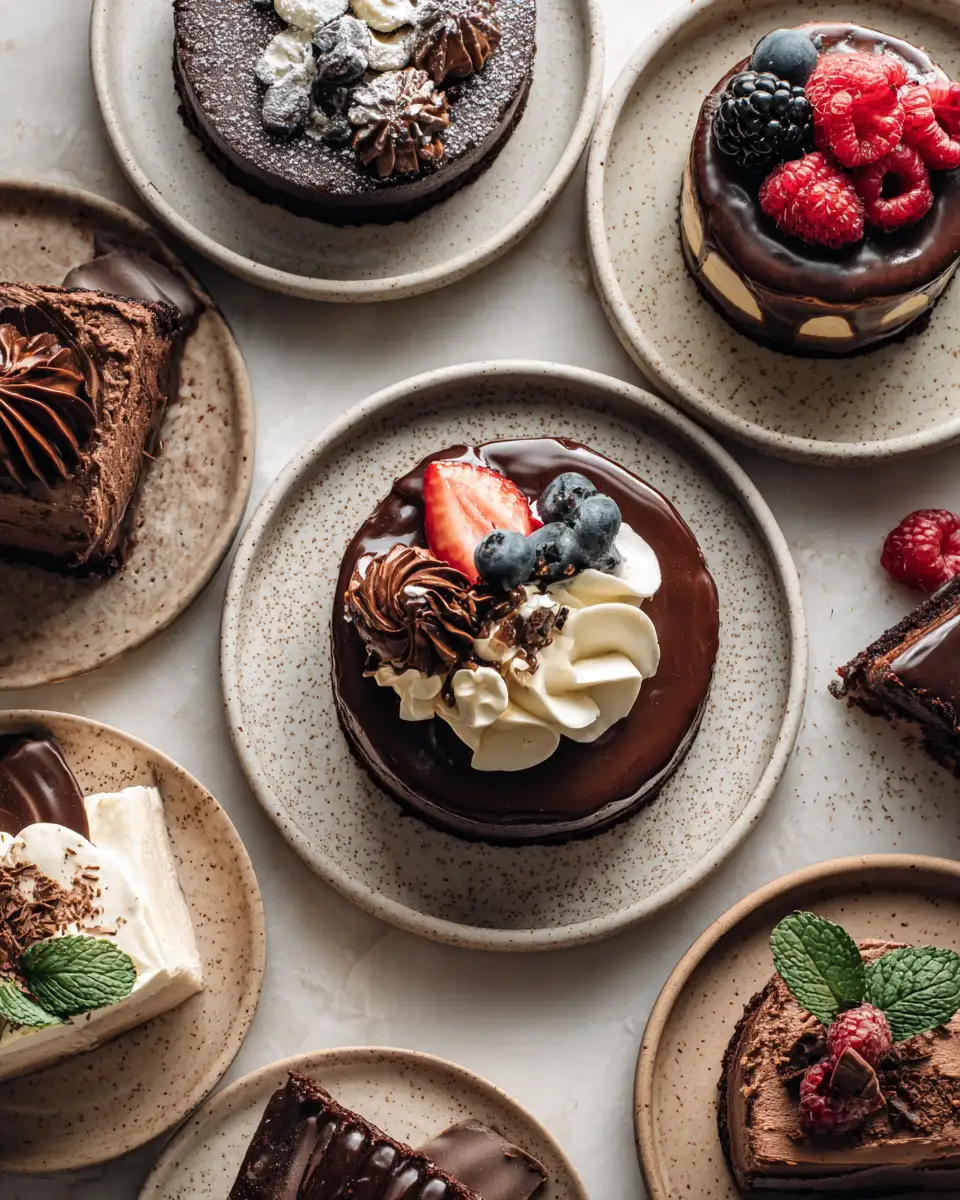
There’s something truly special about indulging in a rich, decadent chocolate dessert. It’s the kind of treat that instantly warms your soul, evokes childhood memories, and makes any ordinary day feel like a celebration. As someone whose roots are deeply planted in my grandma’s kitchen, I’ve learned that the magic of a good chocolate dessert isn’t just in the ingredients—it’s in the love and care that go into making it. Over the years, I’ve experimented and refined my recipes, always aiming to create something that feels both comforting and special. Today, I want to share a beloved chocolate dessert that’s simple to make but leaves a lasting impression—because nothing beats a homemade chocolate treat made with love.
Why You’ll Love This Chocolate Desserts
Growing up, my grandma’s kitchen was filled with the irresistible aroma of melting chocolate and warm cookies. Those moments shaped my love for baking, especially when it comes to chocolate desserts. This particular recipe is a reflection of that warmth—moist, fudgy, and rich, yet surprisingly easy to whip up. It’s perfect for cozy nights at home, special family gatherings, or even a spontaneous craving for something sweet. I love how versatile it is; you can serve it as is, or dress it up with a dollop of whipped cream or a dusting of cocoa powder. Plus, it’s a wonderful way to bring a little piece of my grandma’s magic into your kitchen, no matter where you are.
Ingredients You’ll Need for This Chocolate Desserts
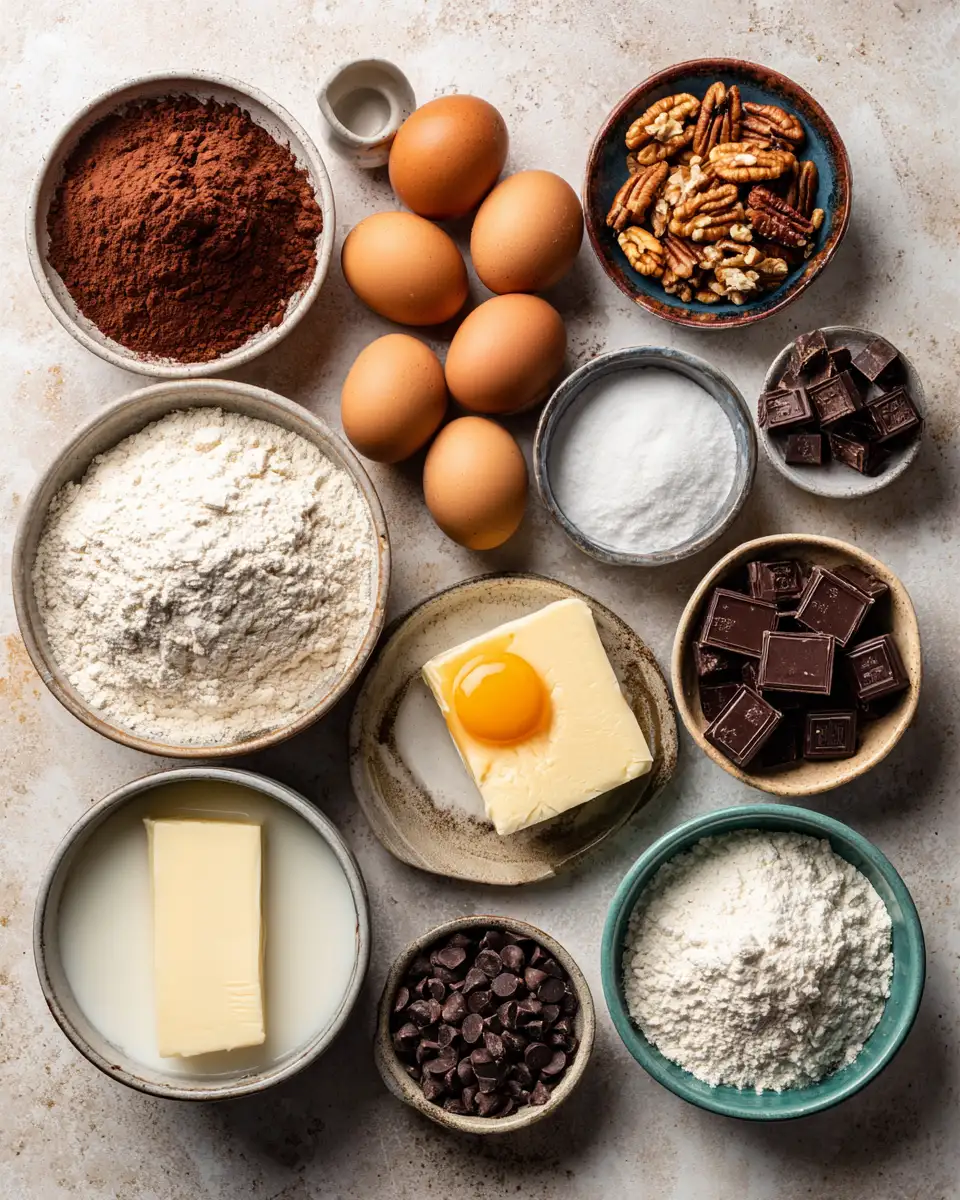
One of the reasons I’m so passionate about this recipe is how straightforward it is, relying on pantry staples that I always keep on hand. I’ve also included some substitution suggestions, so you can customize it to your preferences or what’s available in your kitchen.
- 1 cup all-purpose flour
- 1/2 cup unsweetened cocoa powder (for a richer flavor, use Dutch-processed cocoa)
- 1 teaspoon baking powder
- 1/2 teaspoon salt
- 1 cup granulated sugar
- 1/2 cup unsalted butter, melted (can substitute with coconut oil for dairy-free version)
- 2 large eggs
- 1 teaspoon vanilla extract
- 1/2 cup milk (dairy or plant-based like almond or oat milk)
- Optional: 1/2 cup dark chocolate chips or chopped nuts (walnuts, pecans)
I’ve always loved keeping things simple, just like my grandma did. But if you’re feeling a bit adventurous, swapping out the milk for sour cream can add a beautiful tang and extra richness. Or, for a more intense chocolate punch, stir in some espresso powder—trust me, it enhances the depth of flavor.
Nutrition Facts
- Calories: approximately 250 per serving
- Protein: 4g
- Fat: 15g
- Carbohydrates: 27g
- Fiber: 3g
- Sugar: 14g
- Sodium: 120mg
These values are approximate and can vary based on the ingredients you choose. I always tell myself that a little indulgence is okay—especially when it’s made with wholesome ingredients and a lot of love. My grandma used to say, “It’s not just what’s in the dessert, but the joy you put into making it.” That’s what truly makes a chocolate dessert memorable. Learn more: Indulge in the Ultimate Vanilla Sundae with Chocolate Drizzle and Roasted Nuts Delight
PrintIndulge in Bliss: Irresistible Chocolate Desserts You Must Try

Learn how to make delicious Chocolate Desserts. Easy recipe with step-by-step instructions.
- Prep Time: 15 minutes
- Cook Time: 30 minutes
- Total Time: 45 minutes
- Yield: 4 servings
- Category: Main Dish
- Method: Cooking
- Cuisine: International
Ingredients
One of the reasons I’m so passionate about this recipe is how straightforward it is, relying on pantry staples that I always keep on hand. I’ve also included some substitution suggestions, so you can customize it to your preferences or what’s available in your kitchen.
- 1 cup all-purpose flour
- 1/2 cup unsweetened cocoa powder (for a richer flavor, use Dutch-processed cocoa)
- 1 teaspoon baking powder
- 1/2 teaspoon salt
- 1 cup granulated sugar
- 1/2 cup unsalted butter, melted (can substitute with coconut oil for dairy-free version)
- 2 large eggs
- 1 teaspoon vanilla extract
- 1/2 cup milk (dairy or plant-based like almond or oat milk)
- Optional: 1/2 cup dark chocolate chips or chopped nuts (walnuts, pecans)
I’ve always loved keeping things simple, just like my grandma did. But if you’re feeling a bit adventurous, swapping out the milk for sour cream can add a beautiful tang and extra richness. Or, for a more intense chocolate punch, stir in some espresso powder—trust me, it enhances the depth of flavor.
Instructions
- Preheat your oven to 350°F (175°C). Grease a 9-inch square baking pan or line it with parchment paper for easy removal.
- In a large mixing bowl, sift together the flour, cocoa powder, baking powder, and salt. Sifting helps to avoid lumps and ensures even distribution, just like my grandma always emphasized.
- In a separate bowl, whisk together the melted butter, sugar, eggs, and vanilla extract until smooth and well combined. I find that whisking by hand gives me a moment to connect with the process—something my grandma always did to infuse love into her baking.
- Gradually add the wet ingredients to the dry ingredients, mixing gently until just combined. Be careful not to overmix, or the texture can become dense rather than fudgy.
- Stir in the milk until the batter is smooth. If using chocolate chips or nuts, fold them in now. This is where I love adding my favorite extras—sometimes a handful of chopped pecans or a sprinkle of sea salt on top for that perfect finishing touch.
- Pour the batter into your prepared baking pan, spreading it evenly with a spatula. Tap the pan lightly on the counter to remove any air bubbles and level the surface.
- Bake for 25-30 minutes, or until a toothpick inserted in the center comes out with a few moist crumbs. The smell that fills the kitchen during this time always takes me back to my grandma’s warmth and love.
- Once baked, let the dessert cool in the pan for about 10 minutes, then transfer it to a wire rack to cool completely. I prefer it slightly warm, so I often cut into it when it’s still a little bit warm—trust me, it’s divine with a scoop of vanilla ice cream or a dollop of whipped cream.
Steps to Create Your Chocolate Desserts
- Preheat your oven to 350°F (175°C). Grease a 9-inch square baking pan or line it with parchment paper for easy removal.
- In a large mixing bowl, sift together the flour, cocoa powder, baking powder, and salt. Sifting helps to avoid lumps and ensures even distribution, just like my grandma always emphasized.
- In a separate bowl, whisk together the melted butter, sugar, eggs, and vanilla extract until smooth and well combined. I find that whisking by hand gives me a moment to connect with the process—something my grandma always did to infuse love into her baking.
- Gradually add the wet ingredients to the dry ingredients, mixing gently until just combined. Be careful not to overmix, or the texture can become dense rather than fudgy.
- Stir in the milk until the batter is smooth. If using chocolate chips or nuts, fold them in now. This is where I love adding my favorite extras—sometimes a handful of chopped pecans or a sprinkle of sea salt on top for that perfect finishing touch.
- Pour the batter into your prepared baking pan, spreading it evenly with a spatula. Tap the pan lightly on the counter to remove any air bubbles and level the surface.
- Bake for 25-30 minutes, or until a toothpick inserted in the center comes out with a few moist crumbs. The smell that fills the kitchen during this time always takes me back to my grandma’s warmth and love.
- Once baked, let the dessert cool in the pan for about 10 minutes, then transfer it to a wire rack to cool completely. I prefer it slightly warm, so I often cut into it when it’s still a little bit warm—trust me, it’s divine with a scoop of vanilla ice cream or a dollop of whipped cream.
Tips for Making the Best Chocolate Desserts
From my years of baking in my grandma’s kitchen, I’ve picked up a few secrets to making chocolate desserts truly shine. Here are some tips to elevate your baking game:
- Use high-quality cocoa powder. The flavor of your chocolate dessert depends heavily on the cocoa you choose. I always keep a good Dutch-processed cocoa on hand—it makes a noticeable difference.
- Don’t overmix the batter once you add the flour. Overmixing can lead to a dense, tough texture. Mix just until the ingredients are combined.
- Check for doneness with a toothpick. It should come out with a few moist crumbs but no wet batter. This ensures a fudgy, moist finish rather than a dry one.
- Let the dessert cool properly before slicing. This helps it set and makes clean cuts easier. I remember my grandma carefully waiting—patience pays off!
- If you want extra richness, melt a handful of chocolate chips and swirl them on top after baking or drizzle with melted chocolate for that restaurant-quality look.
- For a gluten-free version, substitute the all-purpose flour with almond flour or a gluten-free baking blend, keeping in mind that the texture may vary slightly.
Serving Suggestions and Pairings
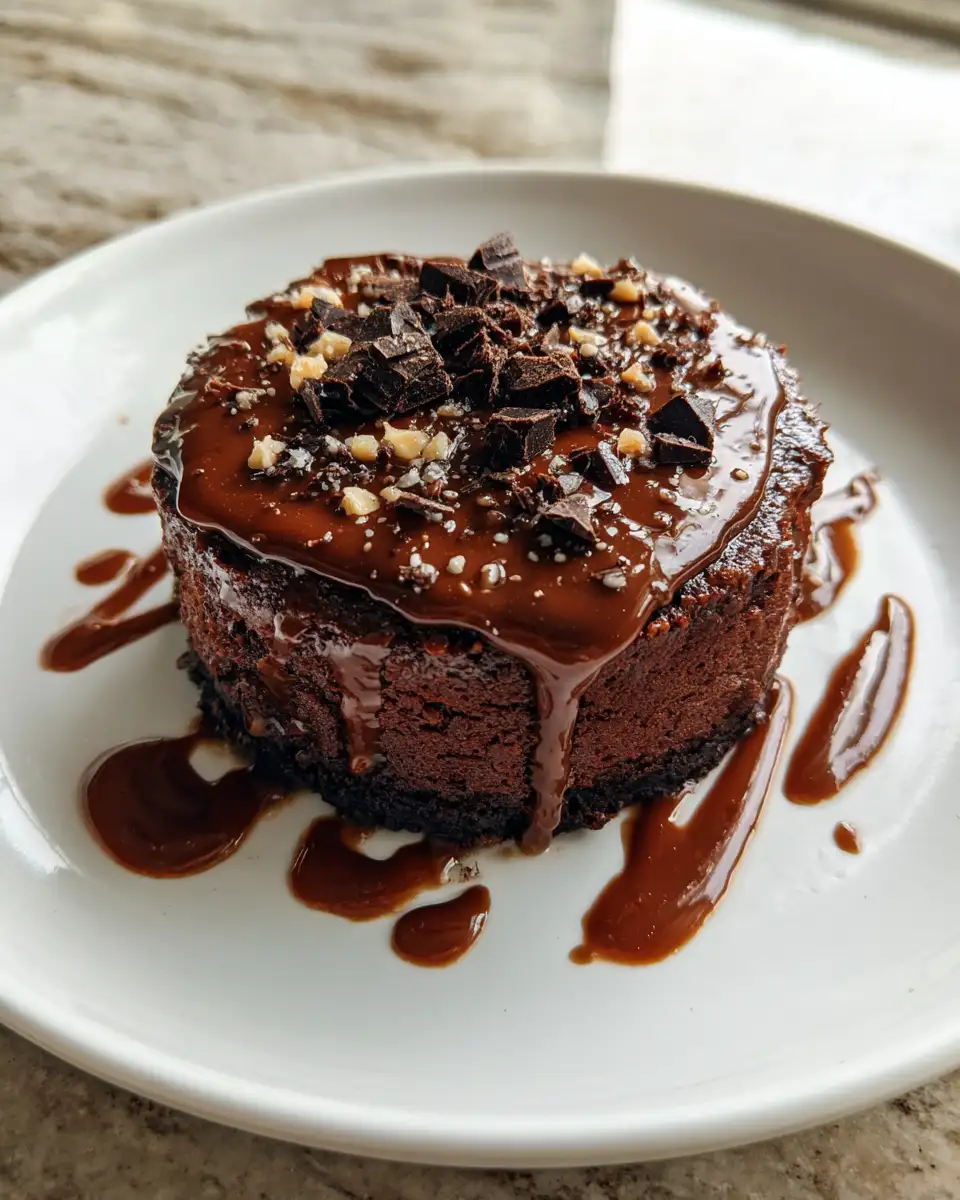
Nothing makes a chocolate dessert feel more special than thoughtful presentation and pairing. Here are some ideas I’ve gathered over years of baking and sharing sweet treats with loved ones:
- Serve warm with a scoop of vanilla or coffee ice cream for a classic, comforting dessert.
- Top with a dollop of whipped cream and a sprinkle of sea salt or flaky sea salt for contrast.
- Dust lightly with powdered sugar or cocoa powder for a simple, elegant look.
- Pair with a cup of rich coffee or espresso—it’s the perfect way to balance the sweetness and bring out the chocolate flavor.
- For a more indulgent experience, add a drizzle of caramel or chocolate sauce and some chopped nuts on top.
- If you’re feeling festive, serve with fresh berries like strawberries or raspberries—they add a bright, tart flavor that complements the richness of the chocolate.
Sharing this dessert with friends and family always reminds me of my grandma’s gatherings—laughter, warmth, and the simple joy of good food. Whether it’s a quiet evening or a lively celebration, this chocolate dessert always has a place on the table.
Storage and Reheating Tips
Like many of my grandma’s treasured recipes, this dessert can be enjoyed over multiple days if stored properly. Here’s how I keep it fresh and delicious:
- Allow the dessert to cool completely before storing. This prevents condensation and sogginess.
- Wrap it tightly with plastic wrap or store in an airtight container to keep it moist and flavorful.
- If you prefer warm slices, you can reheat individual pieces in the microwave for about 15-20 seconds. I find that a gentle reheat helps restore that freshly-baked feel.
- For longer storage, the dessert can be kept in the refrigerator for up to 3 days. To enjoy it later, gently reheat in the microwave or let it come to room temperature for a softer texture.
My grandma always said, “Good things are worth a little patience,” and that’s especially true when reheating desserts—slow and gentle is the key. Plus, I often find that the flavors deepen after sitting for a day, making it even more delicious.
Frequently Asked Questions
What are the main ingredients for Chocolate Desserts?
The main ingredients for Chocolate Desserts include the items listed in our ingredients section above. Each ingredient plays a crucial role in achieving the perfect flavor and texture.
How long does it take to make Chocolate Desserts?
The total time to make Chocolate Desserts includes both preparation and cooking time. Check the recipe card above for exact timing details.
Can I make Chocolate Desserts ahead of time?
Yes, Chocolate Desserts can often be prepared in advance. Store it properly in an airtight container in the refrigerator and consume within the recommended timeframe.
What can I serve with Chocolate Desserts?
Chocolate Desserts pairs well with various sides and accompaniments. Consider the serving suggestions mentioned in the recipe for the best dining experience.
Is Chocolate Desserts suitable for special diets?
Depending on the ingredients used, Chocolate Desserts may be adapted for various dietary needs. Check the ingredients list and consider substitutions as needed for your dietary requirements.
Final Thoughts
There’s something profoundly satisfying about creating a chocolate dessert that brings comfort and joy—just like my grandma’s kitchen did for me. This recipe is more than just a sweet treat; it’s a bridge to cherished memories, a way to show love, and a simple pleasure that can brighten any day. I encourage you to make it your own—add your favorite nuts, swirl in some caramel, or serve it with fresh fruit. Baking is, after all, a personal act of love, and I hope this chocolate dessert becomes part of your special moments, just as it has become a staple in my family. Remember, the best desserts are made with heart, patience, and a little bit of magic from your kitchen.

3 thoughts on “Indulge in Bliss: Irresistible Chocolate Desserts You Must Try”